Wednesday afternoon, 2:47 PM. The clock on the microwave ticks over, and I hear the familiar thud of the front door slamming shut. Backpacks hit the floor, shoes are kicked off, and then comes the question I was already waiting for. “Mom, what’s for snack?”
My youngest has this way of saying it that makes snack time feel like a life-or-death situation. And honestly? I get it. After a long day of school, sitting still, and following rules, a kid just wants something good. Something that feels like a treat. But I also know what happens if I hand over a pre-packaged lunchable from the store. The crackers are always stale, the meat is weirdly slimy, and the portion is never enough to actually fill anyone up. Plus, let’s be real—those little plastic trays are terrible for the planet.
So one day, out of pure desperation and a fridge full of odds and ends, I threw together my own version. I grabbed some cheese cubes, a handful of crackers, and sliced up a few turkey roll-ups. My kid looked at the plate, then looked at me, and said, “This is way better than the ones from the store.” That was the moment my easy DIY Lunchable snack box for kids was born. It wasn’t planned. It wasn’t fancy. It was just real food, arranged in a way that made my child feel special.
And that’s the thing about this recipe. It’s not really about the ingredients. It’s about giving them control. Letting them pick what goes in the box. Making them feel like they’re getting something fun, while I get the peace of mind knowing they’re actually eating something decent. This isn’t a recipe you need to follow perfectly. It’s a blueprint for making snack time work for both of you.
Why You’ll Love This Recipe
I’ve tested this approach more times than I can count. Through picky phases, growth spurts, and even the dreaded “I don’t like that anymore” phase. This easy DIY Lunchable snack box for kids has never let me down.
- Quick & Easy: It takes less than 10 minutes to assemble. Seriously. You can put these together while your morning coffee is brewing or while the kids are brushing their teeth.
- Simple Ingredients: No fancy grocery trips required. You probably have everything you need in your fridge and pantry right now. Crackers, cheese, some protein, and a fruit or veggie.
- Perfect for Lunchboxes or After-School Snacks: These work for school lunches, road trips, park days, or just a quiet afternoon at home. They’re portable, mess-free, and kid-approved.
- Crowd-Pleaser: I’ve made these for playdates and birthday parties. Every single kid devours them. Even the ones who “don’t like sandwiches” will eat these without complaint.
- Unbelievably Delicious: When you use real ingredients—good cheese, crispy crackers, fresh fruit—the flavor is just better. No weird preservatives. No plastic taste. Just clean, satisfying food.
What makes this different from every other snack idea out there? It’s the flexibility. You are not locked into a specific combination. You can swap things based on what your kid likes, what’s on sale, or what you have leftover from dinner. It’s a system, not a rigid recipe. And after years of making these, I can tell you: once you start, you’ll never go back to the store-bought version.
What Ingredients You Will Need
This recipe uses simple, everyday ingredients. The beauty is in the combination and the presentation. You don’t need anything exotic, just a few staples that come together to make something that feels special.
For the Protein Base
- Turkey or Ham Slices: 4-6 slices (about 100g). Look for low-sodium options if you can. I prefer Boar’s Head or Applegate for clean ingredients. Roll them up or cut them into fun shapes using cookie cutters.
- Cheese Cubes or Slices: About 60g (roughly 10-12 small cubes). Cheddar, mozzarella, or Colby Jack work great. Pre-cut cubes save time, but cutting your own from a block is more cost-effective.
- Hard-Boiled Eggs: 1-2 eggs, peeled and halved. (Optional, but adds great protein and healthy fats.)
For the Crunch Factor
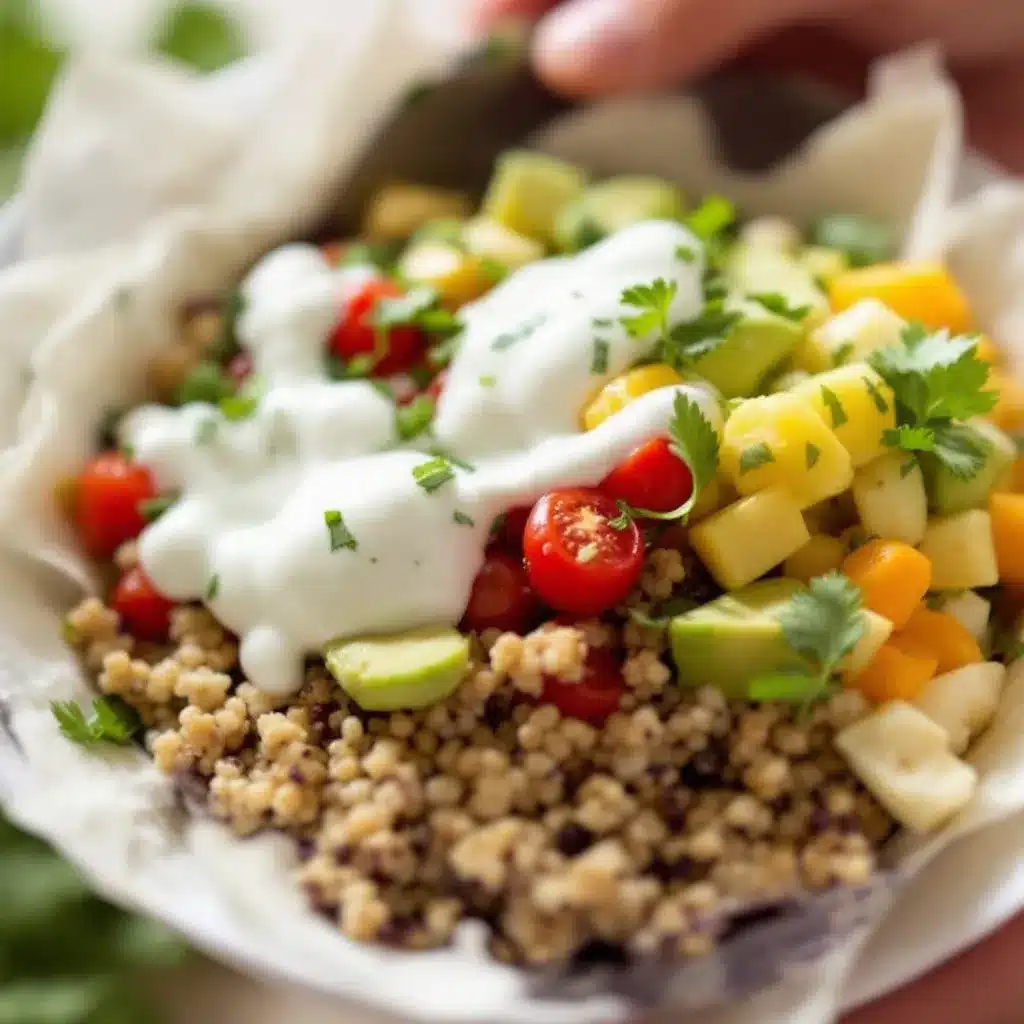
- Crackers: About 15-20 pieces. Whole wheat, gluten-free, or classic saltines. I love using mini Ritz or whole-grain Wheat Thins for texture.
- Pretzels or Rice Cakes: A handful (about 30g). Adds a different crunch and keeps things interesting.
For the Sweet & Fresh Element
- Fresh Fruit: 1/2 cup of grapes (halved for safety), apple slices, or berries. Seasonal fruit works best. In summer, swap in watermelon cubes or peach slices.
- Veggie Sticks: 1/4 cup of carrot sticks, cucumber rounds, or bell pepper strips. (My kids love these with a small dip container of ranch.)
For the Little Extras (Optional but Fun)
- Nut Butter or Sunflower Seed Butter: 2 tablespoons in a small container for dipping apple slices or crackers.
- Dark Chocolate Chips or Mini Cookies: A small handful (about 15g) for a sweet treat. I use Enjoy Life for allergy-friendly options.
- Yogurt Tube or Applesauce Pouch: Perfect for adding a creamy element without any mess.
Equipment Needed
You don’t need much to make this work. That’s the whole point. But having the right containers makes a world of difference.
- Bento-Style Lunchbox or Divided Container: This is the MVP. Look for ones with removable inserts or silicone cups. I use a PlanetBox or a simple Bentgo box. They keep everything separated and prevent crackers from getting soggy.
- Small Silicone Cups or Muffin Liners: Perfect for holding dips, sauces, or small treats. They fit right into the compartments of a lunchbox.
- Cookie Cutters: Fun shapes like stars, hearts, or dinosaurs. These turn boring cheese slices into something magical. Honestly, it takes two seconds and makes a huge difference.
- Sharp Knife and Cutting Board: For slicing fruit, cheese, and veggies. A good, sharp knife makes clean cuts and saves time.
- Mandoline Slicer (Optional): If you want perfectly even cucumber or apple slices. Not necessary, but nice for presentation.
If you don’t have a bento box, don’t stress. A regular lunchbox with small reusable containers works just as well. The goal is separation, not perfection.
Preparation Method
Let’s get into the actual assembly. I’ll walk you through it step by step, with all the little tricks I’ve learned along the way.
- Prep Your Protein: Start with the meat and cheese. If using sliced turkey or ham, roll each slice into a tight log. Then slice the log into 1-inch pieces. This creates little pinwheels that are easy for small hands to pick up. For cheese, cut into 1/2-inch cubes or use a cookie cutter to make fun shapes. Set these aside in a small bowl.
- Wash and Cut Your Produce: Rinse all fruit and vegetables thoroughly. For grapes, slice them in half lengthwise to prevent choking hazards for younger kids. Apple slices should be cut thin, about 1/4-inch thick, and you can toss them in a little lemon juice to prevent browning. Carrot sticks should be about 2 inches long and 1/4-inch thick.
- Portion Your Crackers: Count out your crackers and pretzels. Place them in a separate bowl. Do not put them in the container with wet fruit or veggies yet. Soggy crackers are the enemy of a good lunchable.
- Assemble the Container: Take your bento box or divided container. Start by placing the heavier items first. Put the cheese cubes and meat pinwheels in one large compartment. In another compartment, arrange the fruit and veggie sticks. Use small silicone cups for dips, nut butter, or yogurt. Place the crackers and pretzels in a dry compartment.
- Add the Fun Extras: Drop a few dark chocolate chips into one of the small cups. If using a cookie, place it carefully on top of the crackers so it doesn’t break. Add a yogurt tube or applesauce pouch on the side if packing for lunch.
- Final Check: Close the lid and give the box a gentle shake. Everything should stay in its place. If things are moving around too much, you need to pack it tighter. The goal is a snug fit so nothing gets crushed.
One thing I learned the hard way: don’t pack the crackers next to the grapes if you’re making these the night before. The moisture from the fruit will soften the crackers by morning. Keep dry and wet items separated until serving.
Cooking Tips & Techniques
Over the years, I’ve made every mistake you can imagine with these snack boxes. Here’s what I’ve learned so you don’t have to repeat my errors.
- Keep It Dry: Moisture is your enemy. Pat dry any washed fruit or veggies with a paper towel before placing them in the box. This keeps everything fresh and prevents sogginess.
- Use the “Iceberg” Trick: If you’re packing a lunch that won’t be eaten for a few hours, place a small ice pack under the container. Or, freeze a yogurt tube and use it as an ice pack. It will thaw by lunchtime and be perfectly cold.
- Let Them Help: I know it’s faster to do it yourself. But letting your kids assemble their own box increases the chances they’ll actually eat everything. My 6-year-old loves arranging the crackers in a smiley face pattern. It takes longer, but it’s worth it.
- Prep in Batches: On Sunday evenings, I wash and cut all the fruit and veggies for the week. I portion out cheese cubes and meat roll-ups into separate containers. Then, in the morning, assembly takes 2 minutes flat.
- Temperature Matters: If you’re packing for a school lunch, keep the box in the fridge overnight. In the morning, add a frozen water bottle or ice pack to the lunch bag. This keeps everything safe to eat until lunchtime.
Variations & Adaptations
This is where the recipe really shines. You can change almost everything based on what you have or what your kids love.
- Gluten-Free Option: Swap regular crackers for gluten-free rice crackers or corn chips. Use gluten-free pretzels. Everything else in the box is naturally gluten-free.
- Dairy-Free Version: Replace cheese with dairy-free cheese cubes or omit it entirely. Use hummus or guacamole as a dip for the veggies. Nut butter provides healthy fats without any dairy.
- High-Protein Box: Add extra hard-boiled eggs, edamame, or grilled chicken strips. Use Greek yogurt dip instead of ranch. This is perfect for active kids or after sports practice.
- Seasonal Swap: In the fall, use apple slices and pear chunks. In summer, go with watermelon cubes and peach slices. In winter, clementine segments and pomegranate arils are a hit.
- The “Dessert” Box: For a special treat, swap the meat and cheese for mini pancakes, fruit skewers, and a small container of maple syrup or honey for dipping. My kids go crazy for this version.
Serving & Storage Suggestions
These snack boxes are best served cold or at room temperature. If you’re packing for a lunchbox, keep everything refrigerated until the morning of. For after-school snacks, you can assemble them right before serving or make them the night before.
For storage, keep the assembled box in the refrigerator for up to 24 hours. Do not freeze assembled boxes—the texture of the fruit and crackers will suffer. Instead, prep the individual components (cut fruit, cheese cubes, meat roll-ups) and store them separately in airtight containers. Assemble fresh each morning.
When reheating? You don’t. This is a cold snack. But if you’re using hard-boiled eggs, let them come to room temperature for about 10 minutes before serving for the best flavor.
Flavors actually develop nicely overnight. The cheese absorbs a bit of the meat’s saltiness, and the fruit stays crisp if you kept it dry. It’s one of those rare recipes that tastes even better the next day.
Nutritional Information & Benefits
Here’s an estimated breakdown for a standard DIY Lunchable snack box (protein, cheese, crackers, fruit, and a small treat).
- Calories: Approximately 350-450 calories per box
- Protein: 20-25g (from turkey, cheese, and eggs)
- Carbohydrates: 30-40g (from fruit and crackers)
- Fat: 15-20g (healthy fats from cheese and nut butter)
- Fiber: 4-6g (from fruit and whole-grain crackers)
The health benefits here are real. You’re getting a balanced mix of protein, healthy fats, and complex carbs. The fruit provides vitamins and antioxidants. The protein keeps kids full and focused through the afternoon. And because you control the ingredients, you can avoid added sugars, preservatives, and artificial colors found in store-bought versions.
This recipe is naturally gluten-free adaptable and can be made dairy-free. It’s nut-free if you skip the nut butter and use sunflower seed butter instead. Always check labels for potential allergens.
Conclusion
Honestly, this easy DIY Lunchable snack box for kids has changed the way we do snack time in our house. It’s not just about the food—it’s about giving my kids a sense of ownership over what they eat. They love picking their combinations, arranging the pieces, and showing off their creations. And I love that I’m not throwing away plastic trays every single day.
This recipe is forgiving. It’s flexible. It’s designed to work with whatever you have in your kitchen right now. So don’t stress about getting it perfect. Just start with what you have, let your kids get involved, and watch them light up when they open their box.
I’d love to hear what combinations your family comes up with. Drop a comment below and tell me your child’s favorite snack box creation. And if you try this, tag me in your photos—I love seeing these come to life in different kitchens!
Frequently Asked Questions
How far in advance can I make these snack boxes?
You can assemble them the night before and store them in the refrigerator for up to 24 hours. Just keep the crackers separate until serving to prevent sogginess.
Can I use this for school lunches?
Absolutely. Just add an ice pack to keep everything cool until lunchtime. Avoid packing anything that spoils quickly, like yogurt, without a cold pack.
What if my child has allergies?
This recipe is highly adaptable. Use gluten-free crackers, dairy-free cheese, and sunflower seed butter instead of peanut butter. Always check labels on packaged items.
How do I keep apple slices from turning brown?
Toss them in a little lemon juice or orange juice before packing. You can also use a solution of water and salt (1/4 teaspoon salt per cup of water) for a quick soak, then rinse.
Can I make these for adults too?
Yes! Scale up the portions and add grown-up touches like olives, pickles, or fancy cheese. They make great work lunches or picnic snacks.
Pin This Recipe!
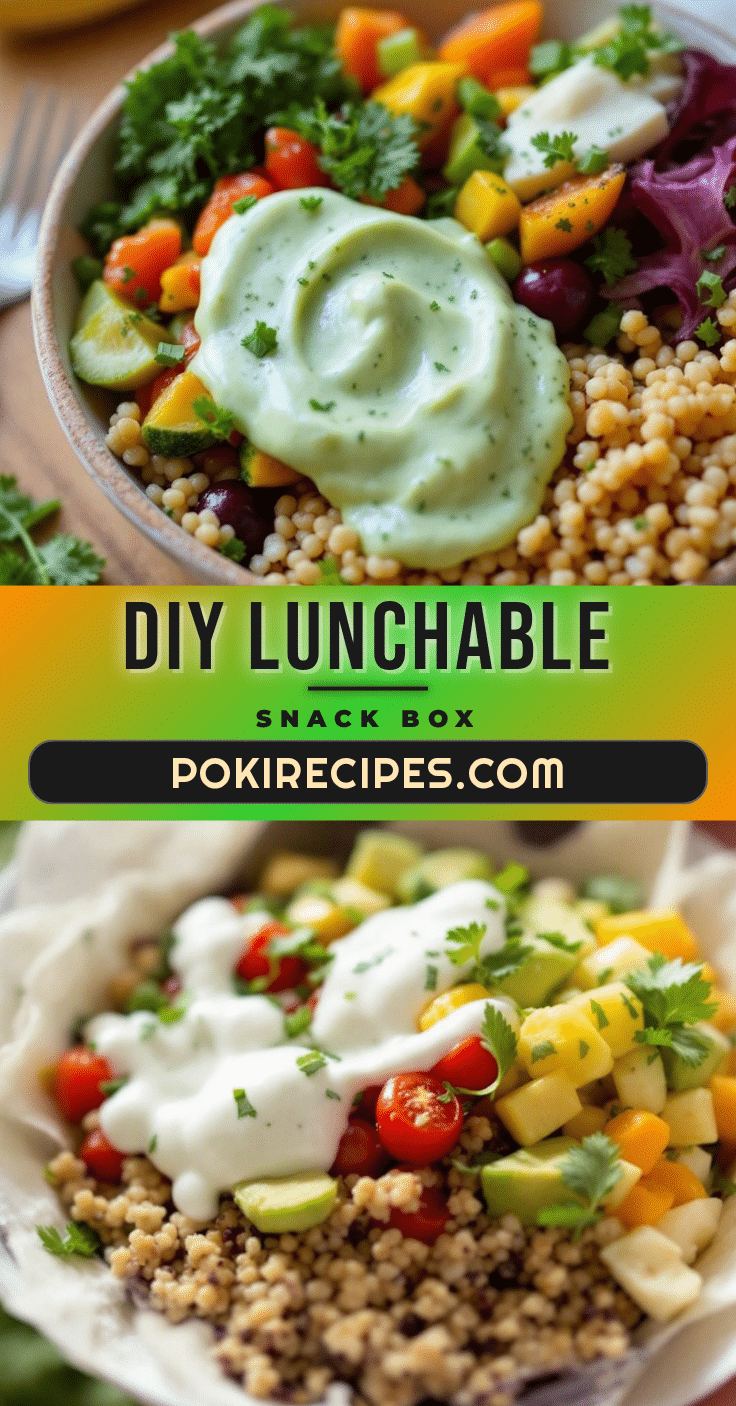
The Best Easy DIY Lunchable Snack Box for Kids

A quick and flexible snack box made with real ingredients like turkey, cheese, crackers, and fresh fruit. Perfect for after-school snacks or lunchboxes, it’s a healthier, customizable alternative to store-bought lunchables.
- Prep Time: 10 minutes
- Cook Time: 0 minutes
- Total Time: 10 minutes
- Yield: 1 serving 1x
- Category: Snack
- Cuisine: American
Ingredients
- 4–6 slices turkey or ham (about 100g)
- 60g cheese cubes or slices (about 10–12 small cubes)
- 1–2 hard-boiled eggs, peeled and halved (optional)
- 15–20 crackers (whole wheat, gluten-free, or classic saltines)
- 30g pretzels or rice cakes
- 1/2 cup fresh fruit (grapes halved, apple slices, or berries)
- 1/4 cup veggie sticks (carrot sticks, cucumber rounds, or bell pepper strips)
- 2 tablespoons nut butter or sunflower seed butter (optional)
- 15g dark chocolate chips or mini cookies (optional)
- 1 yogurt tube or applesauce pouch (optional)
Instructions
- Prep your protein: Roll turkey or ham slices into tight logs, then slice into 1-inch pinwheels. Cut cheese into 1/2-inch cubes or use cookie cutters for fun shapes. Set aside.
- Wash and cut produce: Rinse fruit and vegetables. Halve grapes lengthwise, slice apples 1/4-inch thick (toss in lemon juice to prevent browning), and cut carrot sticks into 2-inch lengths.
- Portion crackers: Count out crackers and pretzels, keeping them separate from wet ingredients.
- Assemble container: In a bento box or divided container, place cheese and meat in one compartment, fruit and veggies in another. Use small silicone cups for dips or nut butter. Place crackers in a dry compartment.
- Add extras: Drop chocolate chips or a cookie into a small cup. Add yogurt tube or applesauce pouch if desired.
- Final check: Close lid and gently shake to ensure everything stays in place. Pack tightly to prevent crushing.
Notes
Keep dry and wet items separated until serving to prevent sogginess. Pat fruit and veggies dry before packing. For school lunches, add an ice pack. Let kids help assemble for better eating. Prep components in batches on weekends for quick assembly.
Nutrition
- Serving Size: 1 snack box
- Calories: 350450
- Sugar: 1015
- Sodium: 500700
- Fat: 1520
- Saturated Fat: 57
- Carbohydrates: 3040
- Fiber: 46
- Protein: 2025
Keywords: DIY lunchable, snack box for kids, healthy snack, lunchbox idea, after-school snack, kid-friendly snack