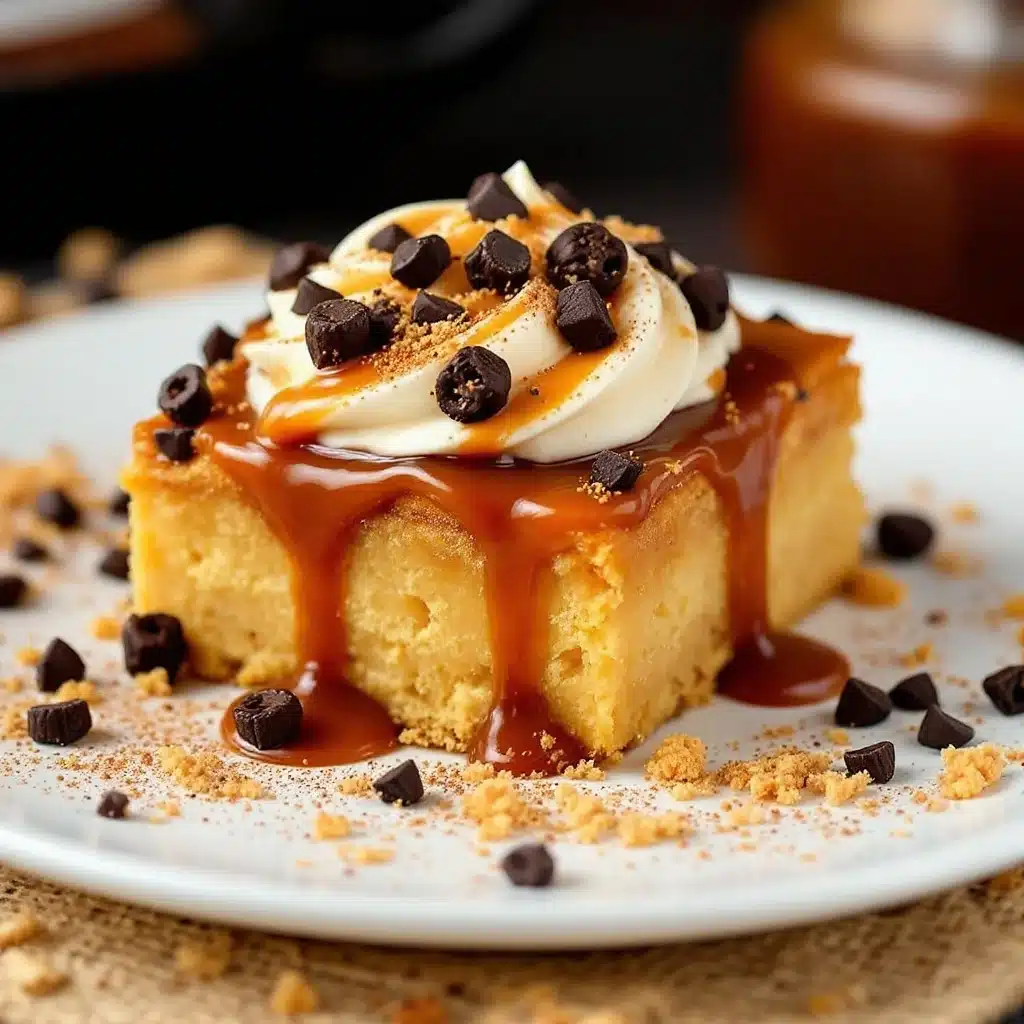
My coffee routine had been the same for years. Black, strong, maybe a splash of oat milk if I was feeling fancy. It worked. It was fine. But last October, I found myself staring at a pumpkin spice latte menu board and feeling… nothing. That sweet, predictable fall flavor just wasn’t doing it for me anymore. I wanted something darker, richer, with a little edge. Something that felt more like Halloween night than a cozy sweater commercial.
I started experimenting in my tiny kitchen, pulling out brown sugar, butter, and a bag of flaky sea salt. The first batch of homemade salted caramel Halloween coffee syrup I made was a happy accident. I was trying to capture that sticky, smoky caramel you get from a fairground apple, but with a little more adult sophistication. The result was a deep, complex syrup that turned my morning coffee into something I actually looked forward to. It was sweet, but not cloying. Salty, but balanced. And honestly, it made my kitchen smell like a haunted candy shop.
This isn’t just another flavored syrup. It’s the kind of thing that makes you want to brew a second pot just to use it up. It’s the reason I stopped buying store-bought coffee creamers. And once you taste it, you’ll probably do the same.
Why You’ll Love This Recipe
I’ve tested this homemade salted caramel Halloween coffee syrup at least a dozen times, tweaking the ratios and the cooking time until it was exactly right. I burned the first batch (don’t ask), but that mistake taught me exactly when to pull it off the heat. Here’s why this version is the one you’ll want to keep around.
- Quick & Easy: Comes together in under 15 minutes, perfect for a last-minute Halloween party or a lazy Sunday morning. No candy thermometer required.
- Simple Ingredients: You probably have everything in your pantry right now. Butter, sugar, cream, salt. That’s it.
- Perfect for Halloween: Use it in your morning coffee, drizzle it over ice cream, or stir it into cocktails for a spooky-themed gathering. It’s also fantastic in a batch of champagne cocktails for a salty-sweet twist.
- Crowd-Pleaser: I brought a jar to a Halloween movie night, and people were putting it on everything—pancakes, popcorn, even vanilla ice cream.
- Unbelievably Delicious: The flavor is deep and complex, with a smoky caramel base that’s balanced by the crunch of flaky sea salt. It’s not just sweet; it’s sophisticated.
What makes this recipe different from the rest is the technique. Most recipes tell you to just melt sugar and add cream. But I found that browning the butter first adds a nutty, almost toasty depth that makes the syrup taste like it’s been simmering for hours. It’s a small step, but it makes a huge difference. This isn’t just another coffee syrup—it’s your best version.
What Ingredients You Will Need
This recipe relies on a handful of pantry staples to create something truly special. The quality of each ingredient matters, so don’t skimp on the butter or the salt.
- Unsalted butter, 4 tablespoons (½ stick) – Use good quality butter here. I prefer Kerrygold for its richness, but any unsalted butter works. Browning this butter is the secret to the deep flavor.
- Dark brown sugar, 1 cup, packed – Dark brown sugar has more molasses than light brown, which gives the syrup a deeper, more complex flavor. You can use light brown, but the final syrup will be a bit lighter in taste and color.
- Granulated sugar, ½ cup – This adds structure and helps the syrup thicken properly. Don’t skip it; the combination of sugars is key.
- Heavy cream, ½ cup – Use full-fat heavy cream for the richest, creamiest texture. Half-and-half will work in a pinch, but the syrup will be thinner.
- Water, ¼ cup – This helps dissolve the sugars and prevents them from burning too quickly.
- Flaky sea salt, 1 teaspoon – I use Maldon sea salt. The large flakes provide little bursts of saltiness that cut through the sweetness perfectly. Regular table salt will make the syrup taste harsh.
- Vanilla extract, 1 teaspoon – Pure vanilla extract is best. Imitation vanilla will work, but the flavor won’t be as warm or rich.
- Optional: Pinch of cinnamon or nutmeg – Adds a subtle fall spice that pairs beautifully with the caramel. Try it in your next batch of no-bake pumpkin cheesecake for an extra layer of flavor.
Equipment Needed
You don’t need any fancy gadgets for this recipe, which is part of its charm. Here’s what you’ll need.
- Medium saucepan – A heavy-bottomed saucepan is best. It distributes heat evenly and prevents hot spots that can burn the sugar.
- Wooden spoon or silicone spatula – For stirring. Metal utensils can scratch your pan.
- Whisk – Useful for incorporating the cream smoothly without lumps.
- Measuring cups and spoons – Accuracy is important here, especially with the sugars and cream.
- Glass jar or bottle – For storing the finished syrup. A 16-ounce mason jar works perfectly.
- Fine-mesh strainer (optional) – If you want a perfectly smooth syrup, you can strain out any tiny sugar crystals or bits of browned butter.
Preparation Method
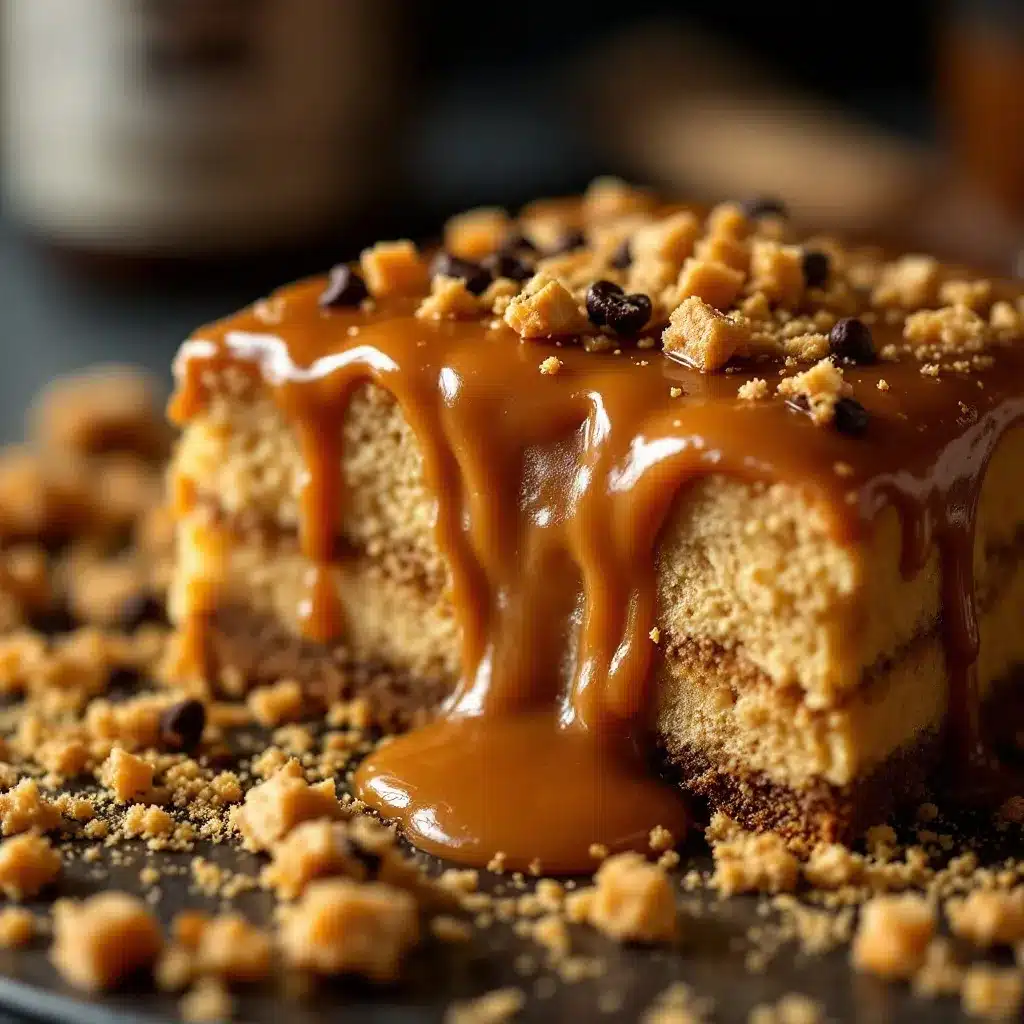
Follow these steps carefully, and you’ll have a batch of homemade salted caramel Halloween coffee syrup that rivals anything from a coffee shop. Work quickly once the sugar starts to melt; it can go from golden to burnt in seconds.
- Brown the butter. Place the 4 tablespoons of unsalted butter in your medium saucepan over medium heat. Swirl the pan occasionally as the butter melts. It will foam, then start to crackle. Keep a close eye on it. After about 3-4 minutes, you’ll see brown specks forming at the bottom of the pan and smell a nutty aroma. Immediately remove the pan from the heat to prevent burning.
- Add the sugars and water. Carefully add the packed dark brown sugar and granulated sugar to the browned butter. Pour in the ¼ cup of water. The mixture will look grainy and thick. Return the pan to low heat and stir constantly with your wooden spoon until the sugars are mostly dissolved, about 2 minutes.
- Simmer the caramel. Increase the heat to medium and bring the mixture to a gentle boil. Do not stir at this point. Let it boil undisturbed for 3-4 minutes. The mixture will bubble up and darken. You’re looking for a deep amber color, similar to the color of a penny. If you have a candy thermometer, it should read 235°F (113°C).
- Add the cream carefully. Remove the pan from the heat. Slowly and carefully pour in the ½ cup of heavy cream. The mixture will bubble up violently—this is normal. Whisk continuously until the cream is fully incorporated and the sauce is smooth. Be careful of the steam; it’s very hot.
- Finish with salt and vanilla. Add the 1 teaspoon of flaky sea salt and 1 teaspoon of vanilla extract. Whisk until everything is combined. The syrup will be thin at this point but will thicken as it cools.
- Cool and store. Let the syrup cool in the pan for 10 minutes. Then, pour it through a fine-mesh strainer (if using) into your glass jar. Let it cool completely to room temperature before sealing the lid. It will thicken considerably as it cools.
Cooking Tips & Techniques
I learned a few of these the hard way, so you don’t have to. The first time I made this, I walked away from the stove for “just a second” and came back to a burnt, blackened mess. Don’t be like me.
- Don’t walk away. The entire process from browning the butter to adding the cream takes about 10 minutes. Stay by the stove the whole time. The sugar can go from perfect to scorched in under 30 seconds.
- Use a light-colored pan. If you have a stainless steel or enameled pan, use it. Dark non-stick pans make it hard to see the color of the caramel, which increases the chance of burning it.
- Room temperature cream is best. If your cream is cold, it will seize up the hot caramel and create lumps. Let the cream sit out for 15 minutes before you start, or microwave it for 10 seconds to take the chill off.
- If the sugar crystallizes. If you see the sugar turning grainy or forming hard crystals, don’t panic. Add a teaspoon of fresh water and whisk gently over low heat. It should smooth out.
- Timing is everything. The difference between a good caramel and a great one is about 30 seconds. When the boiling sugar reaches a deep amber color, you’re there. If it’s still light gold, give it another 30 seconds.
Variations & Adaptations
This recipe is a great base to play with. Here are a few ways I’ve tweaked it over the years.
- Spicy Caramel: Add ¼ teaspoon of cayenne pepper or a pinch of smoked paprika when you add the salt. The heat pairs beautifully with the sweet and salty flavors.
- Chocolate Sea Salt Caramel: Whisk in 2 tablespoons of unsweetened cocoa powder along with the heavy cream. It creates a rich, dark chocolate caramel that’s incredible in coffee.
- Dairy-Free Version: Substitute the heavy cream with full-fat coconut cream and use a vegan butter alternative. The flavor will be slightly different, but it’s still delicious.
- Boozy Caramel: Add 1-2 tablespoons of bourbon or dark rum after you remove the syrup from the heat. Stir it in with the vanilla. It’s fantastic in holiday cocktails or drizzled over a classic pecan pie.
- Low-Sugar Version: Replace the brown and granulated sugars with 1 cup of a monk fruit or erythritol-based brown sugar substitute. The texture will be slightly thinner, and the caramel won’t be as deep in color, but it will still taste great.
Serving & Storage Suggestions
This syrup is incredibly versatile. I keep a jar in my fridge at all times during the fall, and I find new ways to use it every week.
- In Coffee: Stir 1-2 tablespoons into a hot cup of coffee or a cold brew. Top with whipped cream and an extra pinch of flaky salt for a real treat.
- On Desserts: Drizzle it over vanilla ice cream, brownies, or a slice of apple pie with cheddar crust. The salty-sweet combination is unbeatable.
- As a Cocktail Mixer: Use it in place of simple syrup in an Old Fashioned or a White Russian. It adds a whole new dimension of flavor.
- Over Pancakes or Waffles: Forget maple syrup for a day. This caramel is thick, rich, and perfect on a stack of fluffy pancakes.
- Storage: Store the syrup in an airtight glass jar in the refrigerator for up to 2 weeks. The butter may solidify, making the syrup very thick. To use it, simply microwave the jar for 10-15 seconds or place it in a bowl of warm water until it becomes pourable again.
- Freezing: You can freeze the syrup in an ice cube tray. Pop out a cube and thaw it in the fridge overnight for a single serving. It will keep frozen for up to 3 months.
Nutritional Information & Benefits
While this is definitely a treat, it’s made with real, whole ingredients. You won’t find any high-fructose corn syrup or artificial flavors here.
- Estimated per serving (1 tablespoon): 80 calories, 5g fat, 9g carbohydrates, 0g protein, 100mg sodium.
- Health Benefits: The butter provides a small amount of vitamin A, and the sea salt offers trace minerals. The dark brown sugar contains slightly more minerals than white sugar due to its molasses content.
- Dietary Considerations: This recipe is naturally gluten-free and nut-free. For a dairy-free version, see the variations section above.
- Potential Allergens: Dairy (butter, heavy cream).
- Personal Perspective: For me, this syrup is about mindful indulgence. I’d rather have one perfect cup of coffee with real caramel than a week’s worth of artificially flavored creamers. It’s a small luxury that makes the day feel special.
Conclusion
This homemade salted caramel Halloween coffee syrup is more than just a recipe—it’s a little ritual that makes the season feel special. It’s the kind of thing you’ll find yourself making year after year, tweaking slightly, and sharing with friends who can’t believe you made it yourself. I love that it only takes 15 minutes but tastes like it simmered all afternoon. It turns an ordinary morning into something worth waking up for. I’d love to hear how you use it. Do you stir it into your coffee, drizzle it over dessert, or find a completely different use? Drop a comment below and let me know. And if you make a batch, tag me in your photos—I love seeing your creations. Happy Halloween, and happy sipping!
Frequently Asked Questions
Can I use light brown sugar instead of dark brown?
Yes, you can. The final syrup will be a bit lighter in flavor and color, but it will still taste delicious. Dark brown sugar just adds a deeper, more molasses-forward taste that I prefer.
Why did my caramel crystallize and turn grainy?
This usually happens if a grain of undissolved sugar gets splashed onto the side of the pan. To prevent this, brush down the sides of the pan with a wet pastry brush before you start boiling. If it does crystallize, add a teaspoon of water and whisk gently over low heat.
How long does this syrup last in the fridge?
Stored in an airtight glass jar, this syrup will keep for up to 2 weeks in the refrigerator. The butter may solidify, making it thick. Just microwave it for a few seconds to loosen it up.
Can I make this syrup without heavy cream?
Absolutely. You can substitute the heavy cream with full-fat coconut cream for a dairy-free version, or use half-and-half for a lighter option. The texture will be slightly thinner, but the flavor will still be great.
Is this syrup good for more than just coffee?
Definitely! It’s fantastic on pancakes, waffles, ice cream, brownies, and even popcorn. It also makes a wonderful gift when poured into a cute jar with a ribbon. You can also use it in cocktails for a sweet and salty twist.
Pin This Recipe!
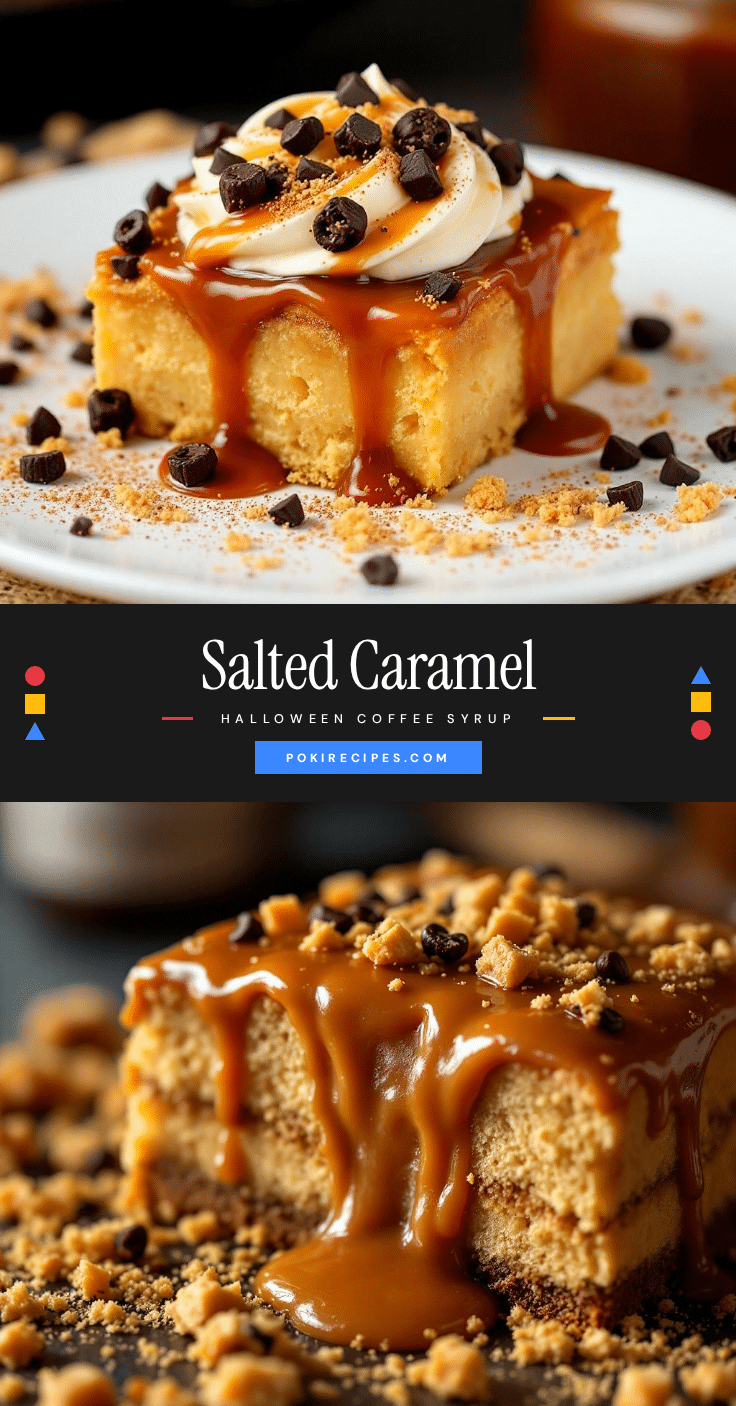
Homemade Salted Caramel Halloween Coffee Syrup

A quick and easy homemade salted caramel syrup that turns your morning coffee into a sophisticated Halloween treat. Made with simple pantry ingredients, this deep, complex syrup is perfect for coffee, desserts, and cocktails.
- Prep Time: 5 minutes
- Cook Time: 10 minutes
- Total Time: 15 minutes
- Yield: 16 servings 1x
- Category: Condiment
- Cuisine: American
Ingredients
- 4 tablespoons unsalted butter (½ stick)
- 1 cup dark brown sugar, packed
- ½ cup granulated sugar
- ½ cup heavy cream
- ¼ cup water
- 1 teaspoon flaky sea salt
- 1 teaspoon vanilla extract
- Optional: pinch of cinnamon or nutmeg
Instructions
- Brown the butter: Place the 4 tablespoons of unsalted butter in a medium saucepan over medium heat. Swirl the pan occasionally as the butter melts. It will foam, then start to crackle. After about 3-4 minutes, you’ll see brown specks forming at the bottom of the pan and smell a nutty aroma. Immediately remove the pan from the heat to prevent burning.
- Add the sugars and water: Carefully add the packed dark brown sugar and granulated sugar to the browned butter. Pour in the ¼ cup of water. The mixture will look grainy and thick. Return the pan to low heat and stir constantly with a wooden spoon until the sugars are mostly dissolved, about 2 minutes.
- Simmer the caramel: Increase the heat to medium and bring the mixture to a gentle boil. Do not stir at this point. Let it boil undisturbed for 3-4 minutes. The mixture will bubble up and darken. You’re looking for a deep amber color, similar to the color of a penny. If you have a candy thermometer, it should read 235°F (113°C).
- Add the cream carefully: Remove the pan from the heat. Slowly and carefully pour in the ½ cup of heavy cream. The mixture will bubble up violently—this is normal. Whisk continuously until the cream is fully incorporated and the sauce is smooth. Be careful of the steam; it’s very hot.
- Finish with salt and vanilla: Add the 1 teaspoon of flaky sea salt and 1 teaspoon of vanilla extract. Whisk until everything is combined. The syrup will be thin at this point but will thicken as it cools.
- Cool and store: Let the syrup cool in the pan for 10 minutes. Then, pour it through a fine-mesh strainer (if using) into a glass jar. Let it cool completely to room temperature before sealing the lid. It will thicken considerably as it cools.
Notes
Don’t walk away from the stove; the sugar can burn quickly. Use a light-colored pan to monitor caramel color. Room temperature cream prevents lumps. If sugar crystallizes, add a teaspoon of water and whisk gently. Store in an airtight glass jar in the refrigerator for up to 2 weeks. To use, microwave the jar for 10-15 seconds or place in warm water until pourable.
Nutrition
- Serving Size: 1 tablespoon
- Calories: 80
- Sugar: 9
- Sodium: 100
- Fat: 5
- Saturated Fat: 3
- Carbohydrates: 9
Keywords: salted caramel, coffee syrup, Halloween, homemade syrup, caramel sauce, easy caramel, fall recipe