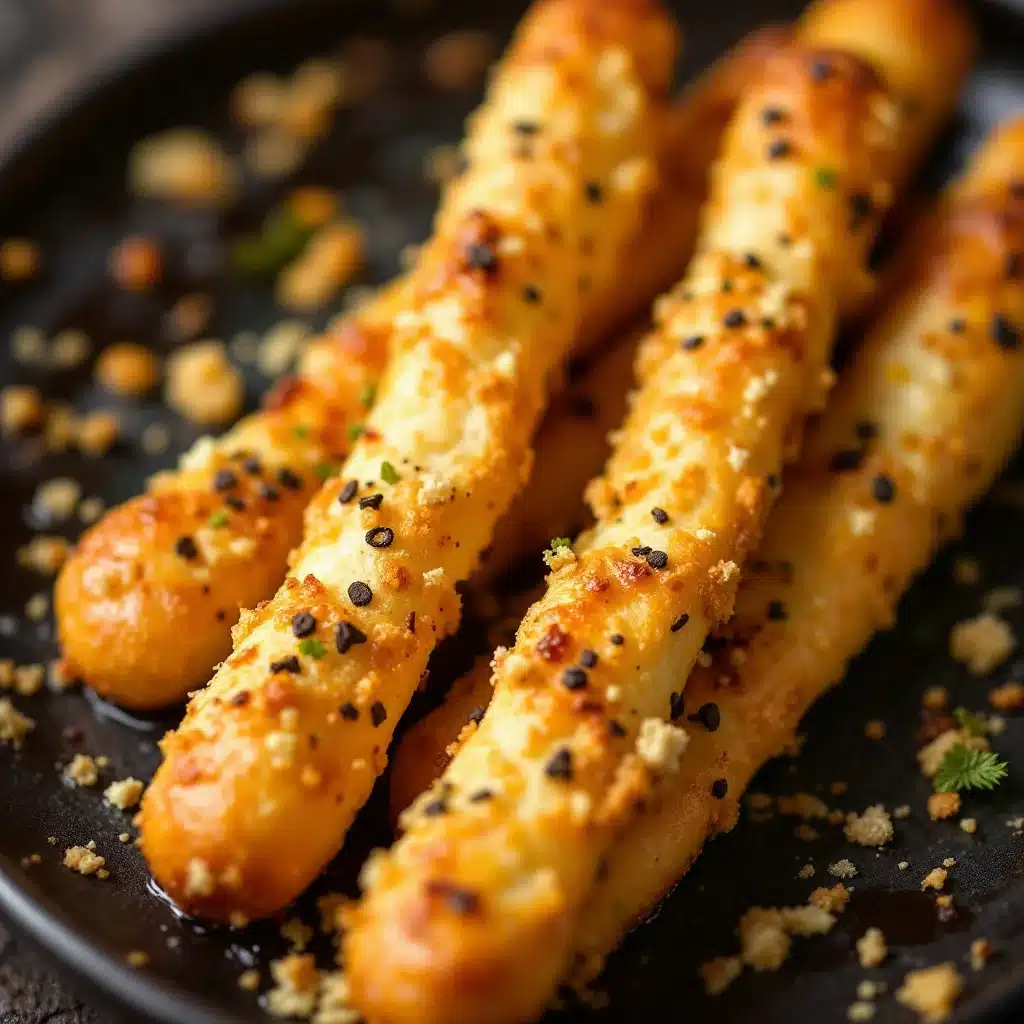
I need something creepy for the Halloween party, and I have flour, butter, and a sudden, slightly unhinged idea. Not another pumpkin-shaped cookie. Not another ghost cupcake. I want something that makes people genuinely pause before they bite. Something that looks like it crawled out of a graveyard but tastes like buttery, garlicky bread. That is the exact moment these Easy Witch’s Finger Breadsticks were born — right in my kitchen, mid-craving, with a bag of almonds staring at me from the pantry.
Honestly, the best Halloween recipes come from that place of “what if I just…” and a little bit of mischievous energy. These breadsticks are just that — a savory, salty, ridiculously fun twist on classic breadsticks that look exactly like old, knobby witch fingers. They have the wrinkles. The knuckles. The creepy almond fingernail. And the taste? Pure, comforting, garlic-butter goodness that disappears faster than a ghost at sunrise.
I have made a lot of Halloween snacks over the years (some hits, some total flops), but these finger breadsticks are the one people remember. They are the kind of recipe that gets passed around the party with nervous laughs and second helpings. They are simple enough for a weeknight baking session but impressive enough to be the star of the spread. And the best part? You probably already have everything you need to make them.
Why You’ll Love This Recipe
Let me tell you why these creepy breadsticks have earned a permanent spot in my Halloween rotation. I have tested this recipe through four different parties and two different ovens, and it never fails to deliver the perfect mix of fright and flavor.
- Quick & Easy : From mixing bowl to oven in about 20 minutes. The dough comes together fast, and the shaping is more fun than fussy.
- Simple Ingredients : You likely have flour, butter, garlic powder, and salt in your kitchen right now. The only “special” item is a bag of slivered almonds for the fingernails.
- Perfect for Halloween Parties : These are the conversation starter of any gathering. Kids love them. Adults love them. Everyone loves pointing and giggling before taking a bite.
- Crowd-Pleaser : Savory and buttery with a hint of garlic — this flavor profile works for everyone, even picky eaters who skip the sweet treats.
- Unbelievably Delicious : The outside gets golden and slightly crisp while the inside stays soft and tender. That garlic butter brushed on top? Absolute magic.
What makes this recipe different from the dozens of other Halloween breadstick ideas out there is the texture. I spent three batches figuring out the perfect dough hydration so these fingers hold their shape during baking without puffing up into fat little sausages. They stay slender, knobby, and genuinely creepy. No spreading. No losing the wrinkles. Just perfect witch fingers every time.
This is the recipe that makes you close your eyes after the first bite — partly because it tastes so good, and partly because you just ate something that looks like a hand. It is comfort food with a side of spooky, and honestly, that is my favorite kind of Halloween eating.
What Ingredients You Will Need
This recipe uses simple, everyday ingredients to create something that looks complicated but is anything but. Most of these are pantry staples you probably already have on hand.
- All-purpose flour — 2 cups (240g). The backbone of the dough. No need for bread flour here; all-purpose keeps the texture tender.
- Baking powder — 2 teaspoons. This gives the breadsticks a little lift without making them fluffy. We want them dense enough to hold their finger shape.
- Salt — 1 teaspoon. I use fine sea salt. It distributes evenly through the dough.
- Garlic powder — 1 teaspoon. Not garlic salt. Garlic powder gives that savory depth without extra sodium.
- Dried oregano — 1/2 teaspoon. Optional, but I love the little green flecks in the dough. Makes them look even more rustic and witchy.
- Unsalted butter — 6 tablespoons (85g), cold and cut into small cubes. Cold butter creates flaky layers. Do not let it soften.
- Milk — 1/2 cup (120ml), cold. Whole milk works best for richness, but any milk you have will work.
- Egg — 1 large, for the egg wash. This gives the breadsticks that golden, glossy finish.
- Slivered almonds — About 24 pieces. These become the fingernails. I recommend the Blue Diamond brand for consistent size and shape.
- For the garlic butter brush — 2 tablespoons melted butter mixed with 1/2 teaspoon garlic powder and a pinch of salt. This gets brushed on after baking for that irresistible flavor.
Ingredient Selection Tips : When choosing almonds for the fingernails, look for slivered almonds that are relatively flat and wide. Some brands cut them too thin, and they break during baking. I have found that the thicker slivered almonds hold their shape better and look more like actual nails.
Substitution Guidance : If you need a dairy-free version, use cold vegan butter and oat milk in the dough. The texture will be slightly different but still delicious. For a gluten-free option, use a 1:1 gluten-free baking flour blend — just know the dough will be a bit more delicate to shape.
Equipment Needed
You do not need anything fancy for these witch fingers. That is part of the charm.
- Mixing bowl — Any medium bowl works. I use a ceramic one because it stays cool.
- Pastry cutter or two forks — For cutting the cold butter into the flour. A pastry cutter makes it faster, but forks work just fine.
- Baking sheet — A standard half-sheet pan. Line it with parchment paper for easy cleanup.
- Parchment paper — Non-negotiable. The butter in the dough can cause sticking, and parchment makes removal effortless.
- Small knife or bench scraper — For creating the knuckle lines and wrinkles on the fingers.
- Pastry brush — For applying the egg wash and the garlic butter finish.
- Measuring cups and spoons — Precision matters in baking, even for creepy fingers.
I have made these with both a pastry cutter and my hands (using the “rubbing in” method), and honestly, the pastry cutter gives a more consistent texture. But if you are in a pinch, cold hands and a little patience work perfectly fine.
Preparation Method
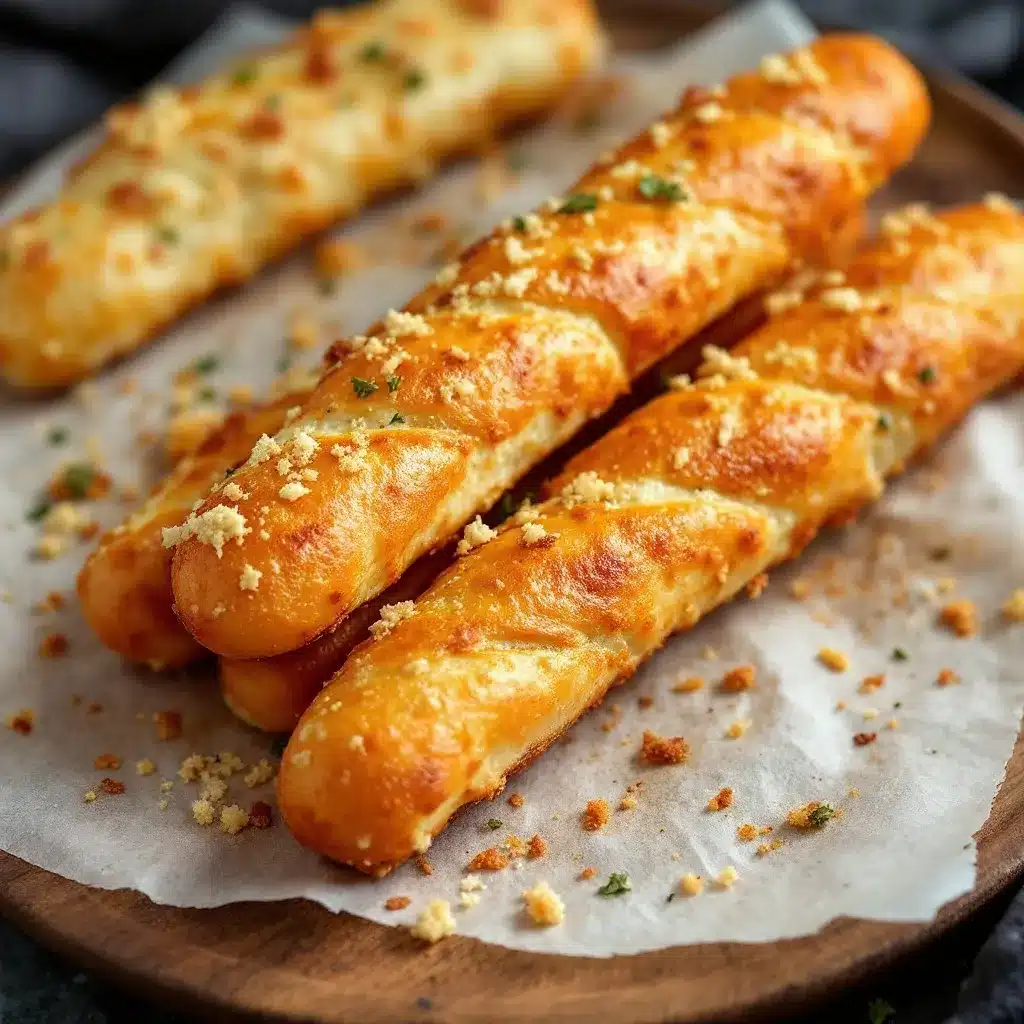
Let me walk you through this step by step. Trust me, the shaping is the fun part.
- Preheat your oven to 400°F (200°C) and line a baking sheet with parchment paper. Get this done first so the oven is ready when your fingers are shaped.
- Mix the dry ingredients — In your mixing bowl, whisk together the flour, baking powder, salt, garlic powder, and dried oregano. Make sure the baking powder is evenly distributed.
- Cut in the cold butter — Add the cold butter cubes to the flour mixture. Using a pastry cutter or two forks, cut the butter into the flour until the mixture looks like coarse crumbs with some pea-sized butter pieces remaining. This takes about 2 minutes. Do not overwork it — those little butter bits create flaky layers.
- Add the milk — Pour the cold milk into the flour-butter mixture. Stir with a fork until the dough just comes together. It will look shaggy and a little dry. That is perfect. If it feels too dry to form a ball, add milk one tablespoon at a time.
- Bring the dough together — Turn the dough out onto a lightly floured surface. Gently knead it 4 or 5 times, just until it forms a cohesive ball. Do not over-knead, or the breadsticks will be tough.
- Divide the dough — Cut the dough into 12 equal pieces. I use a bench scraper for clean cuts. Each piece should be roughly the size of a golf ball.
- Shape the fingers — Take one piece of dough and roll it between your palms into a log about 4 inches long. Then, using your fingers, gently taper one end to look like a fingertip and leave the other end slightly thicker (that is where the finger “connects” to the hand). Place it on the prepared baking sheet. Repeat with all 12 pieces.
- Create the knuckles and wrinkles — Using the back of a small knife, gently press horizontal lines across each finger to create knuckle creases. Press a little deeper at the “joint” areas. Then, using the tip of the knife, gently press small vertical lines near the knuckles to create wrinkles. Do not cut through the dough — just create indentations.
- Add the fingernails — Press one slivered almond firmly into the tapered tip of each finger. The almond should stick out slightly, like a nail. Press gently but firmly so it stays in place during baking.
- Apply the egg wash — In a small bowl, beat the egg with 1 tablespoon of water. Brush this mixture over each finger breadstick. This gives them that golden, slightly shiny look after baking.
- Bake for 15-18 minutes — Place the baking sheet in the preheated oven. Bake until the fingers are golden brown and puffed slightly. They should look like real fingers that have been sitting by a fire — warm and golden.
- Brush with garlic butter — While the breadsticks are still warm, mix the melted butter with garlic powder and salt. Brush this mixture generously over each finger. The butter soaks in and makes them incredibly soft and flavorful.
- Cool slightly before serving — Let them rest on the baking sheet for 5 minutes. They are best served warm, when the butter is still glossy and the texture is at its peak.
Sensory Cue : When you press the knuckle lines into the dough, you should feel the dough spring back slightly. If it feels too soft and doesn’t hold the indentations, pop the baking sheet in the fridge for 10 minutes to firm up the butter.
Personal Tip : I like to arrange the fingers on the baking sheet in a way that looks slightly chaotic — some pointing left, some right, some slightly curled. It adds to the creepy effect. Also, if you want extra gnarled fingers, gently press the dough with your fingertips before adding the knuckle lines. The uneven texture looks more realistic.
Cooking Tips & Techniques
I have made these breadsticks at least a dozen times, and I have made every mistake in the book so you do not have to.
Keep everything cold — This is the number one rule for flaky breadsticks. Cold butter creates steam pockets as it melts in the oven, which gives you that tender, layered texture. If your kitchen is warm, pop the shaped fingers in the fridge for 10 minutes before baking.
Do not skip the egg wash — I tried skipping it once to save time, and the fingers came out pale and matte. The egg wash gives them that golden, almost-skin-like sheen that makes them look eerily realistic. It also helps the almonds stay attached.
Watch the almond nails — Almonds can burn quickly in a 400°F oven. If you notice the almonds browning too fast (around the 12-minute mark), tent a small piece of foil over the baking sheet. This protects the nails while the dough finishes baking.
Shape with confidence — The first time I made these, I was too gentle with the knuckle lines, and they baked into smooth little logs that looked nothing like fingers. Press firmly. The dough will hold the shape. You want those wrinkles to be visible after baking.
Multitasking strategy — While the breadsticks are baking, mix the garlic butter and set out your serving platter. I like to arrange them on a black platter or dark wooden board to enhance the creepy effect. A little crispy loaded potato skins on the same board makes for an incredible savory spread.
Variations & Adaptations
These witch fingers are wonderfully adaptable. Here are some ways I have customized them over the years.
Spicy Witch Fingers — Add 1/2 teaspoon of cayenne pepper or red pepper flakes to the flour mixture. The heat pairs beautifully with the garlic butter and gives the fingers a little extra bite — literally.
Herb-Infused Fingers — Swap the dried oregano for rosemary or thyme. I made a batch with fresh rosemary last year, and the aroma while baking was incredible. The herbs also add little green specks that make the fingers look even more “earthy” and witchy.
Cheesy Witch Fingers — Add 1/4 cup of finely grated Parmesan cheese to the flour mixture. The cheese adds a savory umami flavor and makes the breadsticks even more addictive. I recommend using real Parmesan, not the pre-shredded stuff.
Sweet Version — Believe it or not, you can make sweet witch fingers too. Omit the garlic powder and oregano, add 2 tablespoons of sugar to the dough, and brush with cinnamon sugar instead of garlic butter after baking. Use whole almonds for the nails and dust with powdered sugar for a “frostbitten” look.
Gluten-Free Adaptation — I tested this with a 1:1 gluten-free baking flour blend, and it worked surprisingly well. The dough is a bit more fragile, so be gentle when shaping the knuckles and wrinkles. The texture is slightly more crumbly but still delicious.
For a full Halloween spread, pair these with a batch of no-bake pumpkin cheesecake for dessert. The creamy sweetness balances the savory garlic breadsticks perfectly.
Serving & Storage Suggestions
These breadsticks are best served warm, fresh from the oven, when the garlic butter is still glossy and the texture is soft and tender. Arrange them on a dark platter or wooden board, scattered in a way that looks slightly chaotic — like a witch dropped them mid-spell.
Serving Temperature : Warm is ideal, but they are still delicious at room temperature for up to 2 hours. If you are serving them at a party, you can bake them an hour ahead and keep them loosely covered with foil.
Complementary Dishes : These fingers pair beautifully with a warm marinara sauce for dipping (it looks like blood!). I also love serving them alongside a shrimp cocktail platter for a fully spooky yet elegant appetizer table. A bowl of olive tapenade or roasted red pepper dip also works wonderfully.
Storage Instructions : Store leftover breadsticks in an airtight container at room temperature for up to 2 days. Do not refrigerate them — the fridge dries them out and makes them tough.
Reheating Method : To revive leftover fingers, place them on a baking sheet and heat in a 350°F oven for 5 minutes. Brush with a little extra melted butter if you have it. The microwave will make them soggy, so avoid it if you can.
Freezing : You can freeze the unbaked, shaped fingers on a parchment-lined baking sheet. Once frozen solid, transfer them to a freezer bag. Bake directly from frozen, adding 3-4 minutes to the baking time. This is perfect for last-minute Halloween gatherings.
Nutritional Information & Benefits
Let me be honest — these are a treat, not a health food. But here is the breakdown so you know what you are working with.
Estimated Per Serving (1 breadstick) : Calories: 185 | Fat: 10g | Carbohydrates: 20g | Protein: 4g | Fiber: 1g | Sodium: 290mg
Health Benefits of Key Ingredients : Garlic powder contains allicin, which has been linked to immune support and heart health. Almonds provide healthy fats, vitamin E, and magnesium. The butter, in moderation, offers fat-soluble vitamins A, D, E, and K.
Dietary Considerations : This recipe is vegetarian. For a dairy-free version, use vegan butter and plant-based milk. For a lower-sodium option, reduce the salt in the dough to 1/2 teaspoon and use unsalted butter.
Potential Allergens : Contains wheat (gluten), dairy (butter, milk), eggs (egg wash), and tree nuts (almonds).
Personal Wellness Perspective : I believe in balance. These breadsticks are about fun, flavor, and celebration. One batch shared with friends on Halloween night is the kind of food memory that matters more than the numbers on a nutrition label.
Conclusion
These Easy Witch’s Finger Breadsticks are the Halloween recipe you did not know you needed. They are fun to make, impossible to resist, and guaranteed to get the biggest reaction at any party. Whether you are hosting a spooky gathering, looking for a creative activity with kids, or just want to surprise your family with something delightfully weird, these breadsticks deliver every single time.
I love that this recipe lets me be a little mischievous in the kitchen. There is something deeply satisfying about watching people’s faces shift from “what is that?” to “wait, this is actually amazing” after one bite. It is Halloween magic in the best possible way.
Now I want to hear from you. Have you made these? Did your family scream or laugh? Did you try any fun variations? Drop a comment below and tell me about your witch finger adventures. And if you post a photo on Pinterest or Instagram, tag me — I live for seeing your creepy creations.
Go ahead. Get your hands doughy. Make something wonderfully weird tonight.
Frequently Asked Questions
Can I make these witch finger breadsticks ahead of time?
Absolutely. You can shape the fingers up to 24 hours in advance and keep them covered in the refrigerator. Brush with egg wash just before baking. You can also freeze the unbaked shaped fingers for up to 3 months.
Why did my breadsticks puff up too much and lose their finger shape?
This usually happens when the dough is overworked or the butter is too warm. Make sure your butter and milk are cold, and handle the dough as little as possible. Chilling the shaped fingers for 10 minutes before baking also helps them hold their shape.
Can I use something other than almonds for the fingernails?
Yes! Sliced almonds work, though they are thinner and may break. You can also use pumpkin seeds (pepitas) for a greenish nail, or small pieces of sliced cheese for a softer look. Sunflower seeds are another great option.
How do I make these dairy-free?
Use cold vegan butter (I recommend Earth Balance) and cold oat milk or almond milk in the dough. For the garlic butter brush, use melted vegan butter with garlic powder and salt. The texture will be slightly less flaky but still delicious.
Can I add food coloring to make them look more realistic?
You can, but I prefer the natural golden color from the egg wash. If you want greenish witch fingers, add a few drops of green food coloring to the dough and knead gently until combined. Just know the color will lighten during baking.
Pin This Recipe!
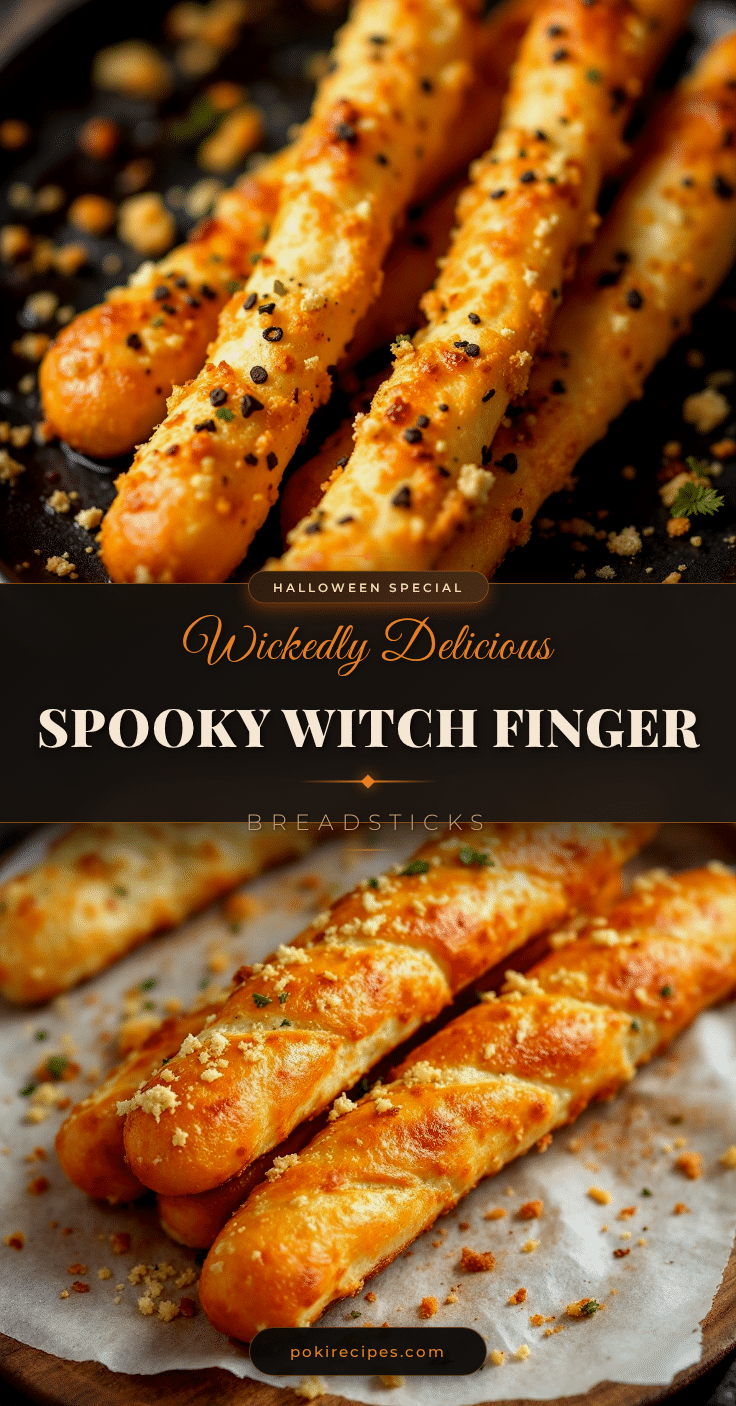
Easy Witch’s Finger Breadsticks: Perfect Halloween Treat

These savory, buttery breadsticks look exactly like creepy witch fingers with almond fingernails. They are quick to make, use simple ingredients, and are guaranteed to be the star of any Halloween party.
- Prep Time: 20 minutes
- Cook Time: 18 minutes
- Total Time: 38 minutes
- Yield: 12 servings 1x
- Category: Appetizer
- Cuisine: American
Ingredients
- 2 cups (240g) all-purpose flour
- 2 teaspoons baking powder
- 1 teaspoon fine sea salt
- 1 teaspoon garlic powder
- 1/2 teaspoon dried oregano (optional)
- 6 tablespoons (85g) unsalted butter, cold and cut into small cubes
- 1/2 cup (120ml) cold whole milk
- 1 large egg (for egg wash)
- About 24 slivered almonds (for fingernails)
- 2 tablespoons melted butter (for garlic butter brush)
- 1/2 teaspoon garlic powder (for garlic butter brush)
- Pinch of salt (for garlic butter brush)
Instructions
- Preheat your oven to 400°F (200°C) and line a baking sheet with parchment paper.
- In a mixing bowl, whisk together the flour, baking powder, salt, garlic powder, and dried oregano.
- Add the cold butter cubes to the flour mixture. Using a pastry cutter or two forks, cut the butter into the flour until the mixture looks like coarse crumbs with some pea-sized butter pieces remaining.
- Pour the cold milk into the flour-butter mixture. Stir with a fork until the dough just comes together. It will look shaggy and a little dry.
- Turn the dough out onto a lightly floured surface. Gently knead it 4 or 5 times, just until it forms a cohesive ball. Do not over-knead.
- Cut the dough into 12 equal pieces, each roughly the size of a golf ball.
- Take one piece of dough and roll it between your palms into a log about 4 inches long. Gently taper one end to look like a fingertip and leave the other end slightly thicker. Place on the prepared baking sheet. Repeat with all 12 pieces.
- Using the back of a small knife, gently press horizontal lines across each finger to create knuckle creases. Press a little deeper at the ‘joint’ areas. Then, using the tip of the knife, gently press small vertical lines near the knuckles to create wrinkles.
- Press one slivered almond firmly into the tapered tip of each finger. The almond should stick out slightly, like a nail.
- In a small bowl, beat the egg with 1 tablespoon of water. Brush this mixture over each finger breadstick.
- Bake for 15-18 minutes, until the fingers are golden brown and puffed slightly.
- While the breadsticks are still warm, mix the melted butter with garlic powder and salt. Brush this mixture generously over each finger.
- Let them rest on the baking sheet for 5 minutes before serving. Best served warm.
Notes
Keep all ingredients cold for flaky texture. If almonds brown too quickly, tent with foil. For extra gnarled fingers, gently press dough with fingertips before adding knuckle lines. Arrange fingers chaotically on the baking sheet for a creepier effect.
Nutrition
- Serving Size: 1 breadstick
- Calories: 185
- Sugar: 1
- Sodium: 290
- Fat: 10
- Saturated Fat: 5
- Carbohydrates: 20
- Fiber: 1
- Protein: 4
Keywords: Halloween, breadsticks, witch fingers, savory, garlic butter, party appetizer, spooky, easy