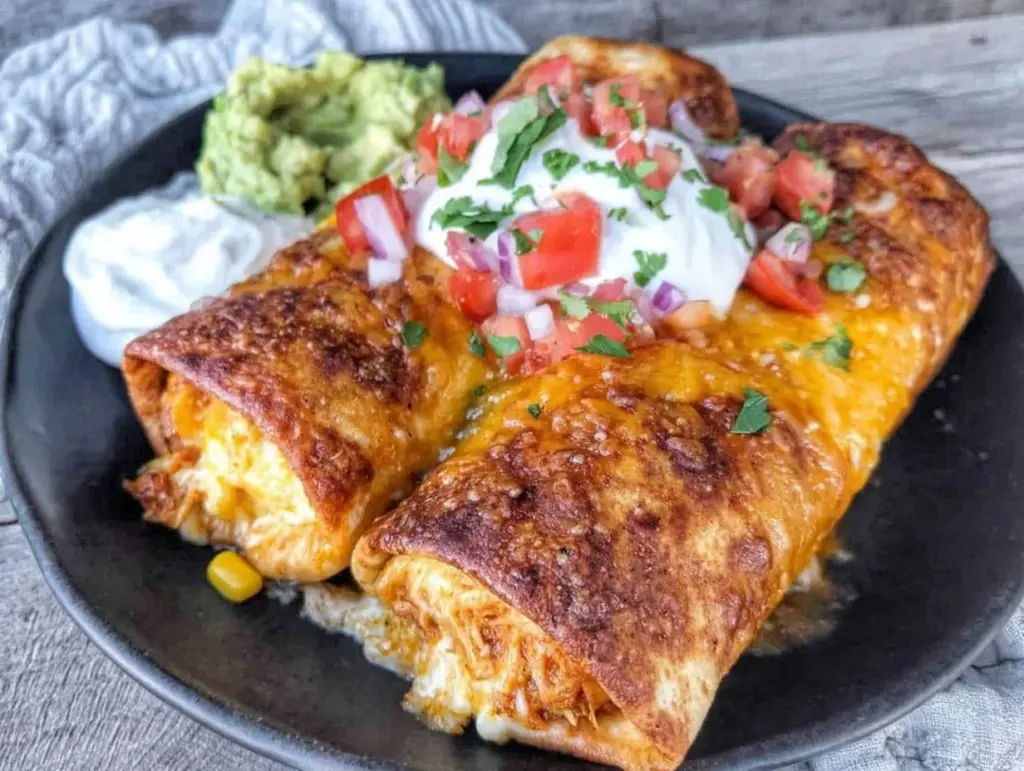
The sound of crackling tortillas in the oven and the aroma of seasoned chicken wafting through my kitchen is enough to make anyone’s mouth water. These homemade baked chicken chimichangas are everything you crave in a comforting meal—crispy on the outside and packed with juicy, flavorful chicken and gooey cheese on the inside. I first tried my hand at making these during a family movie night, and they’ve been a hit ever since. Trust me, once you try this recipe, it will become an instant favorite in your home!
What sets this recipe apart is its simplicity. No deep frying is required, yet you still achieve that golden crunch everyone loves. Plus, it’s a healthier take on a classic Tex-Mex favorite. Whether you’re craving Mexican food or looking for a crowd-pleaser for dinner, this recipe checks all the boxes. And yes, they’re freezer-friendly too! So, let’s dive into the details and make your new favorite dinner.
Why You’ll Love This Recipe
- Quick & Easy: These baked chicken chimichangas come together in under an hour, making them perfect for busy weeknights.
- Healthier Alternative: Since they’re baked instead of fried, you can indulge guilt-free (but don’t worry, they’re still super crispy!).
- Simple Ingredients: Everything you need is probably already in your pantry or fridge—no special trips to the store required.
- Kid-Friendly: Picky eaters love the cheesy, savory filling, and you can sneak in extra veggies if you want.
- Customizable: You can easily adapt this recipe for vegetarians or spice lovers by swapping out the chicken or adding more heat.
- Freezer-Friendly: Make these ahead of time, and then pop them in the oven whenever you need a quick, stress-free meal.
What really makes this recipe shine is the perfect balance of textures—the crunch of the baked tortilla paired with the juicy, tender chicken and melted cheese. It’s comfort food at its finest, and your family will keep asking for it week after week.
What Ingredients You Will Need
This recipe uses everyday ingredients that come together to create bold, satisfying flavors. Here’s what you’ll need:
- Tortillas: Large flour tortillas work best for wrapping and baking.
- Cooked chicken: Shredded rotisserie chicken is an easy option, but you can use leftover grilled or baked chicken as well.
- Cheese: Shredded cheddar or Monterey Jack cheese (or a blend of both) for that gooey, melty goodness.
- Black beans: Drained and rinsed, they add a hearty texture to the filling.
- Salsa: Use your favorite salsa to infuse the filling with bold flavor.
- Cumin: A pinch of ground cumin adds a smoky depth to the filling.
- Garlic powder: Enhances the savory notes.
- Olive oil: Brushing the tortillas with a bit of oil ensures they crisp up beautifully in the oven.
- Toppings: Sour cream, guacamole, chopped cilantro, and diced tomatoes for serving (optional but highly recommended).
Feel free to make substitutions based on what you have available. For example, swap black beans for refried beans or use mozzarella cheese if that’s what you have in the fridge.
Equipment Needed
- Baking sheet: A standard baking sheet is perfect for laying out the chimichangas.
- Parchment paper: Prevents sticking and makes cleanup a breeze.
- Pastry brush: For brushing olive oil on the tortillas.
- Mixing bowls: You’ll need these to combine your filling ingredients.
- Knife: For chopping any toppings or shredding chicken, if needed.
- Aluminum foil: Optional but useful if you want to cover the chimichangas halfway through baking to prevent over-browning.
If you don’t have a pastry brush, you can use the back of a spoon to spread the oil evenly over the tortillas—it works just as well!
Preparation Method
- Preheat your oven to 400°F (200°C). Line a baking sheet with parchment paper and set aside.
- In a large bowl, combine the shredded chicken, black beans, salsa, cumin, garlic powder, and half of the shredded cheese. Mix until fully combined.
- Lay out the tortillas on a flat surface. Spoon 1/3 cup of the filling onto the center of each tortilla.
- Sprinkle the remaining shredded cheese over the filling. Fold the tortilla sides inward and roll it tightly to form a burrito shape.
- Place the rolled chimichangas seam-side down on the prepared baking sheet.
- Brush the tops of the chimichangas with olive oil to ensure they crisp up nicely in the oven.
- Bake for 20-25 minutes or until the tortillas are golden brown and crisp. Keep an eye on them during the last few minutes to avoid over-browning.
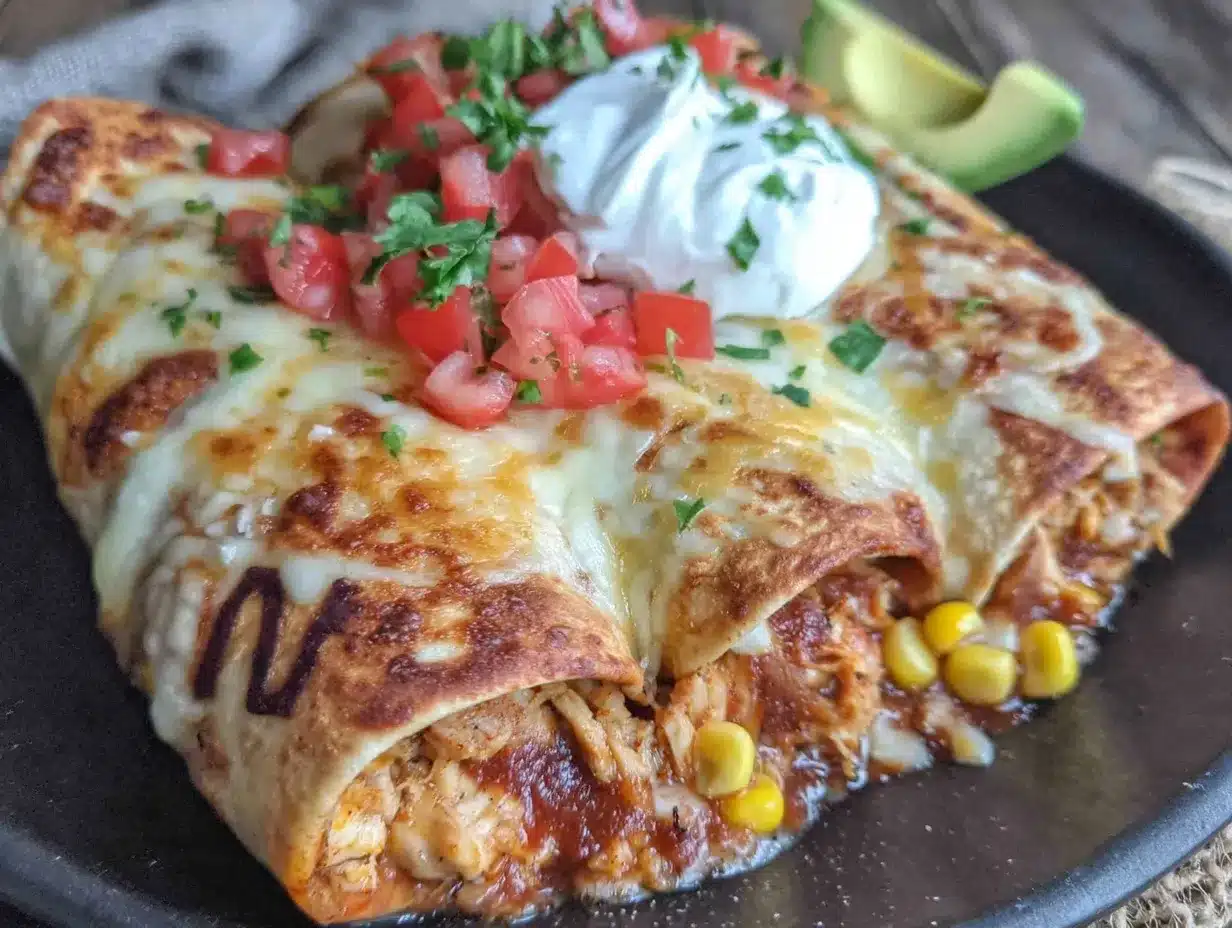
- Remove from the oven and let cool for a couple of minutes before serving. Top with sour cream, guacamole, chopped cilantro, and diced tomatoes if desired.
Pro tip: If you want extra-crispy chimichangas, broil them for 1-2 minutes at the end of baking. Just watch closely to prevent burning!
Cooking Tips & Techniques
Here are some tried-and-true tips to make your chimichangas perfect every time:
- Choose the right tortillas: Large flour tortillas are ideal because they’re easy to roll and hold everything together without tearing.
- Don’t overfill: It’s tempting to add lots of filling, but overstuffed chimichangas can burst open in the oven.
- Brush with oil: Don’t skip this step—it’s essential for achieving that golden, crispy exterior.
- Use shredded chicken: Shredding the chicken ensures even distribution in the filling and a tender texture.
- Monitor baking time: Every oven is different, so keep an eye on the chimichangas to prevent burning.
Adding a few drops of hot sauce to your filling can amp up the flavor if you like things spicy. And if you’re making a big batch, consider freezing extras for a quick dinner later!
Variations & Adaptations
- Vegetarian: Replace the chicken with sautéed vegetables like bell peppers, zucchini, and onions. You can also use crumbled tofu or extra beans.
- Spicy: Add diced jalapeños or a splash of hot sauce to the filling for an extra kick.
- Low-carb: Use low-carb tortillas and skip the beans to make a keto-friendly version.
- Seasonal twist: Swap the chicken for turkey during the holidays or add roasted sweet potatoes for a fall-inspired chimichanga.
- Air fryer: Instead of baking, cook these in an air fryer at 375°F (190°C) for 10-12 minutes, flipping halfway through.
One of my favorite personal variations is adding a layer of refried beans before the chicken filling for extra creaminess—it’s always a hit!
Serving & Storage Suggestions
These chimichangas are best served warm straight out of the oven. Pair them with some fresh guacamole, sour cream, and a side of Mexican rice or a crisp green salad for a complete meal. A refreshing margarita or a cold glass of lemonade also makes a great pairing!
If you have leftovers, store them in an airtight container in the refrigerator for up to 3 days. To reheat, place them in a 350°F (175°C) oven for 10 minutes or until heated through. You can also freeze uncooked chimichangas for up to 3 months—just wrap them individually in foil and store them in a freezer-safe bag. When ready to cook, thaw them in the refrigerator overnight and bake as instructed.
Nutritional Information & Benefits
These baked chicken chimichangas are a healthier take on the traditional fried version. Here’s a rough breakdown of the nutrition per serving:
- Calories: Approximately 350
- Protein: 25g
- Carbohydrates: 30g
- Fat: 12g
- Fiber: 6g
The chicken provides a great source of lean protein, while the black beans are rich in fiber and antioxidants. Opting for a baked preparation significantly reduces the fat content compared to deep-fried chimichangas. If you’re watching your sodium intake, choose a low-sodium salsa and beans.
Conclusion
If you’re looking for a recipe that’s easy, delicious, and family-approved, these homemade baked chicken chimichangas are the answer. They’re crispy, cheesy, and packed with flavor in every bite. Plus, the baked method makes them healthier without sacrificing taste.
Give this recipe a try and make it your own—add your favorite toppings or tweak the filling to suit your preferences. I’d love to hear how you customize it, so be sure to leave a comment or share your version! Happy cooking, and enjoy every bite of these irresistible chimichangas!
FAQs
Can I use corn tortillas instead of flour tortillas?
Flour tortillas work best because they’re softer and easier to roll without breaking. Corn tortillas tend to crack, but you can use them if you prefer—they just require a bit more care when rolling.
How do I prevent the chimichangas from opening up in the oven?
Make sure to roll the tortillas tightly and place them seam-side down on the baking sheet. You can also secure them with toothpicks if needed.
Can I make these ahead of time?
Absolutely! You can prepare the chimichangas, wrap them in foil, and refrigerate them for up to 24 hours before baking. Alternatively, you can freeze them for up to 3 months.
What other fillings can I use?
Feel free to get creative! Ground beef, pulled pork, or even a vegetarian mix of beans and veggies work great in this recipe.
Can I bake these in a toaster oven?
Yes, you can! Just make sure your toaster oven can accommodate the baking sheet or use a smaller tray. Keep an eye on the cooking time, as smaller ovens may cook faster.
Pin This Recipe!

Homemade Baked Chicken Chimichangas

These homemade baked chicken chimichangas are crispy on the outside and packed with juicy, flavorful chicken and gooey cheese on the inside. A healthier take on a classic Tex-Mex favorite, perfect for dinner or family gatherings.
- Prep Time: 15 minutes
- Cook Time: 25 minutes
- Total Time: 40 minutes
- Yield: 6 servings 1x
- Category: Main Course
- Cuisine: Mexican
Ingredients
- Large flour tortillas
- 2 cups cooked shredded chicken (e.g., rotisserie chicken)
- 1 cup shredded cheddar or Monterey Jack cheese
- 1 cup black beans, drained and rinsed
- 1/2 cup salsa
- 1 teaspoon ground cumin
- 1 teaspoon garlic powder
- 2 tablespoons olive oil
- Sour cream (optional, for serving)
- Guacamole (optional, for serving)
- Chopped cilantro (optional, for serving)
- Diced tomatoes (optional, for serving)
Instructions
- Preheat your oven to 400°F (200°C). Line a baking sheet with parchment paper and set aside.
- In a large bowl, combine the shredded chicken, black beans, salsa, cumin, garlic powder, and half of the shredded cheese. Mix until fully combined.
- Lay out the tortillas on a flat surface. Spoon 1/3 cup of the filling onto the center of each tortilla.
- Sprinkle the remaining shredded cheese over the filling. Fold the tortilla sides inward and roll it tightly to form a burrito shape.
- Place the rolled chimichangas seam-side down on the prepared baking sheet.
- Brush the tops of the chimichangas with olive oil to ensure they crisp up nicely in the oven.
- Bake for 20-25 minutes or until the tortillas are golden brown and crisp. Keep an eye on them during the last few minutes to avoid over-browning.
- Remove from the oven and let cool for a couple of minutes before serving. Top with sour cream, guacamole, chopped cilantro, and diced tomatoes if desired.
Notes
[‘Choose large flour tortillas for easy rolling.’, ‘Avoid overfilling the tortillas to prevent them from bursting open.’, ‘Brush the tortillas with olive oil for a crispy exterior.’, ‘Monitor baking time closely to avoid over-browning.’, ‘For extra crispiness, broil for 1-2 minutes at the end of baking.’]
Nutrition
- Serving Size: 1 chimichanga
- Calories: 350
- Fat: 12
- Carbohydrates: 30
- Fiber: 6
- Protein: 25
Keywords: chimichangas, baked chicken chimichangas, Tex-Mex, healthy dinner, freezer-friendly, Mexican recipe


