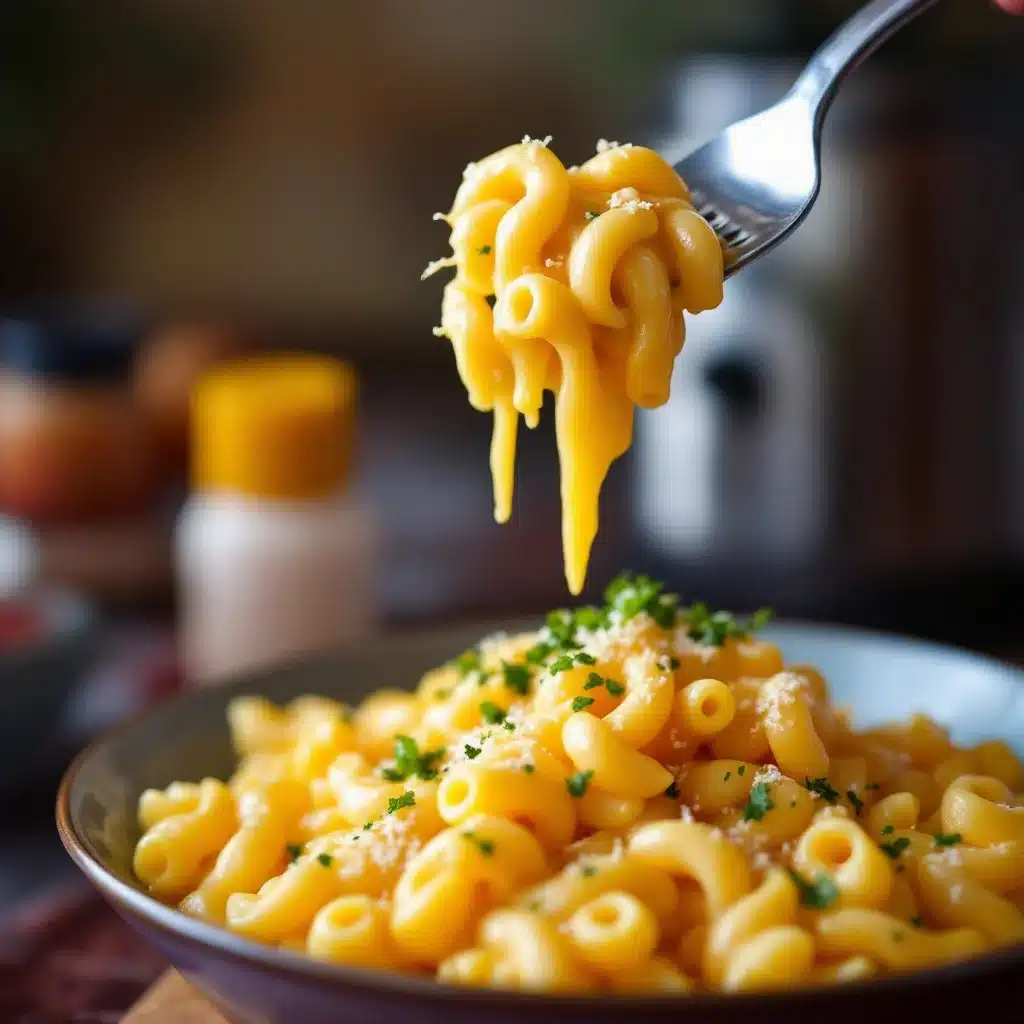
The lunchbox came home empty. Not just empty—cleaned. My son, the kid who picks the crust off his sandwich and hides broccoli in his napkin, had actually eaten everything. And then he asked, with that hopeful, scrunched-up face, if I could make “the pasta in the thermos” again. That was the moment I knew I’d stumbled onto something. It wasn’t a fancy dinner or a complicated bake. It was thermos mac and cheese, and it had somehow become the most requested item in our house.
I didn’t set out to create a masterpiece. Honestly, I was just tired of finding half-eaten lunches in his bag. I needed something warm, comforting, and sturdy enough to survive a few hours in a thermos without turning into a gluey mess. The first few tries were, let’s be real, a disaster. Soggy noodles, greasy cheese sauce, the works. But after a few tweaks—and one particularly sad batch that even the dog turned his nose up at—I finally cracked the code.
This isn’t just any easy thermos mac and cheese for school lunch. It’s the one that stays creamy, doesn’t get mushy, and actually tastes good by noon. It’s the kind of recipe that makes you feel like a superhero parent, even on a Tuesday morning when you’re running on three hours of sleep. And honestly, that’s a feeling worth sharing.
Why You’ll Love This Recipe
Let me tell you, this recipe has been through the wringer. I’ve tested it with different pastas, different cheeses, and even different thermoses. It’s been kid-approved, husband-approved, and even neighbor-approved (she asked for the recipe after her daughter came home raving). Here’s why it works so well:
- Stays Creamy All Day: Unlike regular mac and cheese, this version is specially designed to hold its texture. No dry, clumpy noodles here. The sauce stays silky and smooth, even after hours in a thermos.
- Simple Ingredients: You likely have everything in your pantry right now. No fancy cheese blocks or obscure pasta shapes. Just good, honest ingredients that come together beautifully.
- Perfect for School Lunches: It’s warm, comforting, and easy for little hands to eat. Plus, it’s a great way to sneak in some extra protein and calcium.
- Crowd-Pleaser: I’ve yet to meet a kid (or adult, for that matter) who doesn’t love a good bowl of mac and cheese. This one is no exception.
- Unbelievably Easy: From start to finish, you’re looking at about 20 minutes of active time. The rest is just waiting for the pasta to cook.
What makes this recipe different from the dozens of others out there? It’s the technique. I use a slightly thicker sauce than usual, and I undercook the pasta just a touch. This means the noodles finish cooking in the thermos, absorbing the sauce without getting mushy. It’s a small trick, but it makes all the difference. This isn’t just another version of mac and cheese—it’s the best version for a thermos. It’s comfort food that actually works for real life.
What Ingredients You Will Need
This recipe uses simple, pantry-friendly ingredients to deliver bold, cheesy flavor and that perfect creamy texture. No complicated shopping list required. Here’s what you’ll need:
For the Mac and Cheese
- 8 ounces (225g) elbow macaroni – I prefer De Cecco or Barilla for their texture. They hold up well and don’t get too soft.
- 2 tablespoons (28g) unsalted butter – Adds richness and helps create a smooth roux.
- 2 tablespoons (16g) all-purpose flour – This thickens the sauce and helps it cling to the pasta.
- 1 ½ cups (360ml) whole milk – Whole milk gives the creamiest result, but 2% works in a pinch. Avoid skim milk—it can make the sauce watery.
- ½ cup (120ml) heavy cream – This is my secret weapon for a sauce that stays luscious even after hours in a thermos.
- 2 cups (200g) shredded sharp cheddar cheese – I use Cabot or Tillamook for their bold flavor and excellent melting properties. Shred your own from a block for the best results—pre-shredded cheese has anti-caking agents that can make the sauce grainy.
- ½ cup (50g) shredded mozzarella cheese – Adds a wonderful stretchy texture and mild flavor.
- ½ teaspoon salt – Adjust to taste. I find this is the sweet spot for most palates.
- ¼ teaspoon black pepper – A little goes a long way.
- ¼ teaspoon garlic powder – Optional, but it adds a lovely savory depth.
- ¼ teaspoon paprika – For a subtle warmth and a beautiful golden color.
For the Topping (Optional but Recommended)
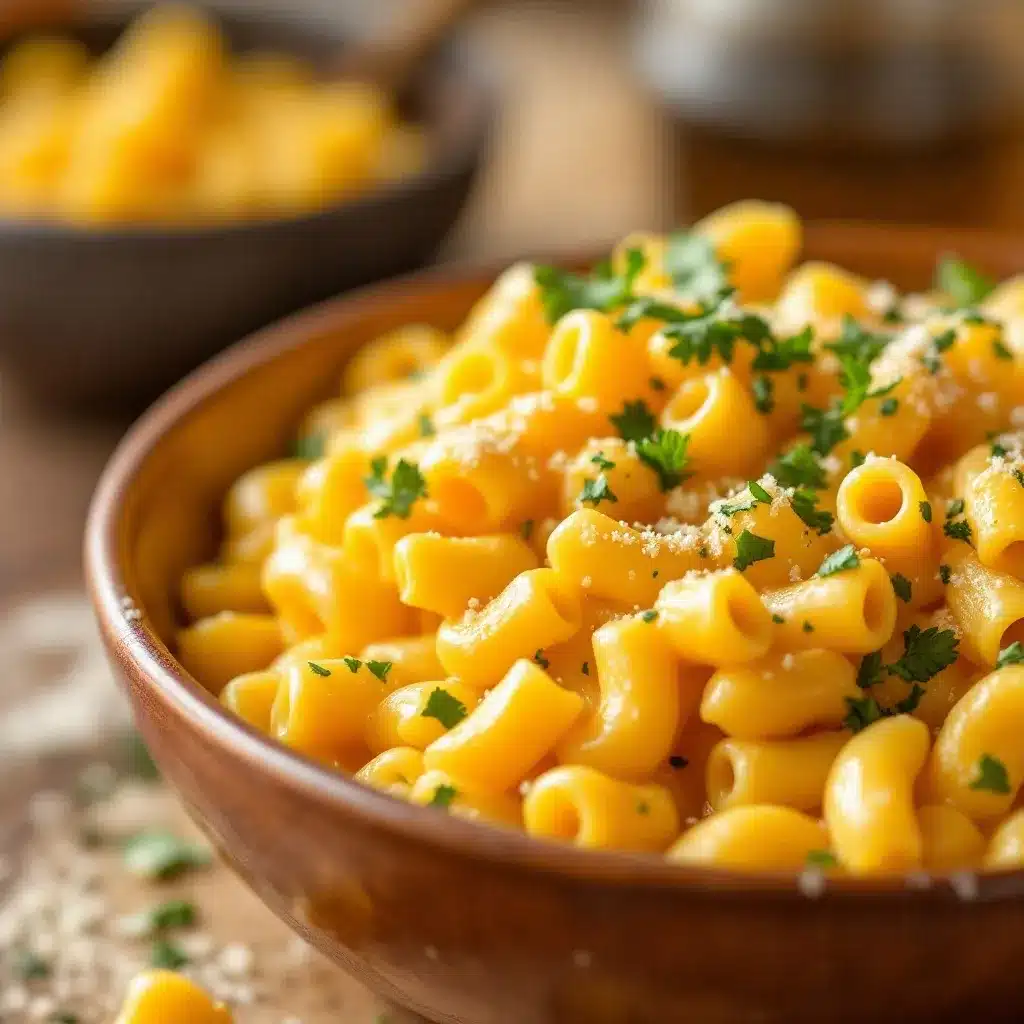
- ¼ cup (25g) panko breadcrumbs – These add a lovely crunch. I like Ian’s brand for their texture.
- 1 tablespoon (14g) melted butter – Helps the breadcrumbs toast up nicely.
Substitution Guidance
- Dairy-Free: Use unsweetened oat milk or cashew milk, vegan butter, and your favorite dairy-free shredded cheese. The texture will be slightly different, but still delicious. I’ve had good luck with Violife’s cheddar shreds.
- Gluten-Free: Swap the elbow macaroni for a gluten-free pasta (I like Banza chickpea pasta) and use a gluten-free all-purpose flour blend for the roux.
- Cheese Variations: Feel free to mix in some Gruyère, Monterey Jack, or even a little smoked gouda for a different flavor profile. Just keep the total cheese amount the same.
Equipment Needed
You don’t need a lot of fancy gear for this recipe, which is part of its charm. Here’s what you’ll need:
- Large Pot: For boiling the pasta. A 4-quart pot works perfectly.
- Medium Saucepan: For making the cheese sauce. A heavy-bottomed saucepan is ideal to prevent scorching.
- Whisk: Essential for a smooth, lump-free roux and cheese sauce. I prefer a silicone whisk—it’s gentle on non-stick pans.
- Wooden Spoon or Silicone Spatula: For stirring the pasta and sauce together.
- Measuring Cups and Spoons: Accuracy is key, especially with the flour and milk.
- Cheese Grater: Please, for the love of all things cheesy, grate your own cheese. It melts so much better. A box grater or a microplane works great.
- Thermos: A good-quality, wide-mouth thermos is crucial. I use a Stanley or Thermos brand, and they keep food hot for hours. Pre-heat it with hot water before filling for best results.
- Small Baking Dish (Optional): If you’re adding the breadcrumb topping, you’ll need a small oven-safe dish. Or you can just sprinkle them on top after the pasta is in the thermos.
I’ve tried making this with a cheaper thermos, and honestly, it didn’t hold the heat as well. The pasta got lukewarm by lunchtime, which is not ideal. Investing in a good one makes a real difference. Budget-friendly options like a Contigo or a simple stainless steel one from Target also work well if you pre-heat them properly.
Preparation Method
Alright, let’s get cooking. This is the part where the magic happens. Follow these steps, and you’ll have a thermos-friendly mac and cheese that’ll make you the hero of the lunchroom.
- Pre-Heat Your Thermos: Fill your thermos with boiling water. Let it sit while you prepare the pasta. This step is crucial—it ensures the thermos is warm enough to keep the mac and cheese hot until lunchtime. Don’t skip it!
- Cook the Pasta: Bring a large pot of salted water to a rolling boil. Add the elbow macaroni and cook for 1-2 minutes less than the package directions. You want it al dente—firm to the bite. For most brands, this is about 6-7 minutes. The pasta will continue to cook in the thermos, so undercooking it slightly prevents it from turning into mush.
- Drain and Rinse (Briefly): Drain the pasta in a colander. Give it a quick, gentle rinse with cool water to stop the cooking process. Don’t rinse it too much—you want to keep some of the starch, which helps the sauce cling.
- Make the Roux: While the pasta is cooking, melt the butter in a medium saucepan over medium heat. Once it’s foamy, whisk in the flour. Cook for about 1 minute, whisking constantly. This removes the raw flour taste and creates a smooth base for the sauce. It should look like a thick, golden paste.
- Add the Milk and Cream: Slowly pour in the milk and heavy cream while whisking continuously. Keep whisking until the mixture is smooth and starts to thicken, about 3-4 minutes. It should coat the back of a spoon. If you see any lumps, just keep whisking—they’ll usually work themselves out.
- Add the Cheese: Reduce the heat to low. Add the shredded cheddar and mozzarella cheese, a handful at a time, stirring constantly until each addition is fully melted and smooth. This gradual addition prevents the sauce from breaking or becoming grainy. Stir in the salt, pepper, garlic powder, and paprika.
- Combine Pasta and Sauce: Add the drained pasta to the saucepan with the cheese sauce. Stir gently until every piece of macaroni is evenly coated. The sauce should be a little thinner than you think it should be—it will thicken as it sits in the thermos.
- Fill the Thermos: Empty the hot water from your thermos. Carefully spoon the mac and cheese into the thermos, packing it in gently. Don’t overfill—leave a little room at the top. Seal the thermos immediately.
- Optional Breadcrumb Topping: If you want that crunchy topping, mix the panko breadcrumbs with the melted butter. Sprinkle them over the mac and cheese just before sealing the thermos, or pack them separately and add at lunchtime for maximum crunch.
- Let it Rest: Let the sealed thermos sit for at least 15-20 minutes before packing it in a lunch bag. This allows the temperature to stabilize and the flavors to meld.
Cooking Tips & Techniques
I’ve made this recipe more times than I can count, and I’ve learned a few things along the way. Here are my best tips for thermos mac and cheese success:
- Don’t Overcook the Pasta: This is the number one mistake. Overcooked pasta turns into a pasty mess in the thermos. Cook it just until it’s al dente—firm with a tiny white dot in the center when you bite into it.
- Use a Thicker Sauce: The sauce should be slightly thicker than what you’d normally make for stovetop mac and cheese. As it sits in the thermos, it will continue to thicken. A sauce that’s too thin will make the pasta soggy.
- Pre-Heat is Non-Negotiable: I cannot stress this enough. A cold thermos will suck the heat right out of your mac and cheese. Fill it with boiling water for at least 5 minutes before adding the pasta. This single step is the difference between a warm lunch and a cold one.
- Grate Your Own Cheese: Pre-shredded cheese is coated with anti-caking agents like potato starch or cellulose, which prevent it from melting smoothly. Grating your own cheese from a block ensures a silky, creamy sauce every time.
- Avoid Over-Stirring: Once you add the cheese, stir just until it’s melted. Over-stirring can cause the cheese sauce to break and become greasy. Be gentle and patient.
- Let it Rest: After filling the thermos, let it sit for 15-20 minutes before packing it. This allows the heat to distribute evenly and the sauce to set up properly. I once packed it immediately and the mac and cheese was a bit watery by lunchtime—lesson learned!
I once forgot to pre-heat the thermos, and let me tell you, it was a sad, lukewarm lunch. My son was polite about it, but I could tell he was disappointed. Now, it’s the first thing I do, even before I start boiling the water for the pasta. It’s a small habit that makes a huge difference.
Variations & Adaptations
This recipe is a fantastic base, but don’t be afraid to make it your own. Here are a few of my favorite variations:
- Broccoli Cheddar: Add 1 cup of small, steamed broccoli florets to the pasta and sauce before filling the thermos. It’s a great way to sneak in some veggies, and the broccoli holds up surprisingly well.
- Buffalo Chicken: Stir in ½ cup of shredded cooked chicken and 2-3 tablespoons of buffalo sauce. It’s a spicy, protein-packed twist that older kids and adults love. I’ve made this for my own lunch more times than I can count.
- Bacon & Chive: Cook 4 slices of bacon until crispy, crumble them, and stir into the mac and cheese along with 2 tablespoons of chopped fresh chives. The salty, smoky bacon is a perfect match for the creamy cheese.
- Vegan Version: Use a plant-based butter, oat milk, and your favorite vegan cheddar shreds. I’ve had good results with the brand Violife. The texture is slightly different, but it’s still creamy and delicious. I tested this for a friend’s dairy-free daughter, and she gave it two thumbs up.
- Gluten-Free Version: As mentioned, use a gluten-free pasta and a gluten-free flour blend. Banza chickpea pasta is my go-to—it holds its shape well and adds a boost of protein.
My personal favorite variation is the Buffalo Chicken. It’s a little unexpected for a school lunch, but it’s so good. I made it for a potluck at work once, and it disappeared in minutes. People kept asking for the recipe, and I had to admit it was just a dressed-up version of my kid’s lunch staple!
Serving & Storage Suggestions
This mac and cheese is designed to be served warm, right out of the thermos. Here’s how to make the most of it:
- Serving Temperature: It’s best served hot, straight from the thermos. The beauty of this recipe is that it stays at a safe, warm temperature for hours. If you’re serving it at home, let it rest for a few minutes after cooking to allow the sauce to set up.
- Presentation: For a fun lunch, pack the thermos with a side of apple slices, carrot sticks, or a small fruit cup. The contrast of warm, creamy pasta and cold, crisp veggies is delightful. I also like to add a small note or a silly joke for my son—it makes the lunch feel special.
- Complementary Dishes: This mac and cheese pairs beautifully with a simple green salad, roasted vegetables, or even a few crispy smashed potatoes for a more substantial meal. For a cozy dinner, serve it alongside loaded baked potato soup for a double dose of comfort.
- Storage: This recipe is best enjoyed fresh. However, if you have leftovers, store them in an airtight container in the refrigerator for up to 3 days. The texture will change slightly after refrigeration—the pasta will absorb more sauce and become softer.
- Reheating: To reheat, add a splash of milk or cream to the mac and cheese and warm it gently on the stovetop over low heat, stirring frequently. You can also microwave it in 30-second intervals, stirring in between, until heated through. The sauce may not be as silky as the first time, but it’s still delicious.
- Freezer: I don’t recommend freezing this recipe. The cheese sauce can separate and become grainy upon thawing, and the pasta will become very soft. It’s best made fresh.
One thing I’ve noticed is that the flavors actually develop and meld together beautifully after a few hours in the thermos. The garlic and paprika become more pronounced, and the cheese sauce gets even creamier. It’s like the mac and cheese is marinating in its own deliciousness.
Nutritional Information & Benefits
This mac and cheese is a comforting indulgence, but it also offers some nutritional benefits. Here’s a breakdown per serving (approximately 1 cup):
| Nutrient | Amount Per Serving |
|---|---|
| Calories | 450-500 |
| Protein | 18-22g |
| Fat | 25-30g |
| Carbohydrates | 40-45g |
| Fiber | 2-3g |
| Calcium | 350-400mg (35-40% DV) |
| Iron | 2-3mg (10-15% DV) |
Pin This Recipe!
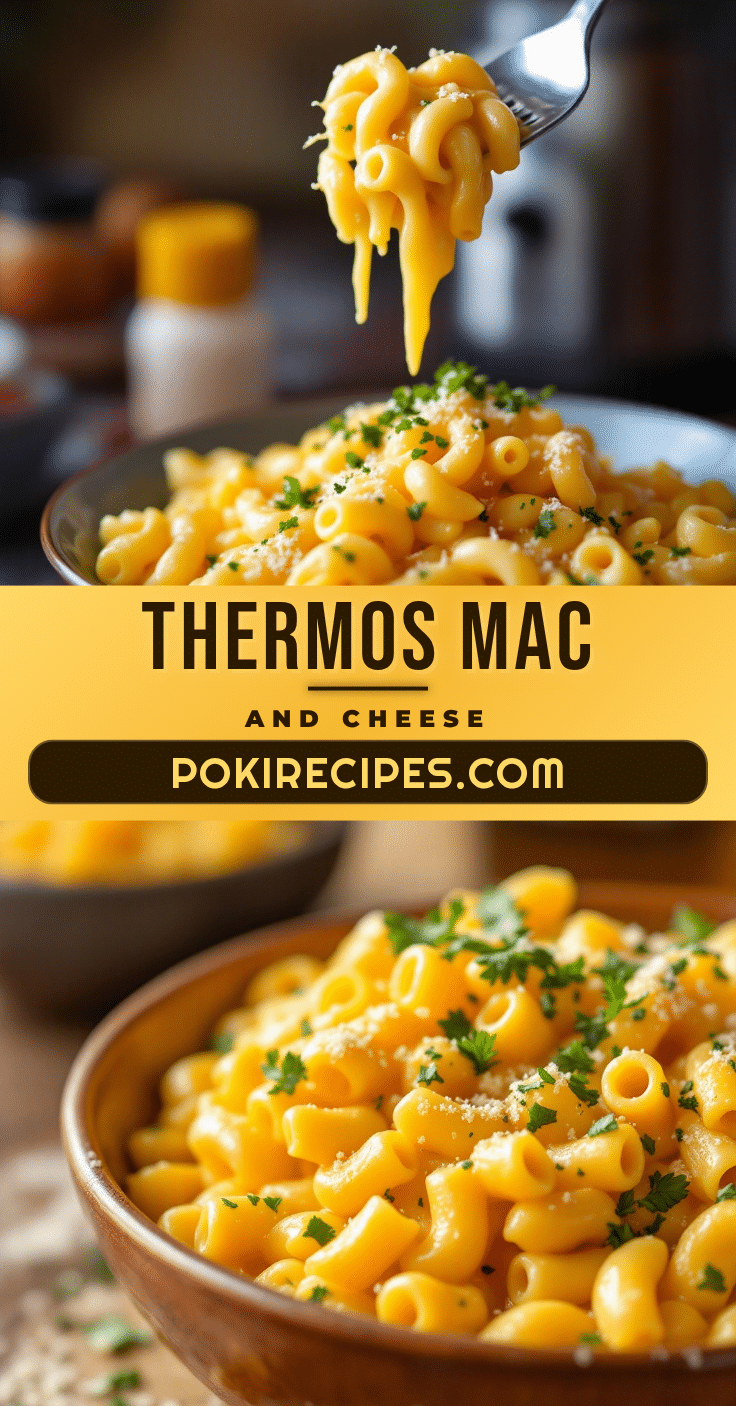
Easy Thermos Mac and Cheese: Best School Lunch Idea

This thermos mac and cheese stays creamy, doesn’t get mushy, and actually tastes good by noon. It’s the perfect warm, comforting school lunch that will make you feel like a superhero parent.
- Prep Time: 10 minutes
- Cook Time: 15 minutes
- Total Time: 25 minutes
- Yield: 4 servings 1x
- Category: Main Course
- Cuisine: American
Ingredients
- 8 ounces (225g) elbow macaroni
- 2 tablespoons (28g) unsalted butter
- 2 tablespoons (16g) all-purpose flour
- 1 ½ cups (360ml) whole milk
- ½ cup (120ml) heavy cream
- 2 cups (200g) shredded sharp cheddar cheese
- ½ cup (50g) shredded mozzarella cheese
- ½ teaspoon salt
- ¼ teaspoon black pepper
- ¼ teaspoon garlic powder
- ¼ teaspoon paprika
- ¼ cup (25g) panko breadcrumbs (optional)
- 1 tablespoon (14g) melted butter (optional)
Instructions
- Pre-heat your thermos by filling it with boiling water. Let it sit while you prepare the pasta.
- Bring a large pot of salted water to a rolling boil. Add the elbow macaroni and cook for 1-2 minutes less than the package directions (about 6-7 minutes), until al dente.
- Drain the pasta in a colander and give it a quick, gentle rinse with cool water to stop the cooking process.
- While the pasta is cooking, melt the butter in a medium saucepan over medium heat. Once foamy, whisk in the flour and cook for about 1 minute, whisking constantly, until it forms a thick, golden paste.
- Slowly pour in the milk and heavy cream while whisking continuously. Keep whisking until the mixture is smooth and starts to thicken, about 3-4 minutes.
- Reduce the heat to low. Add the shredded cheddar and mozzarella cheese, a handful at a time, stirring constantly until each addition is fully melted and smooth. Stir in the salt, pepper, garlic powder, and paprika.
- Add the drained pasta to the saucepan with the cheese sauce. Stir gently until every piece of macaroni is evenly coated.
- Empty the hot water from your thermos. Carefully spoon the mac and cheese into the thermos, packing it in gently. Leave a little room at the top and seal the thermos immediately.
- If using the breadcrumb topping, mix the panko breadcrumbs with the melted butter and sprinkle over the mac and cheese just before sealing the thermos, or pack separately and add at lunchtime.
- Let the sealed thermos sit for at least 15-20 minutes before packing it in a lunch bag to allow the temperature to stabilize and the flavors to meld.
Notes
For best results, pre-heat the thermos thoroughly with boiling water. Grate your own cheese from a block for a smoother sauce. The sauce should be slightly thicker than usual as it will continue to thicken in the thermos. Undercook the pasta slightly to prevent it from becoming mushy. Let the filled thermos rest for 15-20 minutes before packing.
Nutrition
- Serving Size: 1 cup
- Calories: 475
- Sugar: 6
- Sodium: 580
- Fat: 28
- Saturated Fat: 17
- Carbohydrates: 43
- Fiber: 2
- Protein: 20
Keywords: thermos mac and cheese, school lunch, easy mac and cheese, creamy mac and cheese, kid-friendly lunch, thermos recipe, homemade mac and cheese