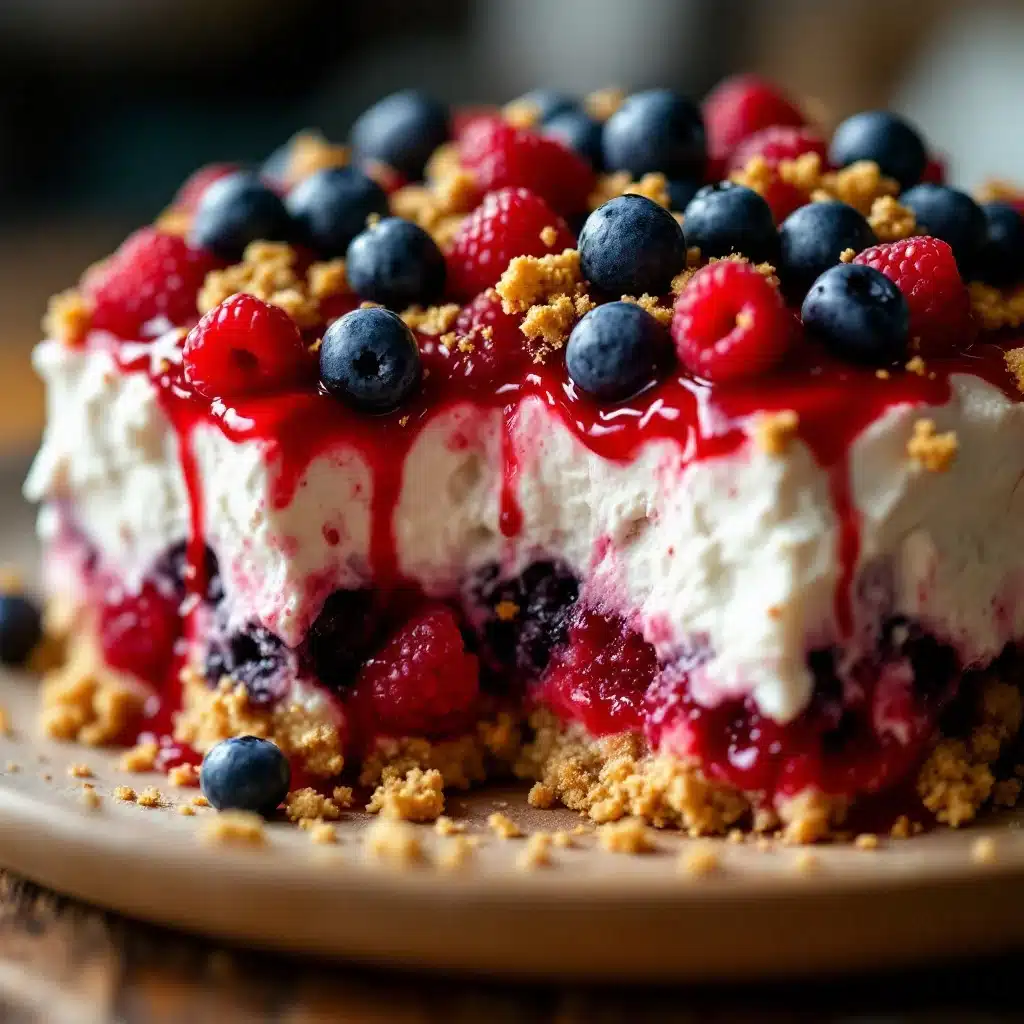
I figured a trifle was just a fancy name for layered leftovers—something you throw together when you need a dessert but don’t want to actually bake anything. It took about one bite of this red, white, and blue berry trifle at my neighbor’s end-of-summer cookout for that assumption to fall apart completely. There I stood, plastic fork in hand, staring down into a clear glass dish at layers of vanilla cake, juicy strawberries, and clouds of cream, wondering why I’d never bothered to make one myself. The berries were so ripe they practically burst the second they hit your tongue, and the cream was that perfect kind of sweet that doesn’t cloy. I asked for the recipe before I’d even finished my portion, which is something I never do. Turns out, the secret wasn’t some complicated custard or a fancy technique. It was about letting the ingredients do what they do best, and not overthinking it. That’s the thing about a good trifle—it looks like you spent hours fussing, but really, you just trusted the layers. This version became my go-to for Labor Day because it’s exactly what you want at the end of summer: bright, cold, and just a little bit showy without trying too hard. And honestly, there’s something about those red, white, and blue stripes that makes everyone feel like they’re at a real celebration.
Why You’ll Love This Recipe
Let’s be honest—most impressive-looking desserts are a pain to make. This red, white, and blue berry trifle is the exception. It’s the kind of dessert that makes people think you spent all afternoon in the kitchen, when really, you just stacked things in a bowl. I’ve tested this recipe about six times now (tough job, I know), and here’s what I’ve learned:
- No Baking Required: You don’t even turn on the oven. On a hot Labor Day weekend, that’s basically a gift to yourself.
- Simple Ingredients: Everything comes from a regular grocery store. No special trips to a gourmet market or obscure spice aisle.
- Perfect for a Crowd: This makes a big batch, and it feeds a hungry group without you having to stand there plating individual servings.
- Make-Ahead Friendly: You can assemble it the night before, and honestly, it tastes better the next day when the flavors have had time to get friendly.
- Red, White, and Blue All the Way: It’s the perfect patriotic dessert for Labor Day, Memorial Day, or the Fourth of July. The colors pop naturally without any artificial food coloring.
What makes this recipe different from other trifles is the texture. A lot of trifles turn into a soggy mess by the second day. Not this one. The trick is how you prep the berries and the way you layer the cream. I learned this after my first attempt turned into blueberry soup. You get a dessert that’s creamy, fruity, and just sturdy enough to hold its shape on a plate. It’s comfort food that feels light and fresh, which is exactly what you need when you’ve been outside all day grilling burgers and chasing kids around the yard. This isn’t just another layered dessert—it’s the one that’ll get asked for again next year.
What Ingredients You Will Need
This recipe uses simple, fresh ingredients that come together to create something genuinely impressive. I’ve tested a few variations, and this combination gives you the best balance of flavor and texture without any fuss.
- 1 store-bought pound cake or angel food cake (about 16 ounces): I use Sara Lee pound cake most of the time. It holds up better than homemade for this purpose. If you want to go the extra mile, a fluffy vanilla sponge cake works beautifully too. Cut it into 1-inch cubes.
- 2 cups fresh strawberries, hulled and sliced: Look for berries that are deep red all the way through. If they have white shoulders, they were picked too early and won’t be as sweet.
- 2 cups fresh blueberries: Small to medium berries are actually better here. Giant blueberries can be watery and bland. Give them a quick rinse and let them dry on a paper towel.
- 2 cups fresh raspberries: These add that bright, tart pop that cuts through the sweetness. Handle them gently—they bruise easily.
- 2 cups heavy whipping cream: Don’t substitute with Cool Whip or whipped topping. Real cream makes a difference here. It whips up thicker and tastes cleaner.
- 1/4 cup powdered sugar: This dissolves into the cream better than granulated sugar. No gritty texture.
- 1 teaspoon vanilla extract: Pure vanilla, not imitation. You’ll taste the difference.
- 8 ounces mascarpone cheese or cream cheese, softened: Mascarpone gives a richer, more luxurious texture. Cream cheese works fine if that’s what you have, just make sure it’s fully softened so you don’t get lumps.
- 1/4 cup granulated sugar: For macerating the berries. This draws out their juices and creates that beautiful syrup that soaks into the cake.
- 2 tablespoons fresh lemon juice: This brightens up the berries and keeps them from tasting flat.
- Optional: fresh mint leaves for garnish: Not necessary, but it makes the presentation look like you actually tried.
Ingredient Notes: For the berries, fresh is non-negotiable here. Frozen berries release too much water and will turn your trifle into a soggy mess. I learned this the hard way when I tried to make this in January. If you’re buying pre-sliced strawberries, make sure they look fresh and not mushy in the container. The mascarpone cheese is worth seeking out—it’s usually near the specialty cheeses at the grocery store. If you can’t find it, full-fat cream cheese works, but let it sit out for at least 30 minutes before you start.
Equipment Needed
You don’t need much for this recipe, which is part of why I love it. Here’s what you’ll need:
- A large trifle dish or glass bowl (about 4-quart capacity): A clear glass dish is ideal because you want to see those beautiful red, white, and blue layers. I picked mine up at a thrift store for five bucks, and it works perfectly. If you don’t have a trifle dish, a large glass salad bowl works just as well.
- An electric mixer (hand or stand): You can whip cream by hand, but it’ll take about 10 minutes of vigorous whisking. Your arm will thank you for using a mixer.
- A large mixing bowl: For whipping the cream mixture.
- A medium bowl: For macerating the berries.
- A sharp knife and cutting board: For cubing the cake and slicing strawberries.
- A rubber spatula: For folding the cream and scraping every last bit out of the bowl.
- Measuring cups and spoons: Accuracy matters, especially with the cream.
Budget-Friendly Alternative: If you don’t own a trifle dish, use a large glass mixing bowl or even a rectangular glass baking dish. It won’t look as dramatic, but it’ll taste the same. I’ve also used a large mason jar to make individual trifles for parties, which is actually kind of charming.
Preparation Method
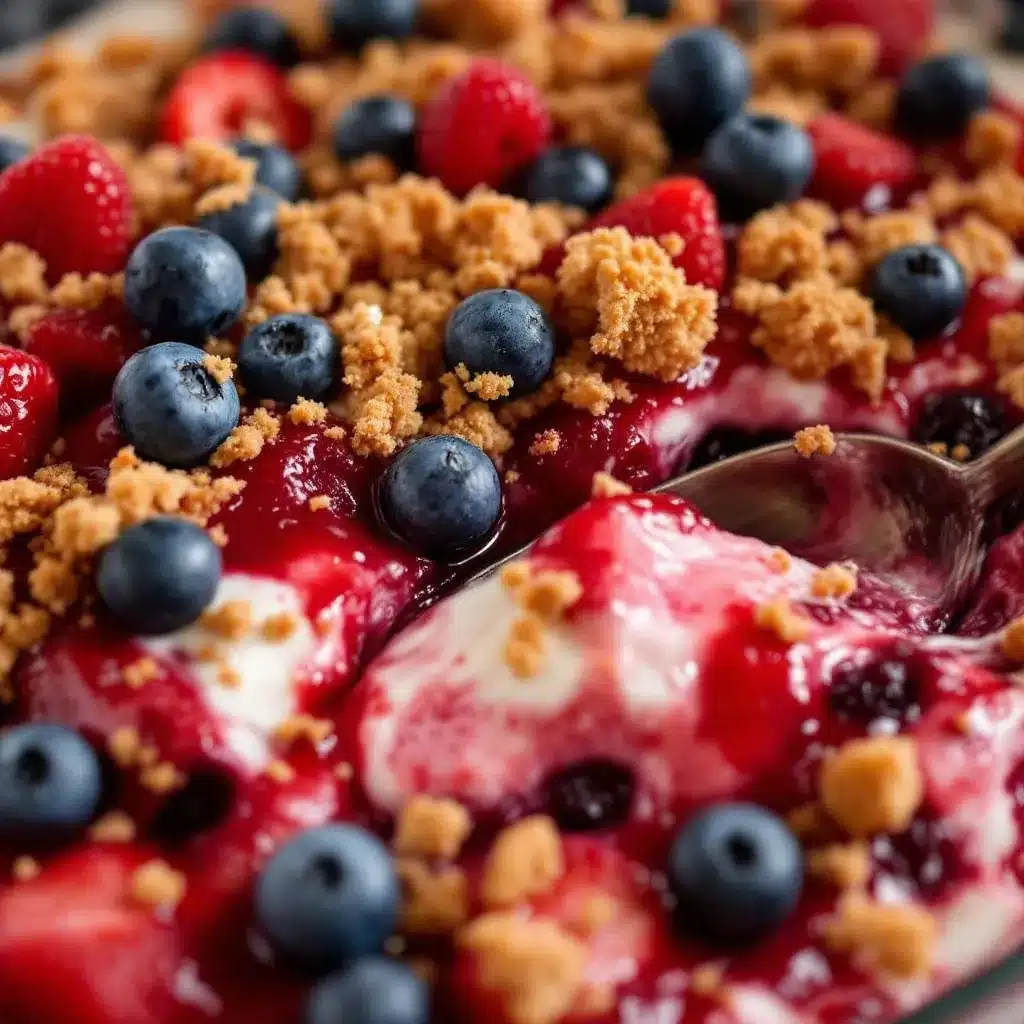
This comes together in about 20 minutes of active work, plus some chilling time. Here’s how to do it right.
- Prep the berries: In a medium bowl, combine the sliced strawberries, blueberries, and raspberries. Add 1/4 cup granulated sugar and 2 tablespoons lemon juice. Stir gently to coat. Let this sit for 15-20 minutes while you prepare the other components. The sugar draws out the natural juices and creates a syrupy layer that will soak into the cake cubes. Give it a stir halfway through. You’ll notice the liquid pooling at the bottom—that’s what you want.
- Whip the cream mixture: In a large mixing bowl, combine the heavy whipping cream, powdered sugar, vanilla extract, and softened mascarpone cheese. Using an electric mixer, start on low speed and gradually increase to medium-high. Whip until stiff peaks form. This takes about 3-4 minutes with a stand mixer, maybe 5-6 with a hand mixer. You’re looking for the cream to hold its shape when you lift the beater. Be careful not to over-whip, or you’ll end up with butter. Trust me, I’ve done it. The mixture should be thick and spreadable, not runny.
- Cube the cake: Cut the pound cake or angel food cake into 1-inch cubes. If you’re using pound cake, leave the crust on—it adds texture. If you’re using angel food cake, the cubes will be softer and more delicate, so handle them gently. Set the cubes aside in a single layer on a baking sheet or plate.
- Start layering: Spoon about one-third of the macerated berries into the bottom of your trifle dish, including some of the syrup. Spread them into an even layer. Top with half of the cake cubes, arranging them in a single layer as much as possible. Don’t press them down. Spoon half of the whipped cream mixture over the cake cubes and spread it gently to the edges. Repeat this process: another third of the berries, the remaining cake cubes, and the remaining cream mixture. Finish with the final third of the berries on top. You want that beautiful red, white, and blue stripe effect.
- Chill: Cover the trifle dish with plastic wrap and refrigerate for at least 4 hours, but overnight is better. This resting time is crucial. The cake absorbs the berry syrup and softens, while the cream sets up and holds everything together. If you serve it too soon, the layers will slide around and the cake will be dry.
- Garnish and serve: Just before serving, add a few fresh mint leaves on top for color. Use a large spoon to scoop down through all the layers so each serving gets a little bit of everything. Serve cold.
Troubleshooting Note: If your cream mixture seems too thin after whipping, it might be because the cream wasn’t cold enough. Heavy cream whips best when it’s straight from the refrigerator. If it’s room temperature, it won’t hold peaks. Pop it in the freezer for 10 minutes before whipping next time.
Cooking Tips & Techniques
I’ve made this red, white, and blue berry trifle about a dozen times now, and I’ve messed up enough to know what works. Here are the things I wish someone had told me:
Don’t skip the maceration step. The first time I made this, I just layered fresh berries straight onto the cake. It was dry and disappointing. Macerating the berries with sugar and lemon juice creates that beautiful syrup that soaks into the cake and makes everything taste cohesive. It’s a 15-minute step that makes all the difference.
Whip the cream to stiff peaks, not soft peaks. Soft peaks will collapse under the weight of the cake and berries, and you’ll end up with a soupy mess. Stiff peaks hold their shape and give the trifle structure. When you lift the beater, the peak should stand straight up without drooping. If it flops over, keep whipping.
Layer with intention. Don’t just dump everything in randomly. Spread each layer evenly to the edges of the dish. This isn’t just about looks—even layers mean every bite has the same balance of cake, cream, and fruit. I use the back of a spoon to gently spread the cream without disturbing the cake underneath.
Let it rest overnight. I know it’s tempting to serve it right away, especially if you’re hungry. But the flavor and texture improve dramatically after 8-12 hours in the fridge. The cake softens, the cream sets, and the berry flavor permeates everything. It’s like the difference between a salad and a marinated salad—same ingredients, completely different experience.
Keep it cold. This dessert doesn’t do well sitting out at room temperature for hours. If you’re serving it at a Labor Day picnic, keep it in the fridge until the last minute, and bring it back inside after serving. The cream can separate if it gets too warm.
Variations & Adaptations
This recipe is flexible, which is good because everyone has different tastes and dietary needs. Here are some variations I’ve tried and loved:
- Gluten-Free Version: Swap the pound cake for a gluten-free vanilla cake or gluten-free ladyfingers. I’ve used both, and they work well. Just make sure the cake is sturdy enough to hold up to the moisture. Gluten-free cakes tend to be more delicate, so handle them gently.
- Dairy-Free Version: Use full-fat coconut cream (chilled) instead of heavy cream. Whip it the same way, but add a tablespoon of cornstarch to help it hold its shape. Use a dairy-free cream cheese alternative for the mascarpone. I’ve tested this with Kite Hill brand cream cheese, and it worked surprisingly well.
- Different Berries: If you can’t find raspberries, use blackberries instead. They’re a bit larger, so cut them in half. You can also use sliced peaches or nectarines in place of some of the berries for a more summer-forward flavor. Just make sure you still have red, white, and blue colors if that’s important for your occasion.
- Lemon Twist: Add a tablespoon of lemon zest to the whipped cream mixture. It brightens up the whole dessert and pairs beautifully with the berries. I did this for a brunch once, and people couldn’t stop talking about it.
- Individual Servings: Instead of one large trifle, layer everything into individual mason jars or small glass cups. This is great for parties because everyone gets their own, and there’s no fighting over the last scoop. Plus, they’re portable if you’re taking them to a picnic.
Serving & Storage Suggestions
This trifle is best served cold, straight from the refrigerator. I like to let it sit out for about 10 minutes before serving, just to take the chill off, but that’s a personal preference. The texture is firmer when it’s cold, which makes it easier to scoop clean layers.
What to Serve With It: A dollop of extra whipped cream on top never hurts, but honestly, this dessert is rich enough on its own. If you’re serving it after a heavy meal, keep it simple. For a Labor Day barbecue, it pairs beautifully with grilled meats and creamy mashed potatoes or a fresh green salad. A glass of cold lemonade or iced tea on the side is perfect.
Storage: Cover the trifle dish tightly with plastic wrap and store in the refrigerator for up to 3 days. The texture changes over time—the cake gets softer and the cream firms up. Some people prefer it on day two for this reason. I wouldn’t recommend freezing this dessert. The cream will separate and become grainy when thawed.
Leftover Ideas: If you have leftover trifle that’s gotten a bit too soft, spoon it over vanilla ice cream or pound it into a makeshift parfait. It’s also surprisingly good stirred into plain Greek yogurt for a quick breakfast—don’t judge until you try it.
Nutritional Information & Benefits
Here’s the honest truth: this is a dessert, not a health food. But it does have some redeeming qualities worth mentioning.
- Estimated per serving (based on 12 servings): Approximately 380 calories, 22g fat, 42g carbohydrates, 5g protein, 28g sugar, 3g fiber.
- Berries are packed with antioxidants: Strawberries, blueberries, and raspberries are all rich in vitamin C and flavonoids that support immune health. You’re getting real fruit here, not artificial flavoring.
- Real cream has some benefits: It’s a source of calcium and fat-soluble vitamins. In moderation, it’s not the enemy people make it out to be.
- Dietary Considerations: This recipe is vegetarian. For gluten-free or dairy-free options, see the variations section above. It’s not suitable for vegan diets as written, but you can adapt it with plant-based alternatives.
- Potential Allergens: Contains dairy and gluten. May contain traces of nuts depending on the cake you use. Check labels if you’re serving someone with allergies.
I’m not here to tell you this is a guilt-free dessert. It’s a celebration dessert for a holiday weekend. But if you’re going to have dessert, having one with real fruit and real cream feels a lot better than something with artificial flavors and preservatives. That’s my perspective, anyway.
Conclusion
This red, white, and blue berry trifle is the kind of dessert that makes you look like a hero without having to work like one. It’s simple enough to throw together on a busy holiday weekend, but impressive enough to be the star of the dessert table. The combination of sweet berries, creamy mascarpone, and soft cake is just… right. It’s summertime in a bowl.
I love this recipe because it reminds me that cooking doesn’t have to be complicated to be good. Sometimes the best things come from letting a few quality ingredients do their thing. And honestly, watching people’s faces light up when they see those red, white, and blue stripes is a pretty great feeling.
If you make this—and I really hope you do—let me know how it turns out. Tag me in your photos, leave a comment below, or tell me what variations you tried. I’m always looking for new ideas, and I love hearing how people make recipes their own. Happy Labor Day, and happy eating!
Frequently Asked Questions
Can I make this trifle a day ahead?
Absolutely. In fact, I recommend it. Making it the day before gives the flavors time to meld and the cake time to soften perfectly. Just cover it tightly and keep it refrigerated. Add any fresh mint garnish right before serving.
Can I use frozen berries instead of fresh?
I wouldn’t recommend it. Frozen berries release a lot of water when they thaw, which will make your trifle watery and soggy. The texture just isn’t the same. If you’re in a pinch, you can use frozen berries, but thaw and drain them first, and pat them dry with paper towels.
How long does this trifle keep in the fridge?
It’s best within the first 2-3 days. After that, the cake gets very soft and the cream starts to separate. It won’t go bad, but the texture won’t be as nice. I usually make it on Friday for a Sunday gathering, and it’s perfect.
Can I use a different type of cake?
Yes. Pound cake and angel food cake are the most common choices, but you can use vanilla sponge cake, ladyfingers, or even shortbread cookies. Just avoid anything too dense or too crumbly. The cake needs to be able to absorb the berry syrup without falling apart.
Is there a way to make this less sweet?
Sure. You can reduce the sugar in the macerated berries to 2 tablespoons instead of 1/4 cup. You can also use less powdered sugar in the cream mixture. The berries themselves provide natural sweetness, so you won’t miss it. If you’re using mascarpone, it’s less sweet than cream cheese, so that helps too.
Pin This Recipe!
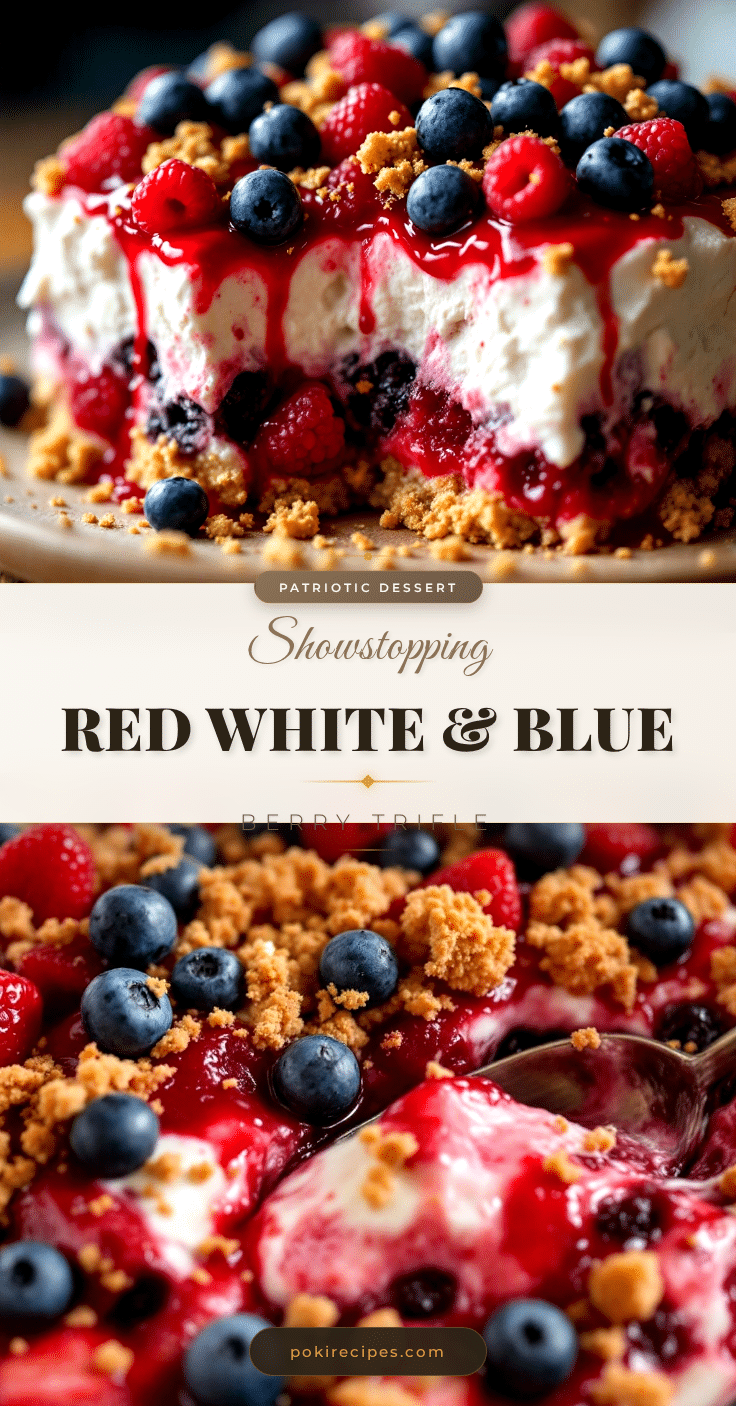
Best Red White and Blue Berry Trifle for Labor Day Dessert

This red, white, and blue berry trifle is a no-bake dessert that layers vanilla cake, fresh berries, and a creamy mascarpone mixture for a stunning patriotic treat. Perfect for Labor Day, it’s easy to assemble and tastes even better when made ahead.
- Prep Time: 20 minutes
- Cook Time: 0 minutes
- Total Time: 4 hours 20 minutes (includes chilling)
- Yield: 12 servings 1x
- Category: Dessert
- Cuisine: American
Ingredients
- 1 store-bought pound cake or angel food cake (about 16 ounces), cut into 1-inch cubes
- 2 cups fresh strawberries, hulled and sliced
- 2 cups fresh blueberries
- 2 cups fresh raspberries
- 2 cups heavy whipping cream
- 1/4 cup powdered sugar
- 1 teaspoon vanilla extract
- 8 ounces mascarpone cheese or cream cheese, softened
- 1/4 cup granulated sugar
- 2 tablespoons fresh lemon juice
- Optional: fresh mint leaves for garnish
Instructions
- Prep the berries: In a medium bowl, combine the sliced strawberries, blueberries, and raspberries. Add 1/4 cup granulated sugar and 2 tablespoons lemon juice. Stir gently to coat. Let this sit for 15-20 minutes while you prepare the other components.
- Whip the cream mixture: In a large mixing bowl, combine the heavy whipping cream, powdered sugar, vanilla extract, and softened mascarpone cheese. Using an electric mixer, start on low speed and gradually increase to medium-high. Whip until stiff peaks form, about 3-4 minutes with a stand mixer or 5-6 minutes with a hand mixer.
- Cube the cake: Cut the pound cake or angel food cake into 1-inch cubes. If using pound cake, leave the crust on. Set the cubes aside in a single layer on a baking sheet or plate.
- Start layering: Spoon about one-third of the macerated berries into the bottom of your trifle dish, including some of the syrup. Spread them into an even layer. Top with half of the cake cubes, arranging them in a single layer as much as possible. Spoon half of the whipped cream mixture over the cake cubes and spread it gently to the edges. Repeat this process: another third of the berries, the remaining cake cubes, and the remaining cream mixture. Finish with the final third of the berries on t…
- Chill: Cover the trifle dish with plastic wrap and refrigerate for at least 4 hours, but overnight is better.
- Garnish and serve: Just before serving, add a few fresh mint leaves on top for color. Use a large spoon to scoop down through all the layers so each serving gets a little bit of everything. Serve cold.
Notes
Don’t skip the maceration step—it creates the syrup that soaks into the cake. Whip cream to stiff peaks for structure. Let the trifle rest overnight for best flavor and texture. Keep refrigerated until serving.
Nutrition
- Serving Size: 1 serving (based on
- Calories: 380
- Sugar: 28
- Sodium: 180
- Fat: 22
- Saturated Fat: 13
- Carbohydrates: 42
- Fiber: 3
- Protein: 5
Keywords: berry trifle, red white and blue dessert, Labor Day dessert, no-bake dessert, patriotic dessert, summer dessert