That first bite. The one where the sticky oats and peanut butter cling to your teeth just long enough for the chocolate chips to start melting on your tongue. It’s a specific kind of chaos—the good kind. I was standing in my kitchen, staring into the abyss of a 3 PM slump, the kind that hits you right after you’ve put the kids down for a nap and the coffee has gone cold. I needed something quick, something that wouldn’t require turning on the oven and heating up the whole house. I grabbed the peanut butter, a handful of oats, and a desperate hope. Honestly, I was just trying to avoid another sad rice cake. What came together in that bowl, in less time than it takes to find a snack in the pantry, was a revelation. These no-bake peanut butter protein energy bites weren’t just a snack; they were a little lifeline. They solved the problem of wanting something sweet, satisfying, and actually good for me, all without any of the fuss. And that’s the thing about a good recipe—it sticks with you, not just in your stomach, but in your memory as that one thing that always works.
Why You’ll Love This Recipe
Let’s be real for a second. How many times have you wanted a healthy snack, only to be let down by something dry, bland, or that crumbles into a million pieces in your bag? These no-bake peanut butter protein energy bites are the exact opposite of that. They are the snack I turn to when I need something reliable.
- Ready in 5 Minutes: No kidding. You can have these mixed, rolled, and chilling in the fridge in the time it takes to find your keys. It’s the ultimate last-minute snack for busy days.
- Simple, Real Ingredients: You won’t find any weird powders or hard-to-pronounce stuff here. Just pantry staples like oats, peanut butter, and honey. It’s the kind of snack you can feel good about eating.
- Perfect for Meal Prep: Make a batch on Sunday, and you have grab-and-go breakfasts, post-workout fuel, or afternoon pick-me-ups all week long. They are a lifesaver for busy weeks, just like these egg muffins for meal prep.
- Naturally Sweet & Satisfying: A little honey or maple syrup is all you need to satisfy that sweet tooth. The peanut butter and oats provide staying power, so you won’t be hungry an hour later.
- Totally Customizable: This is a base recipe, not a rulebook. You can swap in different nut butters, add shredded coconut, or toss in some dried fruit. It’s your snack, your way.
What truly sets these bites apart is the texture. They are perfectly chewy, not too sticky, and just firm enough to hold their shape. They’re not dry or crumbly like some other recipes I’ve tried. This is the version I’ve landed on after years of tweaking—the one that feels like a treat, not a compromise. It’s that simple, honest satisfaction that makes you close your eyes for a second after you pop one in your mouth.
What Ingredients You Will Need
The beauty of this recipe is its simplicity. You probably have most of these ingredients in your pantry right now. Each one plays a specific role in creating the perfect texture and flavor, so let’s break it down.
- 1 cup (100g) Old-Fashioned Rolled Oats: The backbone of these bites. They provide the chewy texture and a good dose of fiber. I prefer old-fashioned oats over quick oats because they hold their shape better and give a heartier bite. Quick oats can work in a pinch, but they’ll result in a softer, more paste-like texture.
- 1/2 cup (130g) Creamy Peanut Butter: This is the glue that holds everything together, literally. I recommend using a natural, no-stir peanut butter (like the kind you have to stir yourself) for the best flavor and texture. Avoid the super-processed stuff with added sugar and hydrogenated oils, as it can make the bites greasy. If your peanut butter is very dry, you might need to add a teaspoon of honey or oil to help it bind.
- 1/3 cup (80ml) Honey or Maple Syrup: For natural sweetness and stickiness. Honey gives a classic flavor, while maple syrup adds a subtle, earthy sweetness. Both work beautifully. If you’re vegan, maple syrup is your best bet.
- 1/4 cup (30g) Protein Powder (Vanilla or Unflavored): This is what gives them the “protein” in their name. I’ve used both vanilla and unflavored whey protein, and they both work great. For a plant-based option, I’ve had good luck with vanilla pea protein. A note of caution: don’t use a collagen protein powder, as it can make the mixture too sticky and difficult to roll.
- 1/3 cup (60g) Mini Chocolate Chips: The little pockets of joy. I use dark chocolate chips for a richer flavor and a bit less sugar, but milk chocolate or semi-sweet are also fantastic. If you’re watching your sugar intake, you can use sugar-free chocolate chips.
- 1/4 cup (30g) Ground Flaxseed or Chia Seeds (Optional): This is my little secret for adding extra fiber, omega-3s, and helping the bites hold together even better. It’s totally optional, but I highly recommend it for the texture boost. If you don’t have either, you can just leave it out.
- 1/2 teaspoon Vanilla Extract: It rounds out the flavors and makes everything taste a little more “baked,” even though there’s no oven involved. A small but mighty ingredient.
- Pinch of Sea Salt: Don’t skip this! A little salt balances the sweetness and makes the peanut butter flavor pop. It’s the difference between a good energy bite and a great one.
Equipment Needed
You don’t need a fancy kitchen to make these. In fact, you probably have everything you need already. The less cleanup, the better, right?
- Large Mixing Bowl: Any bowl big enough to hold all the ingredients without spilling over will do.
- Measuring Cups & Spoons: For accuracy. I’m a big fan of using proper measuring cups for dry ingredients and liquid measures for the honey and peanut butter.
- Rubber Spatula or Wooden Spoon: For mixing everything together. A sturdy spatula works best to get all the peanut butter incorporated.
- Baking Sheet or Plate: To place the rolled bites on before they go into the fridge. Line it with parchment paper for easy clean-up.
- Parchment Paper: Not strictly necessary, but it makes life so much easier.
- Airtight Container: For storing the finished bites in the fridge. A glass or plastic container with a tight-fitting lid is perfect.
Preparation Method
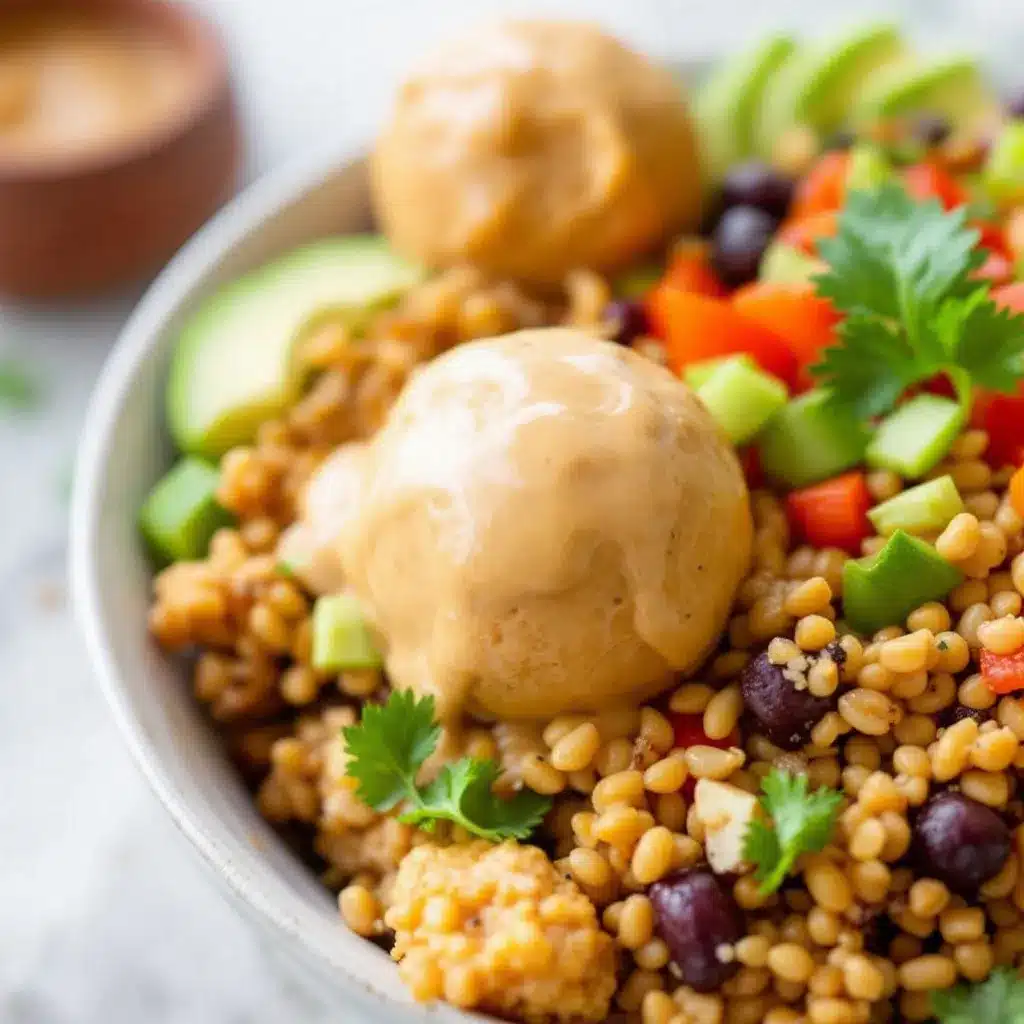
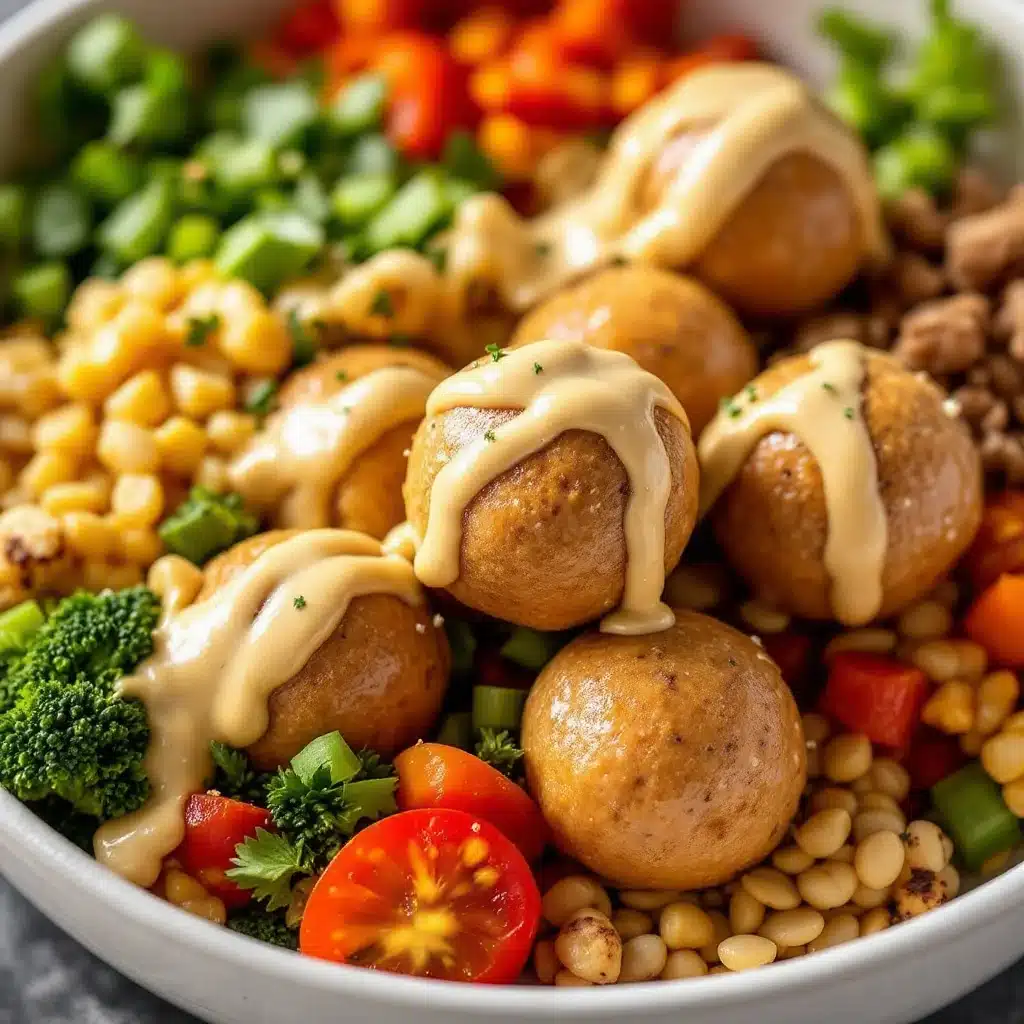
Alright, let’s get to the fun part. This is so easy, you’ll wonder why you ever bought pre-made energy bars. Follow these steps, and you’ll have a batch of deliciousness in no time.
- Combine the Dry Ingredients: In your large mixing bowl, add the rolled oats, protein powder, ground flaxseed (if using), and the pinch of sea salt. Give it a quick stir with your spatula to make sure everything is evenly distributed. This step ensures your protein powder doesn’t clump up later.
- Add the Wet Ingredients: Spoon the peanut butter and honey (or maple syrup) into the bowl with the dry ingredients. Add the vanilla extract. Don’t worry if the peanut butter is a bit stiff; it will soften as you mix.
- Mix Until Combined: This is where the arm workout comes in. Using your rubber spatula, stir everything together. Start slowly, folding the dry ingredients into the wet. The mixture will look a bit crumbly at first, but keep going. Press the mixture against the sides of the bowl to help it come together. You want a uniform, slightly sticky dough that holds together when you squeeze it. If it’s too dry, add a teaspoon more of honey or a splash of milk. If it’s too sticky, add a tablespoon more of oats.
- Fold in the Chocolate Chips: Once the base is fully combined, gently fold in the mini chocolate chips. Make sure they are evenly distributed throughout the dough. You don’t want one bite to have all the chocolate!
- Chill the Mixture (Optional but Recommended): For the easiest rolling, pop the bowl in the fridge for about 15-20 minutes. This firms up the peanut butter and makes the dough less sticky to handle. If you’re in a hurry, you can skip this step, but it does make the process a little neater.
- Roll into Bites: Line your baking sheet or plate with parchment paper. Scoop out about 1 to 1.5 tablespoons of the mixture. Roll it between your palms to form a smooth ball. If the mixture is sticking to your hands, lightly dampen your palms with a little water. Place the finished ball on the prepared baking sheet. Repeat with the remaining mixture. You should get about 16-18 bites, depending on the size.
- Final Chill: Place the baking sheet with the rolled bites in the refrigerator for at least 30 minutes. This allows them to set up completely. They will be a bit soft at room temperature but will firm up nicely in the fridge.
Cooking Tips & Techniques
After making these more times than I can count, I’ve learned a few tricks that make the process even smoother. Trust me, a little know-how goes a long way.
- The Sticky Hands Solution: This is the number one complaint I hear. If the mixture is sticking to your hands like crazy, just wet your palms with a little cold water. The moisture creates a barrier, and the balls will roll out perfectly smooth. Don’t use oil, as it can make the bites greasy.
- Texture Troubleshooting: The biggest variable is your peanut butter. A super oily, natural peanut butter can make the mixture too wet and greasy. If this happens, add a tablespoon or two of extra oats or some unsweetened shredded coconut to soak up the excess moisture. If your peanut butter is very dry and thick, the mixture will be crumbly. Add a teaspoon of honey or a splash of milk until it comes together.
- Don’t Over-Mix: Once you’ve added the chocolate chips, mix just until they’re incorporated. Over-mixing can start to break down the oats, resulting in a denser, less pleasant texture. You want those oats to stay intact for a good chew.
- Make Them Uniform: Using a small cookie scoop (about 1.5 tablespoons) ensures all your bites are the same size. This helps them chill evenly and makes portion control a breeze. It’s a small tool that makes a big difference.
- Let Them Rest: I know it’s tempting to eat one right away, but the 30-minute chill in the fridge is non-negotiable for the best texture. It allows the oats to absorb some of the moisture and the peanut butter to firm up, giving you that perfect, chewy bite.
Variations & Adaptations
This recipe is a fantastic canvas for your own creativity. Don’t be afraid to experiment! Here are a few of my favorite twists.
- Chocolate Peanut Butter Dream: Use chocolate protein powder instead of vanilla, and swap the mini chocolate chips for white chocolate chips or chopped dark chocolate. It’s like eating a cookie dough ball.
- Trail Mix Bites: Reduce the chocolate chips to 1/4 cup and add 1/4 cup of your favorite trail mix ingredients. Think chopped dried cranberries, unsweetened coconut flakes, and a handful of chopped almonds or pecans. The different textures are amazing.
- Vegan & Gluten-Free: This recipe is already easily adaptable. Use maple syrup instead of honey, and a plant-based protein powder (like pea or brown rice protein). Make sure to use certified gluten-free rolled oats. That’s it! You have a perfectly vegan and gluten-free snack.
- Spiced Pumpkin Pie Bites: For a fall twist, add 1 teaspoon of pumpkin pie spice and 2 tablespoons of pumpkin puree to the wet ingredients. You might need to add an extra tablespoon of oats to balance the moisture. It’s a cozy, seasonal treat.
- Peanut Butter & Jelly: This is a personal favorite of mine. Use dried strawberries or freeze-dried raspberries instead of chocolate chips. You get that classic PB&J flavor in a portable, no-mess bite. It’s a fun twist for lunchboxes.
Serving & Storage Suggestions
These no-bake peanut butter protein energy bites are best served cold, straight from the fridge. The texture is firm and chewy, which is just perfect. You can also let them sit at room temperature for 5-10 minutes if you prefer a softer bite, but I find they hold their shape much better when chilled.
They are incredibly versatile. Pack a couple in your bag for a post-workout snack, a mid-afternoon energy boost, or a quick breakfast on the go. They pair wonderfully with a cup of coffee or a glass of cold milk. For a fun party platter, arrange them on a board with fresh fruit and a few other easy snack ideas.
Storage: Store the bites in an airtight container in the refrigerator. They will stay fresh and delicious for up to one week. I usually line the container with a paper towel to absorb any excess moisture, which helps them stay firm.
Freezing: These freeze beautifully! Place the rolled bites on a baking sheet and freeze for about an hour, or until solid. Then, transfer them to a freezer-safe bag or container. They can be frozen for up to 3 months. You can eat them straight from the freezer (they’re like little protein ice cream bites!) or let them thaw in the fridge for a few hours.
Nutritional Information & Benefits
These bites aren’t just delicious; they are packed with good-for-you ingredients. One bite (based on a recipe making 16 bites) provides a fantastic balance of macronutrients to keep you fueled and satisfied.
Estimated Nutritional Information (per bite):
- Calories: 150-170
- Fat: 8-10g
- Carbohydrates: 16-18g
- Fiber: 3-4g
- Sugar: 8-10g (from honey/chocolate chips)
- Protein: 7-8g
The combination of oats and peanut butter provides a steady release of energy, while the protein powder helps with muscle repair and keeps you feeling full. The flaxseed or chia seeds are a fantastic source of omega-3 fatty acids and fiber, which are great for heart and digestive health. These are a much better choice than a processed granola bar, offering real food nutrition without any of the junk. They are naturally gluten-free (with certified oats) and can easily be made vegan. Just be mindful of the chocolate chips if you are sensitive to dairy.
Conclusion
So there you have it. A ridiculously easy, incredibly satisfying, and totally customizable snack that comes together in just 5 minutes. These no-bake peanut butter protein energy bites have become a staple in my kitchen, and I have a feeling they will in yours too. They’re the perfect solution for those moments when you need something good, fast, and real. I love knowing I have a batch ready in the fridge for those chaotic afternoons. They’re a little win, every single time.
Now it’s your turn! I’d love to hear how you customize them. Did you try the PB&J version? Or maybe you added some coconut? Drop a comment below and share your creation. Don’t forget to pin this recipe for later, and happy snacking!
Frequently Asked Questions
Can I use quick oats instead of rolled oats?
Yes, you can. However, the texture will be much softer and less chewy. The bites will also be a bit more delicate and might not hold their shape as well. If you only have quick oats, I recommend using a little less honey or peanut butter to compensate for the finer texture.
My mixture is too dry and crumbly. What do I do?
This usually happens if your peanut butter is on the thicker, drier side. The fix is simple: add a little more liquid. Start with one extra teaspoon of honey or maple syrup. You can also add a splash of milk (dairy or plant-based) or a teaspoon of melted coconut oil. Mix well and see if it comes together.
Can I make these without protein powder?
Absolutely! The protein powder adds a boost, but it’s not essential for the recipe to work. Simply omit it and add an extra 1/4 cup of rolled oats to maintain the right texture. You may also need a tiny bit more honey to help everything bind.
How long do these energy bites last at room temperature?
They are best kept in the fridge. At room temperature, the peanut butter can soften, and the bites may become a bit sticky. They will be safe to eat for a few hours, but for the best texture and to keep them from falling apart, I always recommend storing them in the refrigerator.
Can I use a different nut butter?
Yes, you can use any nut or seed butter you like! Almond butter, cashew butter, sunflower seed butter, or even tahini all work well. Just be aware that the flavor and texture will change slightly. For a nut-free option, sunflower seed butter is a fantastic choice.
Pin This Recipe!
Best No-Bake Peanut Butter Energy Bites (5 Minutes)

These no-bake peanut butter protein energy bites are a quick, healthy snack made with simple pantry staples like oats, peanut butter, and honey. Ready in just 5 minutes, they are perfect for meal prep and customizable with your favorite add-ins.
- Prep Time: 5 minutes
- Cook Time: 0 minutes
- Total Time: 5 minutes (plus 30 minutes chilling time)
- Yield: 16-18 bites 1x
- Category: Snack
- Cuisine: American
Ingredients
- 1 cup (100g) old-fashioned rolled oats
- 1/2 cup (130g) creamy peanut butter
- 1/3 cup (80ml) honey or maple syrup
- 1/4 cup (30g) vanilla or unflavored protein powder
- 1/3 cup (60g) mini chocolate chips
- 1/4 cup (30g) ground flaxseed or chia seeds (optional)
- 1/2 teaspoon vanilla extract
- Pinch of sea salt
Instructions
- In a large mixing bowl, combine the rolled oats, protein powder, ground flaxseed (if using), and sea salt. Stir to distribute evenly.
- Add the peanut butter, honey (or maple syrup), and vanilla extract to the bowl with the dry ingredients.
- Mix everything together with a rubber spatula until a uniform, slightly sticky dough forms. If too dry, add a teaspoon more honey or a splash of milk; if too sticky, add a tablespoon more oats.
- Gently fold in the mini chocolate chips until evenly distributed.
- For easier rolling, chill the mixture in the refrigerator for 15-20 minutes (optional but recommended).
- Line a baking sheet or plate with parchment paper. Scoop about 1 to 1.5 tablespoons of the mixture and roll into smooth balls. If sticky, lightly dampen your palms with water.
- Place the rolled bites on the prepared baking sheet. Refrigerate for at least 30 minutes to set.
- Store in an airtight container in the refrigerator for up to one week, or freeze for up to 3 months.
Notes
For best texture, chill the bites for at least 30 minutes. If the mixture is too sticky, wet your hands with cold water before rolling. Customize with different nut butters, add-ins like dried fruit or coconut, or use chocolate protein powder for a richer flavor. These bites are freezer-friendly for up to 3 months.
Nutrition
- Serving Size: 1 bite
- Calories: 150170
- Sugar: 810
- Sodium: 5080
- Fat: 810
- Saturated Fat: 23
- Carbohydrates: 1618
- Fiber: 34
- Protein: 78
Keywords: no-bake energy bites, peanut butter protein balls, healthy snack, gluten-free snack, vegan energy bites, meal prep snack, 5-minute recipe