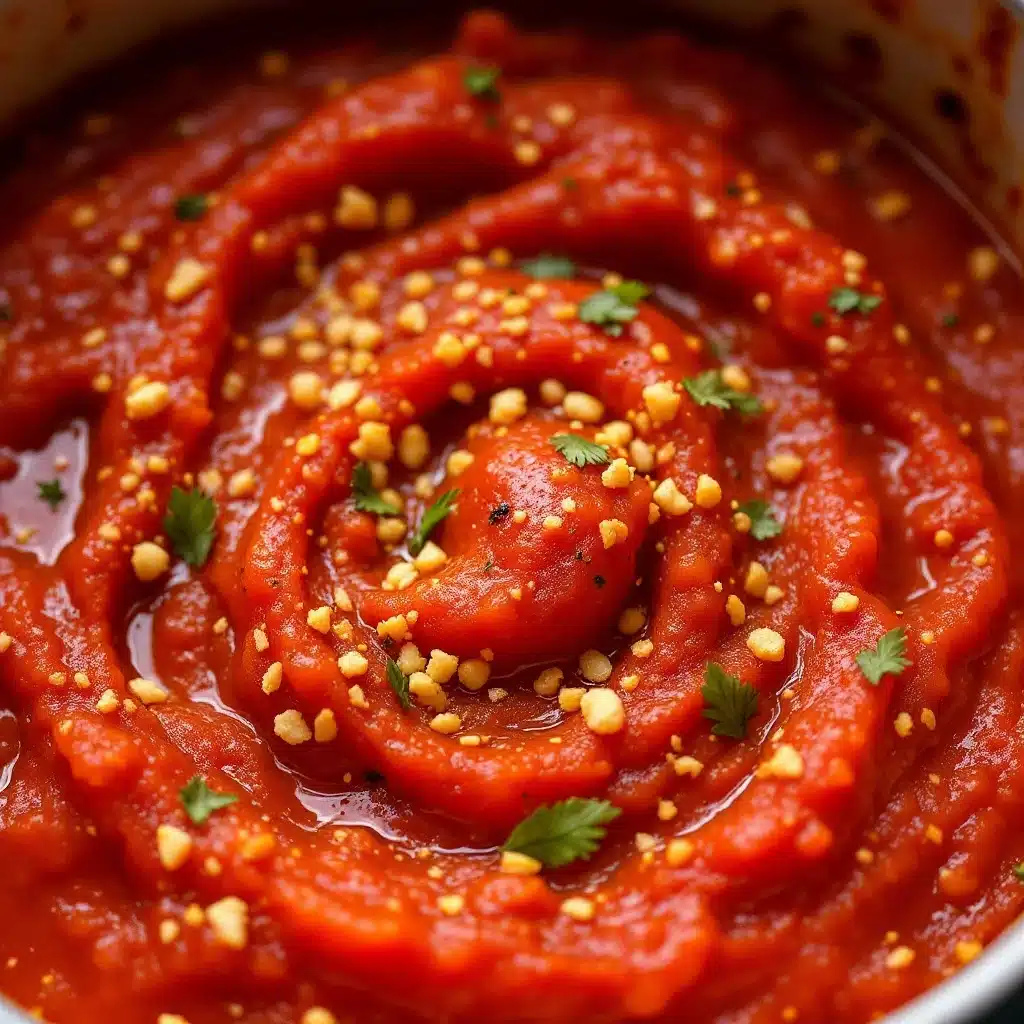
I did not trust my oven to make a good canned tomato sauce. The whole idea felt wrong, honestly. My grandmother’s jars lined the pantry shelves like soldiers, each one a testament to the stovetop method she swore by. Low and slow, she’d say, stirring a pot so big you could lose a small child in it. So when a friend handed me a jar of her “roasted” sauce last fall, I took it out of politeness, not curiosity. I figured it would be burnt tasting, or worse, watery and disappointing. I sat on that jar for two weeks. Then a rainy Sunday hit, I needed pasta, and I cracked it open out of sheer laziness. The smell that came out of that jar was a total surprise. It was sweet, concentrated, almost jammy, with a richness that stovetop sauce never gets in the same way. I stood over the sink eating a spoonful, and I realized I had been wrong. Dead wrong. That jar of sauce changed my mind about the whole process.
Now, I’m not one to abandon tradition lightly. But this small-batch roasted tomato sauce for canning is the best of both worlds. You get the deep, caramelized flavor of roasted tomatoes with the safety and shelf-stability of a properly canned product. It’s not a replacement for my grandmother’s recipe. It’s a new chapter, one that uses less energy, fills fewer jars, and delivers a flavor punch that feels almost unfair for how little work it requires. This is the sauce I make when I have a glut of Roma tomatoes from the garden but not enough to justify firing up the canner for eight hours. It’s honest, it’s simple, and it just works.
Why You’ll Love This Recipe
This isn’t just another tomato sauce recipe. I’ve tested this one until my kitchen counters were covered in jars, and I can tell you with confidence, this small-batch method is a game changer for the home cook.
- Small-Batch Friendly: This recipe is designed for 4 to 5 pounds of tomatoes. No need to buy a bushel. Perfect for a weekend project that doesn’t take over your whole day.
- Deep, Concentrated Flavor: Roasting the tomatoes concentrates their natural sugars and adds a subtle smokiness you can’t get from a stovetop simmer. It’s like summer in a jar, but better.
- Simple Ingredients: You only need tomatoes, onions, garlic, olive oil, and a few herbs. Nothing fancy, nothing processed.
- Perfect for Gifts: A jar of this golden-red sauce makes a better gift than anything you can buy at the store. Tie a ribbon around it, and you’re a hero.
- Water Bath Canner Safe: This recipe is formulated to be safely processed in a water bath canner. It’s properly acidified, so you can store it on your shelf with confidence.
- Versatile Base: Use it for pasta, pizza, braised meats, or as a dipping sauce for homemade bread. It’s a workhorse in the kitchen.
What makes this recipe different from the rest is the roasting technique. Most small-batch canning recipes just dump everything in a pot. By roasting first, you unlock a flavor profile that tastes like you spent all day tending a pot, when really you just let the oven do the heavy lifting.
What Ingredients You Will Need
This recipe relies on a short list of high-quality ingredients. Since we are working small-batch, you can afford to get the good stuff. Here is what you need to gather:
- Roma Tomatoes (4-5 pounds): These are my go-to for canning. They are meaty, have fewer seeds, and less water content than beefsteak or heirloom varieties. This means your sauce thickens faster and has a richer texture. Look for tomatoes that are firm, deeply red, and fragrant. If you cannot find Romas, San Marzano paste tomatoes are also excellent.
- Yellow Onion (1 large): One large onion, roughly chopped, adds a savory backbone to the sauce. I prefer yellow for its balance of sweetness and bite, but a sweet Vidalia would work too.
- Garlic (6-8 cloves): Do not skimp here. Roasted garlic turns sweet and nutty, losing its sharp edge. Smash the cloves with the flat of your knife to help them release their flavor during roasting.
- Extra Virgin Olive Oil (¼ cup): A good quality olive oil is crucial. It helps the vegetables caramelize and adds richness to the final sauce. I use a California brand that is fruity but not too peppery.
- Fresh Basil (½ cup, packed): Fresh basil adds a bright, peppery note that dried basil cannot replicate. You will add this after roasting to preserve its flavor.
- Dried Oregano (1 teaspoon): Oregano adds a subtle earthiness. I prefer Mediterranean oregano over Mexican oregano for this recipe.
- Salt (2 teaspoons, plus more to taste): Use a good quality sea salt or kosher salt. Avoid iodized table salt, which can leave a metallic taste in canned goods.
- Black Pepper (1 teaspoon, freshly ground): Freshly ground pepper makes a difference. Pre-ground pepper can taste flat and dusty.
- Bottled Lemon Juice (2 tablespoons): This is non-negotiable for safe canning. You must use bottled lemon juice, not fresh, because the acidity level is standardized. This ensures your sauce is safe for water bath canning.
Equipment Needed
You do not need a fancy kitchen to make this recipe, but a few specific tools will make the process smoother and safer.
- Large Rimmed Baking Sheet (Half-Sheet Pan): You want a heavy-duty pan with sides to catch the tomato juices. A flimsy cookie sheet will warp in the high heat.
- Parchment Paper (optional but helpful): Lining your pan makes cleanup a breeze. The tomato sugars can get sticky and burnt on the pan.
- Food Mill or Food Processor: A food mill is ideal because it separates the skins and seeds from the pulp, giving you a silky smooth sauce. If you do not have one, a food processor works, but you will need to peel the tomatoes first. I have done it both ways, and the food mill is worth the investment if you can a lot.
- Large Pot or Dutch Oven: You need a heavy-bottomed pot to simmer the sauce down after roasting. A 5 to 6-quart Dutch oven works perfectly.
- Water Bath Canner: This is a large pot with a rack. You can also use a deep stockpot, as long as it is deep enough to cover the jars by at least 1 inch of water.
- Canning Jars (Pint or Half-Pint): This recipe makes about 3 to 4 pints. Use standard Mason jars with new lids and clean bands.
- Jar Lifter and Canning Funnel: These tools are cheap and prevent burns and spills. Do not try to lift hot jars with tongs. I learned that the hard way.
- Kitchen Towels: Have a clean towel ready to place hot jars on. Avoid cold countertops, which can shock the glass and cause cracking.
Preparation Method
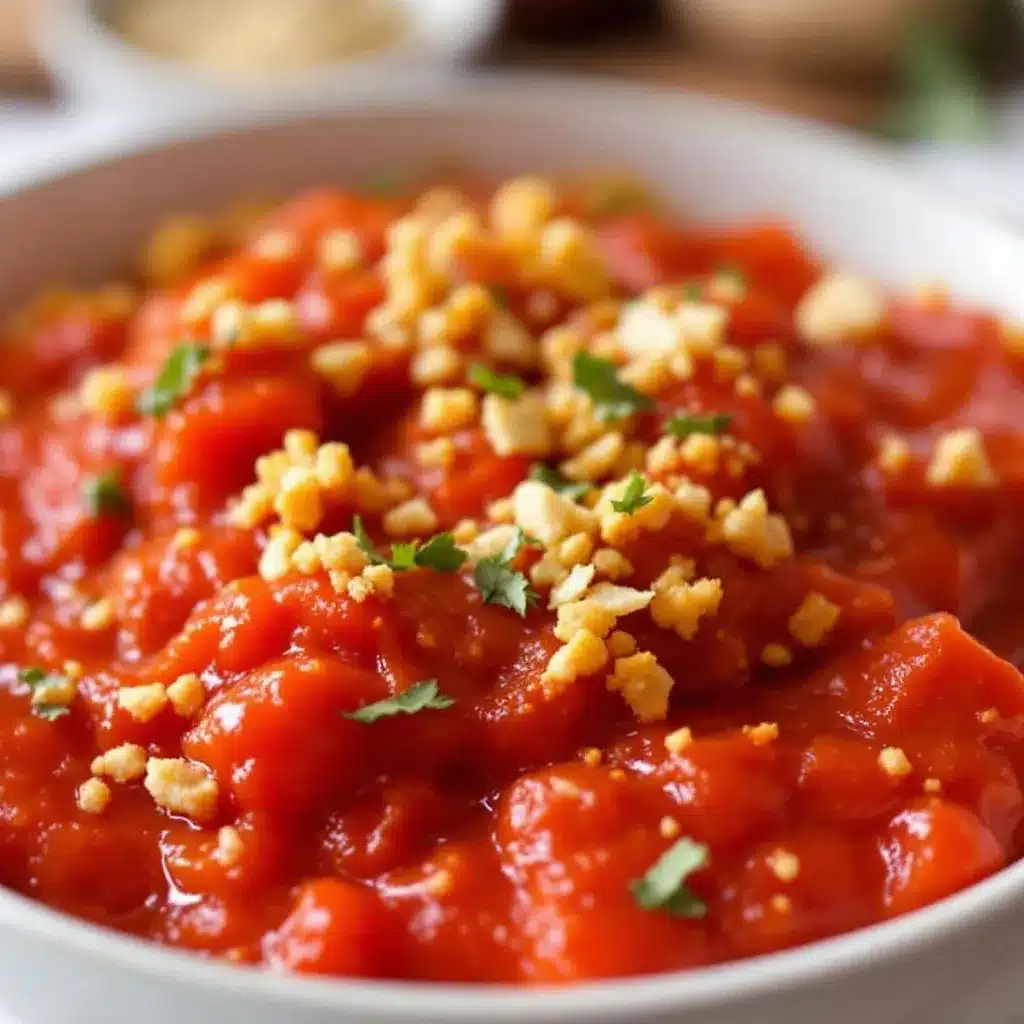
Alright, let’s get to the good part. This method is straightforward, but paying attention to the details makes all the difference between a good sauce and a great one.
- Preheat and Prep: Preheat your oven to 400°F (200°C). Wash your tomatoes and remove the cores. Cut any large tomatoes in half. Smaller ones can stay whole. You want uniform pieces for even roasting.
- Roast the Vegetables: On your large rimmed baking sheet, toss the tomatoes, chopped onion, and smashed garlic cloves with the olive oil, salt, and pepper. Spread them in a single layer. Do not overcrowd the pan, or they will steam instead of roast. Roast for 45 to 60 minutes, until the tomatoes are wrinkled, the onions are soft and browned at the edges, and the garlic is golden and squishy. The smell at this point is intoxicating.
- Cool Slightly: Let the roasted vegetables cool on the pan for about 10 minutes. This makes them safer to handle and prevents steam burns when you process them.
- Process the Sauce: If using a food mill, set it up over a large bowl. Run the roasted vegetables and their juices through the mill. You will be left with a smooth, seedless sauce and a pile of dry skins and seeds in the mill. If using a food processor, you will need to peel the skins off the tomatoes first (they should slip off easily after roasting). Then pulse the vegetables until you reach your desired consistency. I prefer a slightly chunky sauce, so I only pulse a few times.
- Simmer and Reduce: Pour the processed sauce into your large pot. Add the dried oregano and fresh basil. Bring it to a gentle simmer over medium heat. Reduce the heat to low and let it cook, stirring occasionally, for 20 to 30 minutes. You want it to thicken slightly. It should coat the back of a spoon. Taste it and adjust the salt and pepper. Remember, the flavors will concentrate a bit more during canning.
- Add the Acid: This is the most important step for safety. Stir in the 2 tablespoons of bottled lemon juice. This ensures the sauce has a safe pH level for water bath canning. Give it one last stir.
- Prepare the Canner and Jars: While the sauce simmers, fill your water bath canner with water and bring it to a boil. Wash your jars, lids, and bands in hot, soapy water. Keep the jars hot in the canner or in a 200°F oven until you are ready to fill them. The lids should be placed in a small bowl of hot water (not boiling) to soften the sealing compound.
- Fill the Jars: Using your canning funnel, ladle the hot sauce into the hot jars, leaving ½-inch headspace. Headspace is the empty space between the top of the sauce and the rim of the jar. Use a chopstick or a bubble remover tool to run along the inside of the jar to release any trapped air bubbles. Wipe the rims of the jars with a clean, damp paper towel. Any food residue on the rim can prevent a proper seal.
- Apply Lids and Bands: Center a lid on each jar. Screw the band on until it is fingertip-tight. Do not overtighten. You want air to be able to escape during processing.
- Process in the Canner: Using your jar lifter, carefully lower the jars into the boiling water in the canner. Make sure the jars are covered by at least 1 inch of water. Put the lid on the canner and bring the water back to a full, rolling boil. Process pint jars for 35 minutes. Half-pint jars for 30 minutes. Adjust for altitude if you are above 1,000 feet.
- Cool and Check Seals: After the processing time is up, turn off the heat and remove the lid. Let the jars sit in the water for 5 minutes. Then, using your jar lifter, remove them to a clean kitchen towel on the counter. Do not tighten the bands. Let them cool, undisturbed, for 12 to 24 hours. You will hear the satisfying “pop” of the lids sealing as they cool. After they are cool, press down on the center of each lid. If it does not flex, the jar is sealed. If it pops up and down, refrigerate that jar and use it first.
Cooking Tips & Techniques
I have made this sauce about a dozen times now, and I have made every mistake in the book. Here is what I have learned so you do not have to repeat my failures.
Don’t skip the roasting time. The first time I made this, I pulled the tomatoes out after 30 minutes because they looked “done.” They were not. The sauce ended up tasting like plain canned tomatoes, not roasted ones. The caramelization takes a full 45 to 60 minutes. Let the edges get dark and a little charred. That char is where the flavor lives.
Watch the headspace. I once got distracted and filled a jar too full. During processing, the sauce bubbled out from under the lid, and the jar did not seal. It was a total waste of sauce and a jar. Measure that ½ inch carefully.
Use a food mill if you can. I know it is another gadget, but it saves you the tedious step of peeling hot tomatoes. The mill removes the skins and seeds in one go, giving you a velvety texture. If you do use a food processor, you must peel the tomatoes. The skins will turn into tough, papery bits in your sauce, and nobody wants that.
Multitask wisely. While the tomatoes are roasting, get your jars washed and your canner filled with water. This saves you about 20 minutes of waiting later. I put the kettle on to boil for the canner while the tomatoes are in the oven.
Do not skip the lemon juice. I know some bloggers say you can use fresh lemon juice or vinegar. Do not listen. For safe canning, you need a standardized acidity level. Bottled lemon juice is tested and guaranteed to be 5% acidity. Fresh lemons vary. Use the bottled stuff. Your health is worth more than the taste difference.
Variations & Adaptations
One of the best things about this sauce is how adaptable it is. Here are a few ways I have tweaked it over the years.
Spicy Arrabbiata Version: Add 2 to 3 dried red chili peppers to the baking sheet with the tomatoes. Roast them right along with everything else. The heat will infuse the oil and the sauce. Remove the peppers before processing. It adds a warm, subtle kick without being overwhelming.
Herb-Infused Variation: Swap the fresh basil for a mix of fresh thyme and rosemary. Add a couple of sprigs to the pot while the sauce simmers. Remove them before canning. This version is incredible for braising meats or making a hearty Sunday gravy.
Roasted Garlic & Onion Base: Double the amount of garlic and onions. The result is a sweeter, more savory sauce that tastes almost like a French onion soup met a tomato. I use this base for my 5-ingredient pesto pasta when I want a richer flavor profile.
Smoky Chipotle Twist: Add 1 to 2 chipotle peppers in adobo sauce to the pot during the simmering stage. This creates a smoky, slightly spicy sauce that is perfect for enchiladas or tacos. Just remember to wear gloves when handling chipotles, or you will regret it when you touch your eye later.
No-Canner Option: If you do not want to fire up the water bath canner, you can simply refrigerate the sauce for up to a week or freeze it. Let the sauce cool completely, then pour it into freezer-safe bags or containers. It will keep in the freezer for up to 6 months.
Serving & Storage Suggestions
This sauce is a workhorse, and how you serve it can change the whole mood of a meal.
Serving Temperature: Serve the sauce hot, straight from the jar after reheating. I like to warm it gently in a saucepan over low heat. Do not boil it aggressively, or the roasted flavors can become dull.
Presentation: For a simple weeknight dinner, toss it with al dente pasta and a handful of fresh grated Parmesan. For something fancier, spoon it over grilled chicken or fish. It also makes an incredible base for dump Mississippi chicken in the slow cooker. The roasted flavor stands up beautifully to the rich meat.
Storage: Sealed jars can be stored in a cool, dark pantry for up to 18 months. Once opened, refrigerate the jar and use it within 5 to 7 days. The flavor actually deepens and melds after a few weeks in the jar. It is one of those rare things that gets better with age.
Reheating: Pour the sauce into a small saucepan and warm it over medium-low heat, stirring occasionally. If the sauce has thickened too much in the jar, add a splash of pasta water or chicken broth to loosen it up. Do not microwave it in the jar, as the metal lid can spark.
Nutritional Information & Benefits
This sauce is naturally healthy, and it is one of the reasons I feel good about eating it all winter long.
- Calories: Approximately 45 calories per ½ cup serving.
- Fat: 3g (mostly from healthy olive oil).
- Carbohydrates: 5g.
- Fiber: 1g.
- Vitamin C: High. Tomatoes are an excellent source of vitamin C, which is preserved quite well through the canning process.
- Lycopene: This antioxidant is actually more bioavailable in cooked and canned tomatoes than in raw ones. Roasting increases the lycopene content, making this sauce a powerhouse for heart health.
- Dietary Considerations: This recipe is naturally gluten-free, dairy-free, vegan, and nut-free. It is also low in sugar, with no added sweeteners.
- Allergens: None, unless you have a specific allergy to nightshades.
I love knowing that a jar of this sauce is not just delicious, but it is also a genuinely good-for-you pantry staple.
Conclusion
This small-batch roasted tomato sauce for canning is the recipe that made me a believer. It proved that you do not need a massive harvest or a full day in the kitchen to create something worth preserving. The flavor is deep, the method is forgiving, and the results are consistently fantastic. I hope you give it a try, whether you are a seasoned canner or a total beginner. Customize it with your favorite herbs, adjust the heat to your liking, and make it your own. I love this recipe because it makes me feel connected to the season, even in the dead of winter. When I open a jar in January, I can taste the summer sun.
Have you tried making roasted tomato sauce? What is your favorite way to use it? Drop a comment below and let me know. I read every single one, and I love hearing about your kitchen adventures. Happy canning!
Frequently Asked Questions
Can I use any type of tomato for this recipe?
Yes, but Roma or San Marzano tomatoes are best because they are meatier and have less water. If you use beefsteak or heirloom tomatoes, you will need to simmer the sauce longer to thicken it. The flavor will still be great, but the texture will be different.
Do I have to use bottled lemon juice?
Yes, for safe water bath canning, you must use bottled lemon juice. It has a standardized acidity level of 5%, which ensures the sauce is safe from botulism. Fresh lemon juice can vary in acidity and is not reliable for canning.
Can I double this recipe?
Absolutely. You can easily double or triple the ingredients. Just make sure you use a larger baking sheet or roast the vegetables in batches. Overcrowding the pan will cause the tomatoes to steam instead of roast, and you will lose that caramelized flavor.
How long will this sauce last in the pantry?
Properly sealed jars of this sauce will last for 12 to 18 months in a cool, dark pantry. Always check the seal before opening. If the lid flexes up and down, the seal is broken, and you should refrigerate the jar and use it within a week.
Can I leave the herbs whole in the jar?
It is better to remove large herb stems before canning. Whole basil leaves can become mushy and unappetizing. I recommend adding fresh herbs during the simmering stage and then removing them before filling the jars. You can add a fresh sprig of basil to the jar before filling if you want the visual effect, but know it will lose its texture.
Pin This Recipe!
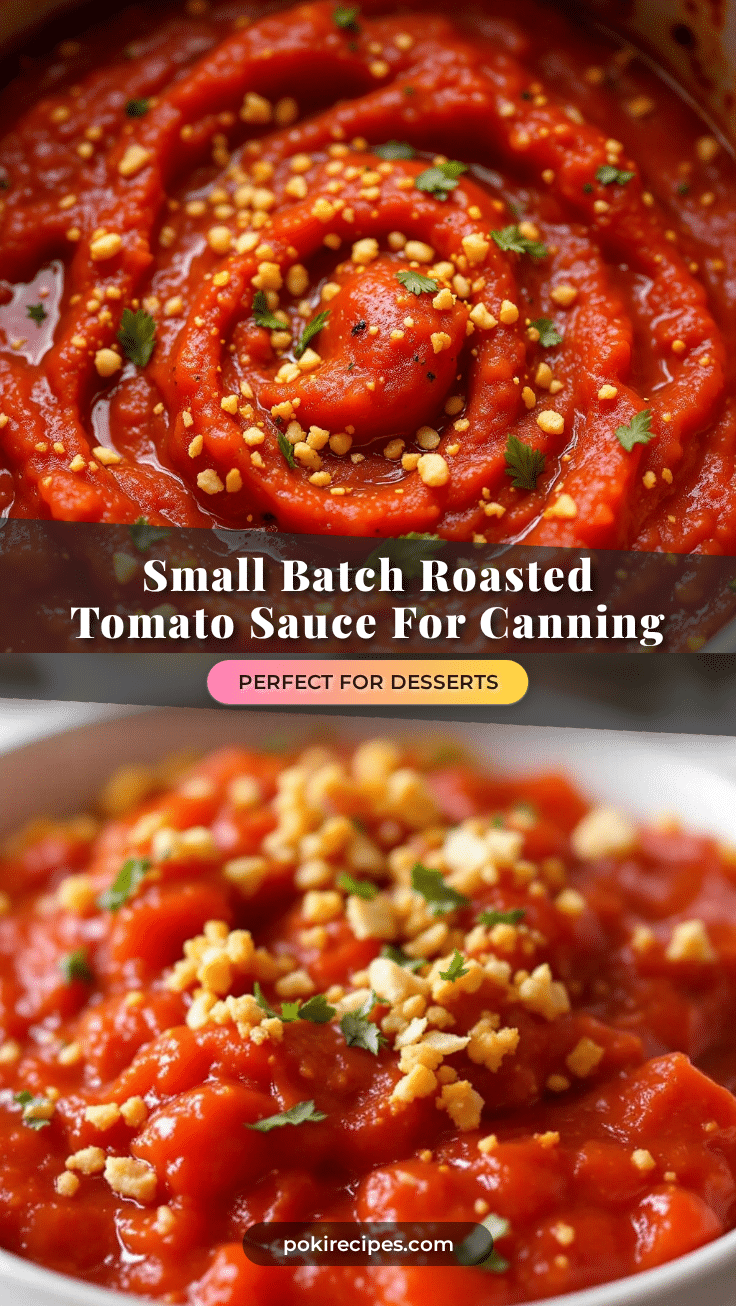
Small-Batch Roasted Tomato Sauce for Canning (Easy & Best Recipe)

This small-batch roasted tomato sauce for canning delivers deep, caramelized flavor with minimal effort. Perfect for a weekend project, it yields a rich, shelf-stable sauce that tastes like summer in a jar.
- Prep Time: 15 minutes
- Cook Time: 1 hour 30 minutes
- Total Time: 2 hours 45 minutes
- Yield: 3-4 pints 1x
- Category: Main Course
- Cuisine: Italian
Ingredients
- 4–5 pounds Roma tomatoes (or San Marzano paste tomatoes)
- 1 large yellow onion, roughly chopped
- 6–8 cloves garlic, smashed
- ¼ cup extra virgin olive oil
- ½ cup fresh basil, packed
- 1 teaspoon dried oregano
- 2 teaspoons sea salt or kosher salt, plus more to taste
- 1 teaspoon freshly ground black pepper
- 2 tablespoons bottled lemon juice
Instructions
- Preheat oven to 400°F (200°C). Wash tomatoes and remove cores. Cut large tomatoes in half; smaller ones can stay whole.
- On a large rimmed baking sheet, toss tomatoes, chopped onion, and smashed garlic with olive oil, salt, and pepper. Spread in a single layer. Roast for 45-60 minutes until tomatoes are wrinkled, onions are soft and browned, and garlic is golden and squishy.
- Let roasted vegetables cool on the pan for about 10 minutes.
- If using a food mill, run the roasted vegetables and their juices through the mill into a large bowl to get a smooth, seedless sauce. If using a food processor, peel the skins off the tomatoes first (they should slip off easily), then pulse until desired consistency.
- Pour the processed sauce into a large pot. Add dried oregano and fresh basil. Bring to a gentle simmer over medium heat, then reduce heat to low and cook, stirring occasionally, for 20-30 minutes until thickened slightly. Adjust salt and pepper to taste.
- Stir in 2 tablespoons bottled lemon juice.
- While sauce simmers, fill water bath canner with water and bring to a boil. Wash jars, lids, and bands in hot, soapy water. Keep jars hot in the canner or in a 200°F oven. Place lids in a small bowl of hot water to soften sealing compound.
- Using a canning funnel, ladle hot sauce into hot jars, leaving ½-inch headspace. Run a chopstick or bubble remover along the inside of the jar to release air bubbles. Wipe jar rims with a clean, damp paper towel.
- Center a lid on each jar and screw the band on until fingertip-tight.
- Using a jar lifter, lower jars into the boiling water in the canner. Ensure jars are covered by at least 1 inch of water. Cover canner and bring water back to a full rolling boil. Process pint jars for 35 minutes, half-pint jars for 30 minutes. Adjust for altitude if above 1,000 feet.
- After processing, turn off heat and remove lid. Let jars sit in water for 5 minutes. Remove jars to a clean kitchen towel on the counter. Do not tighten bands. Let cool undisturbed for 12-24 hours. Check seals: press down on the center of each lid; if it does not flex, the jar is sealed. If it pops up and down, refrigerate and use first.
Notes
Don’t skip the roasting time; a full 45-60 minutes is needed for proper caramelization. Measure headspace carefully to ensure seals. Use a food mill if possible to avoid peeling tomatoes. Bottled lemon juice is essential for safe canning—do not substitute fresh lemon juice. Sealed jars can be stored in a cool, dark pantry for up to 18 months. Once opened, refrigerate and use within 5-7 days.
Nutrition
- Serving Size: ½ cup
- Calories: 45
- Sugar: 3
- Sodium: 200
- Fat: 3
- Saturated Fat: 0.5
- Carbohydrates: 5
- Fiber: 1
- Protein: 1
Keywords: roasted tomato sauce, small-batch canning, homemade tomato sauce, water bath canning, Roma tomatoes, easy canning recipe