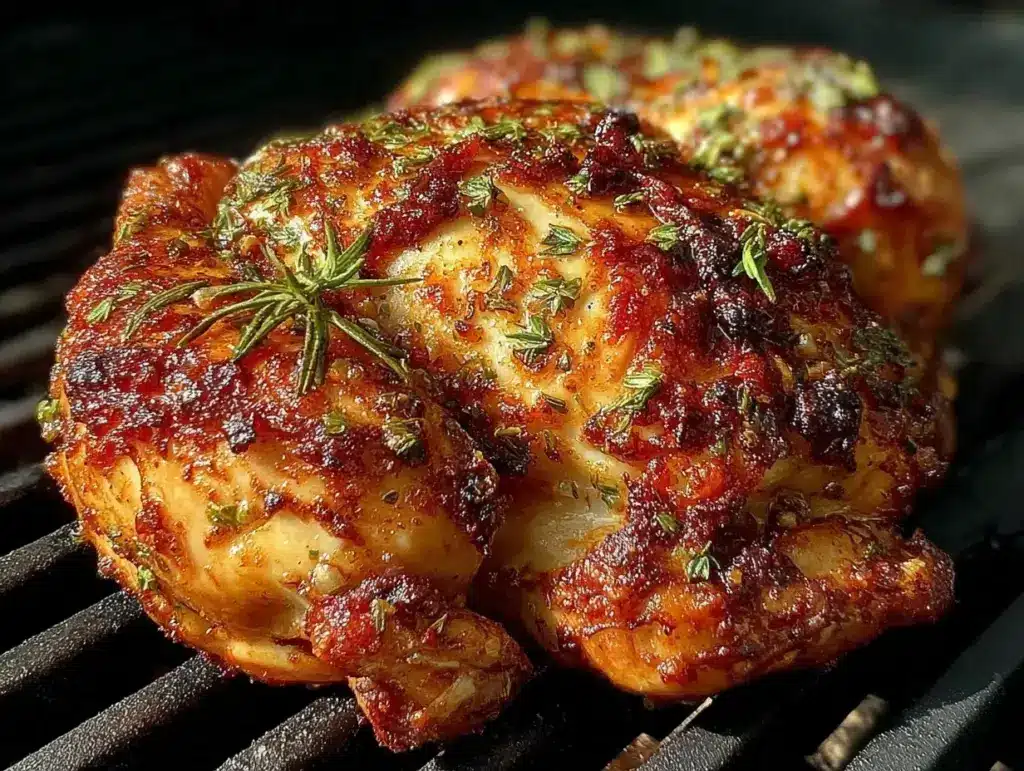
My partner took a huge, unexpected bite of the crispy beer can chicken and just paused, eyes wide like it was a secret they’d been waiting to discover all along. That moment stuck with me—there’s something oddly satisfying about watching someone else react when a recipe really hits the mark. It wasn’t just any grilled chicken; the skin crackled under their teeth, and the juicy, tender meat inside practically melted away. I’d never seen them so quiet mid-meal.
This all started on a lazy weekend when I was fiddling around with the grill, trying to get the perfect balance between juicy and crispy without fuss. I’d heard about beer can chicken but always figured it was a bit of a backyard party gimmick. Turns out, it’s a simple trick that transforms a whole chicken into a juicy, flavorful masterpiece. The beer steams the bird from the inside, keeping the meat moist, while direct heat crisps up the skin to that perfect golden crunch.
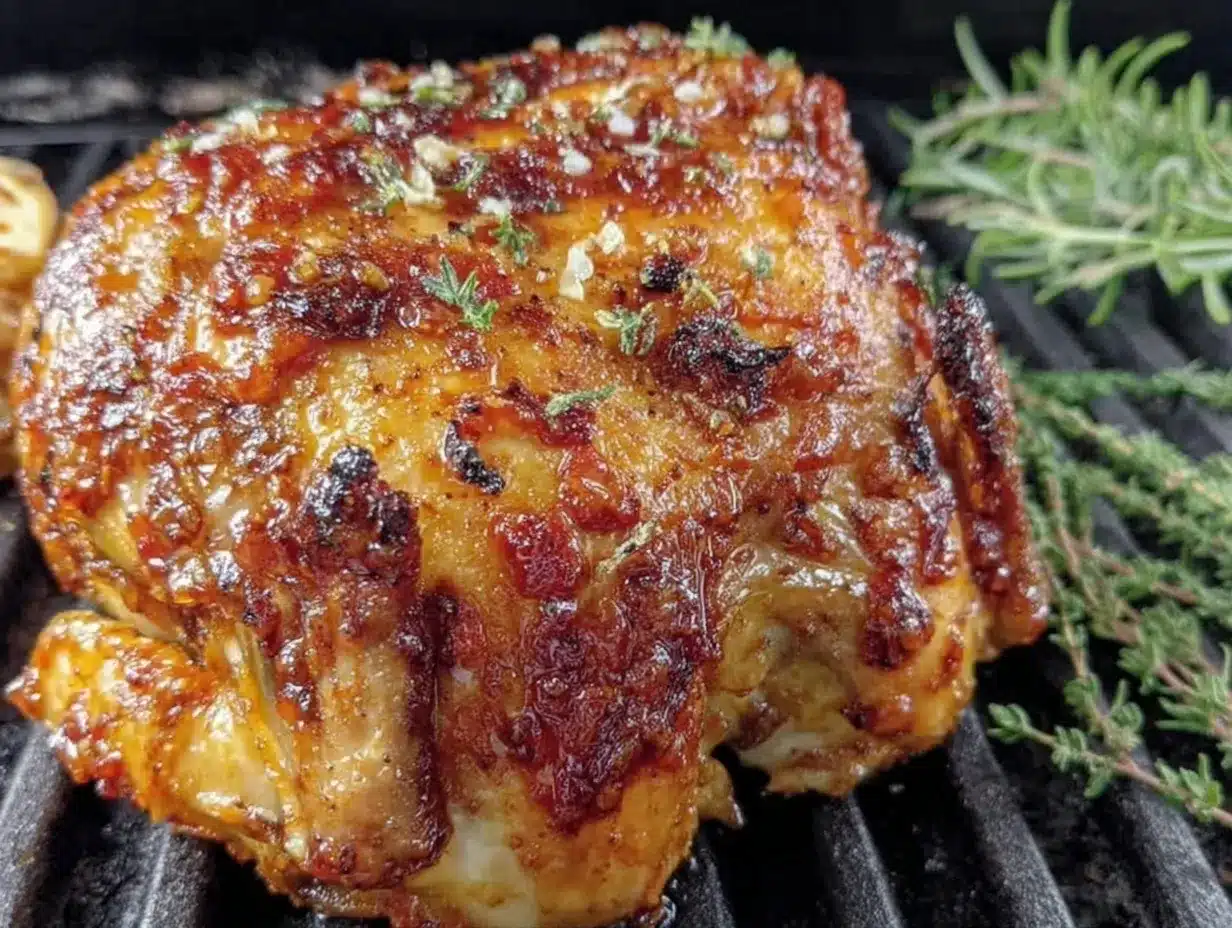
The smell alone is enough to make you linger outside by the grill longer than you planned—hints of smoky caramelized skin, a subtle tang from the beer, and just a whisper of the herbs and spices rubbed all over. Honestly, I’ve tried lots of grilled chicken recipes, but this one nails that crispy skin and tender meat combo every single time. It’s the kind of recipe that sticks with you because it’s straightforward and forgiving, yet delivers serious flavor. And, well, watching my partner’s reaction that day made me realize I had to keep making this chicken again and again.
There’s something quietly reassuring about this beer can chicken recipe—it’s not fancy, it’s not complicated, but it always turns out juicy and crispy, and that’s rare. It’s become my go-to for summer cookouts and even relaxed weeknight dinners. If you want a grilled chicken recipe that feels like a treat but only asks for a little patience and some simple ingredients, this is it.
Why You’ll Love This Crispy Beer Can Chicken Recipe
This recipe isn’t just another grilled chicken—it’s the real deal, tested over many weekends and perfect for anyone who loves a crispy skin with juicy meat inside. Here’s why it’s worth your time:
- Quick & Easy: It comes together in under 15 minutes of prep, then you let the grill work its magic for about an hour. Perfect for busy weekends or when you want to impress without stress.
- Simple Ingredients: You probably have everything in your pantry and fridge already—whole chicken, beer, basic spices—and no complicated marinades.
- Perfect for Outdoor Grilling: Great for summer cookouts, family dinners, and casual get-togethers that call for something special but fuss-free.
- Crowd-Pleaser: The crispy skin draws everyone in, and the juicy meat keeps them coming back for more—kids and adults alike.
- Unbelievably Delicious: The beer steaming technique locks in moisture, while the spice rub adds a balanced savory flavor without overpowering the natural chicken taste.
What sets this recipe apart is the way the beer can method gently steams the chicken from the inside, resulting in juicy, tender meat that doesn’t dry out like some grilled chicken can. The spice rub is a personal blend that hits just the right notes of smokiness and warmth without being too spicy or salty. Plus, you don’t need fancy gadgets—just a grill and a can of your favorite beer.
This recipe became my favorite because it feels like comfort food reinvented for the grill—a satisfying experience with minimal effort. It’s the kind of meal you want to serve when you have friends over, but you don’t want to be stuck inside the kitchen all day. And honestly, it’s so good that sometimes I make it just for the two of us on a slow Sunday night.
What Ingredients You Will Need
This recipe uses simple, wholesome ingredients to deliver bold flavor and juicy texture without any fuss. Most are pantry staples, and you can swap out a few items based on what you have on hand.
- Whole chicken (about 4-5 pounds / 1.8-2.3 kg): Fresh or thawed, make sure to remove any giblets inside.
- Beer (one standard 12 oz / 355 ml can): Use a lager or pale ale for mild flavor; avoid overly bitter IPAs as they can overpower the chicken.
- Olive oil or melted butter (2-3 tablespoons): Helps the spice rub stick and crisp the skin.
- Spice Rub:
- 1 tablespoon smoked paprika (adds smoky depth)
- 1 teaspoon garlic powder
- 1 teaspoon onion powder
- 1 teaspoon salt (preferably kosher salt)
- 1/2 teaspoon black pepper
- 1/2 teaspoon dried thyme or oregano
- Optional: pinch of cayenne pepper for a mild kick
- Fresh herbs (optional): A few sprigs of rosemary or thyme inside the cavity for added aroma.
- Lemon wedges (optional): For serving, adds a nice brightness when squeezed over the meat.
You can swap the beer for sparkling water or chicken broth if you want a non-alcoholic option, though the beer adds a subtle, unique flavor and helps steam the chicken from the inside. For the spice rub, feel free to tweak the herbs based on what you like or what’s fresh—rosemary, sage, or even a pinch of cumin can work well.
If you’re looking for a gluten-free version, just make sure your beer is certified gluten-free or use a gluten-free lager. I usually go for a lager like Pilsner or something on the lighter side from local brewers—it’s less bitter and lets the chicken’s flavors shine.
Equipment Needed
- Grill: Charcoal or gas grill works fine. I personally prefer charcoal for that subtle smoky flavor, but gas is easier and more controllable.
- Beer can chicken holder (optional): These little stands hold the chicken steady on the can; if you don’t have one, you can carefully balance it directly on the opened beer can, but be careful—it can be wobbly.
- Meat thermometer: Essential for checking doneness. Insert into the thickest part of the thigh without touching bone; you want an internal temperature of 165°F (74°C).
- Basting brush or spoon: For applying oil or butter to the chicken skin before seasoning.
- Aluminum foil: Handy for tenting the chicken after grilling if you want it to rest and stay warm.
If you’re on a budget, you can skip the beer can holder, but it’s a cheap gadget that makes the whole process easier and safer. I also recommend a reliable digital thermometer like the ThermoPro for consistent results. Maintaining your grill grates by cleaning and oiling before cooking really helps prevent sticking and promotes even browning.
Preparation Method
- Prep the chicken (10 minutes): Remove the giblets from inside the cavity. Rinse the chicken inside and out with cold water, then pat dry completely with paper towels—dry skin crisps better. Optional: tuck fresh herb sprigs inside the cavity.
- Make the spice rub (5 minutes): In a small bowl, mix smoked paprika, garlic powder, onion powder, salt, pepper, thyme, and cayenne if using. Set aside.
- Apply oil and rub (5 minutes): Brush the chicken all over with olive oil or melted butter, making sure to get under the skin where possible. Generously sprinkle the spice rub all over the chicken, inside the cavity and on the skin, rubbing it in well.
- Prepare the beer can (2 minutes): Open the beer and pour out (or drink) about half a can. You want it about halfway full. Optional: add a few crushed garlic cloves or herb sprigs inside the can for extra aroma.
- Mount the chicken on the beer can (2 minutes): Carefully slide the chicken over the beer can, so the can fits inside the cavity and the chicken stands upright. If using a holder, place the chicken in it firmly.
- Preheat the grill (10 minutes): Set up your grill for indirect heat—coals or burners on one side, chicken on the other. Aim for a grill temperature around 350°F (175°C). Oil the grates to prevent sticking.
- Grill the chicken (about 1 hour to 1 hour 15 minutes): Place the chicken upright on the cooler side of the grill. Close the lid and cook for 60-75 minutes. Resist opening the lid too often—each peek releases heat.
- Check for doneness: Use your meat thermometer to check the thigh’s internal temperature. Once it hits 165°F (74°C), the chicken is safe and juicy.
- Rest the chicken (10 minutes): Carefully remove the chicken from the grill, lift it off the beer can (use tongs and oven mitts—watch out for hot steam!), and tent loosely with foil. Resting lets juices redistribute and keeps the meat tender.
- Serve: Carve and serve hot with lemon wedges for a fresh zing.
Common pitfalls include not drying the skin well enough (you want it bone-dry before oiling), opening the grill too frequently, or not letting the chicken rest. These steps make a big difference in crispiness and juiciness. Also, don’t forget to set up indirect heat properly—direct flames will burn the skin before the inside cooks through.
Cooking Tips & Techniques
One trick I’ve learned is to pat the chicken skin dry multiple times before applying oil and rub. It seems tedious, but it pays off with crispy skin every time. Also, letting the chicken come to room temperature for 20 minutes before grilling helps it cook evenly.
Using a meat thermometer is a game changer. I used to judge doneness by time alone and often ended up with dry breast meat. Now, I rely on temperature and always check the thickest part of the thigh.
Another tip: when setting up your grill for indirect heat, arrange the coals or burners so the chicken isn’t directly over the flame. This slow cooking method allows the beer can steam to work its magic inside without burning the skin.
Avoid moving the chicken around once it’s on the grill. The upright position can feel unstable, but steady placement prevents tipping and helps the skin crisp evenly all around.
Finally, if you notice the skin isn’t browning enough near the end, you can finish with a few minutes over direct heat—just watch closely to avoid burning.
Variations & Adaptations
- Non-alcoholic version: Substitute the beer with sparkling water or chicken broth. The steaming effect remains, though the flavor is milder.
- Spice variations: Swap smoked paprika for chipotle powder for a smoky heat, or add brown sugar to the rub for a sweet crust. You can also experiment with fresh herbs like rosemary or sage in the rub or cavity.
- Different cooking methods: If you don’t have a grill, you can roast the chicken in the oven upright on a beer can at 350°F (175°C) for about 1 hour 15 minutes. The skin won’t be as smoky but will still be crispy and juicy.
- Allergy-friendly options: Use gluten-free beer or soda, and swap olive oil for avocado oil if preferred. Avoid cayenne if sensitive to spice.
- Personal twist: I once stuffed the cavity with lemon halves and garlic cloves for extra aroma and served it alongside my favorite duchess potatoes to round out the meal—talk about a crowd-pleaser!
Serving & Storage Suggestions
Serve the crispy beer can chicken hot off the grill with a squeeze of fresh lemon juice for brightness. It pairs wonderfully with grilled vegetables, a fresh salad, or creamy sides like crispy loaded potato skins. For drinks, try a cold beer or a crisp white wine to complement the smoky notes.
If you have leftovers, let the chicken cool to room temperature, then store in an airtight container in the refrigerator for up to 3 days. You can also freeze cooked pieces wrapped tightly in foil or freezer bags for up to 2 months.
Reheat gently in the oven at 325°F (160°C) covered with foil to keep the meat moist. Avoid the microwave if you want to preserve that crispy skin texture. Flavors tend to deepen after a day or two in the fridge, making leftovers even tastier.
Nutritional Information & Benefits
A serving of this crispy beer can chicken (about 6 ounces / 170g of cooked meat) provides approximately 280 calories, 18g of protein, 20g of fat, and minimal carbohydrates. Using skin-on chicken adds richness and flavor but also fat, so balance with light sides if you’re watching intake.
Chicken is a great lean protein source, supporting muscle repair and satiety. The herbs and spices add antioxidants and digestive benefits without extra calories. Choosing a moderate beer with low bitterness keeps the flavor subtle and less calorie-dense.
This recipe suits gluten-free diets if you pick the right beer or substitute. It’s naturally low in carbs and can fit into many balanced eating plans.
Conclusion
This crispy beer can chicken recipe is a keeper for anyone who loves juicy, tender grilled chicken with a skin that crackles just right. It’s approachable, forgiving, and makes outdoor cooking feel special without extra fuss. Whether you’re feeding a crowd or just want a delicious dinner that shows off your grill skills, this one delivers reliably.
Feel free to tweak the spice blend or try different beers to find your perfect flavor combo. Personally, I love how this method transforms a simple whole chicken into a meal folks remember—and that’s why I keep coming back to it.
If you try it, I’d love to hear how your crispy beer can chicken turned out or what creative twists you added. It’s a recipe that’s easy to make your own. Happy grilling!
FAQs About Crispy Beer Can Chicken
Can I use a different size chicken for this recipe?
Yes! Chickens between 4 to 5 pounds (1.8 to 2.3 kg) work best for even cooking. Smaller birds cook faster, so adjust grilling time accordingly.
What if I don’t have a beer can chicken holder?
You can balance the chicken carefully on an opened beer can, but it can be unstable. Alternatively, use an empty clean can or roast it upright in a deep pan.
How do I know when the chicken is done?
The safest way is to check with a meat thermometer. The internal temperature should reach 165°F (74°C) in the thickest part of the thigh.
Can I prepare this chicken ahead of time?
You can season and set the chicken on the beer can a few hours before grilling, refrigerate uncovered to dry the skin, then grill when ready.
What type of beer is best for this recipe?
A mild lager or pale ale works well, providing subtle flavor without bitterness. Avoid heavy IPAs or dark stouts that can overpower the chicken.
Pin This Recipe!
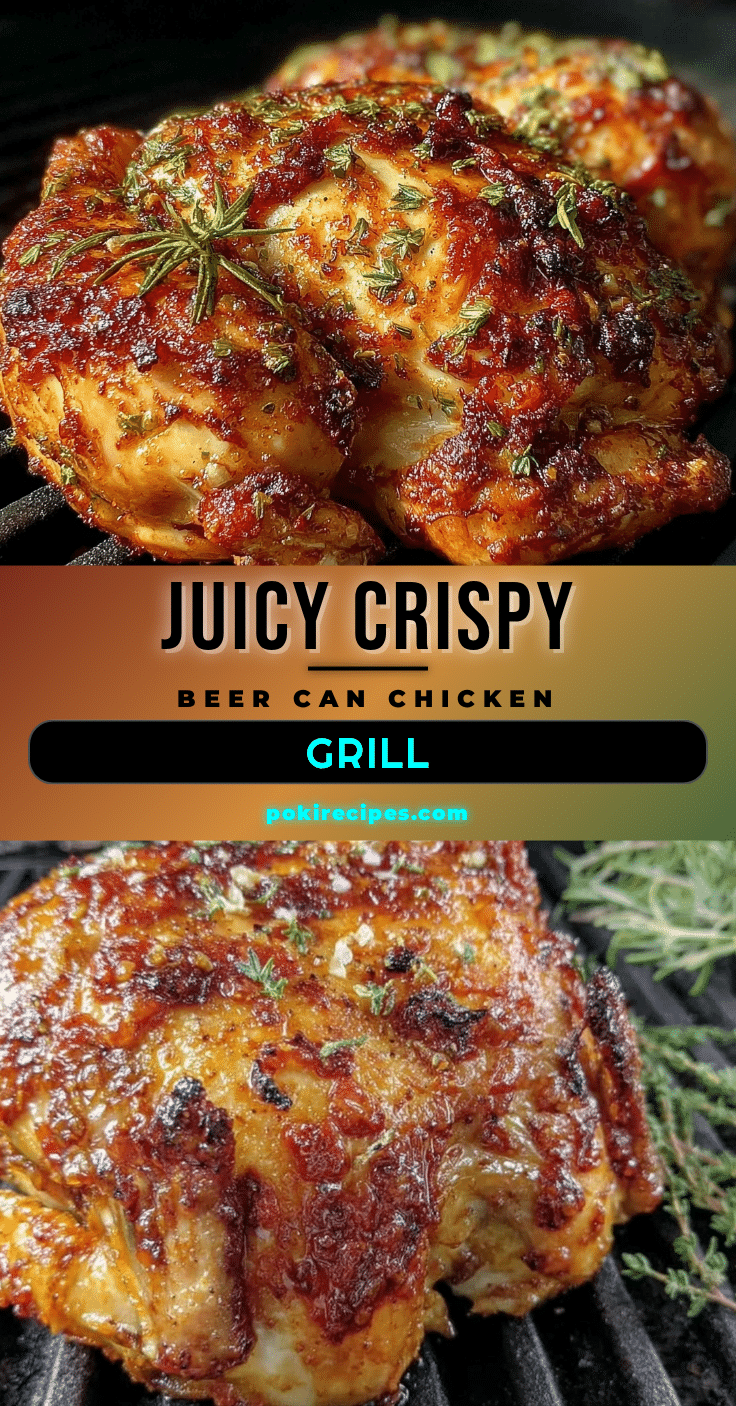
Crispy Beer Can Chicken Recipe Easy Juicy Tender Meat on Grill

A simple and foolproof grilled beer can chicken recipe that delivers crispy skin and juicy, tender meat using a beer can steaming method and a flavorful spice rub.
- Prep Time: 15 minutes
- Cook Time: 1 hour 15 minutes
- Total Time: 1 hour 30 minutes
- Yield: 4-6 servings 1x
- Category: Main Course
- Cuisine: American
Ingredients
- 1 whole chicken (4–5 pounds / 1.8–2.3 kg), fresh or thawed, giblets removed
- 1 standard 12 oz (355 ml) can of beer (lager or pale ale recommended)
- 2–3 tablespoons olive oil or melted butter
- 1 tablespoon smoked paprika
- 1 teaspoon garlic powder
- 1 teaspoon onion powder
- 1 teaspoon kosher salt
- 1/2 teaspoon black pepper
- 1/2 teaspoon dried thyme or oregano
- Optional: pinch of cayenne pepper
- Optional: fresh herb sprigs (rosemary or thyme) for cavity
- Optional: lemon wedges for serving
Instructions
- Remove giblets from chicken cavity. Rinse chicken inside and out with cold water and pat dry thoroughly with paper towels.
- Optionally tuck fresh herb sprigs inside the cavity.
- In a small bowl, mix smoked paprika, garlic powder, onion powder, salt, black pepper, thyme, and cayenne pepper if using.
- Brush the chicken all over with olive oil or melted butter, including under the skin where possible.
- Generously rub the spice mixture all over the chicken, inside the cavity and on the skin.
- Open the beer can and pour out or drink about half the beer, leaving it half full. Optionally add crushed garlic cloves or herb sprigs inside the can.
- Carefully slide the chicken onto the beer can so it stands upright. Use a beer can chicken holder if available.
- Preheat grill for indirect heat to about 350°F (175°C). Oil the grill grates to prevent sticking.
- Place the chicken upright on the cooler side of the grill. Close the lid and cook for 60 to 75 minutes.
- Check doneness by inserting a meat thermometer into the thickest part of the thigh; it should read 165°F (74°C).
- Remove chicken carefully from grill and beer can using tongs and oven mitts. Tent loosely with foil and let rest for 10 minutes.
- Carve and serve hot with lemon wedges.
Notes
Pat chicken skin dry multiple times before oiling for extra crispy skin. Let chicken come to room temperature before grilling. Use indirect heat to avoid burning skin. Avoid opening grill lid frequently. Rest chicken after grilling to redistribute juices. Finish over direct heat briefly if skin needs more browning. Substitute beer with sparkling water or chicken broth for non-alcoholic version. Use gluten-free beer for gluten-free diet.
Nutrition
- Serving Size: Approximately 6 ounc
- Calories: 280
- Fat: 20
- Protein: 18
Keywords: beer can chicken, grilled chicken, crispy chicken, juicy chicken, summer cookout, easy chicken recipe, beer steamed chicken


