For a while, I just accepted that homemade ice cream was something you had to fuss over with bulky machines and complicated steps. The idea of creamy, rich vanilla bean ice cream felt like a distant indulgence reserved for summer afternoons at ice cream parlors, not something I could whip up in my own kitchen without a freezer full of churned tubs. I remember one evening, staring at a carton of store-bought vanilla ice cream, wishing it had that fresh, natural vanilla bean flavor I craved, but without the icy texture or artificial aftertaste. It felt like a gap—something simple, creamy, and truly homemade that didn’t require hours of waiting or special equipment.
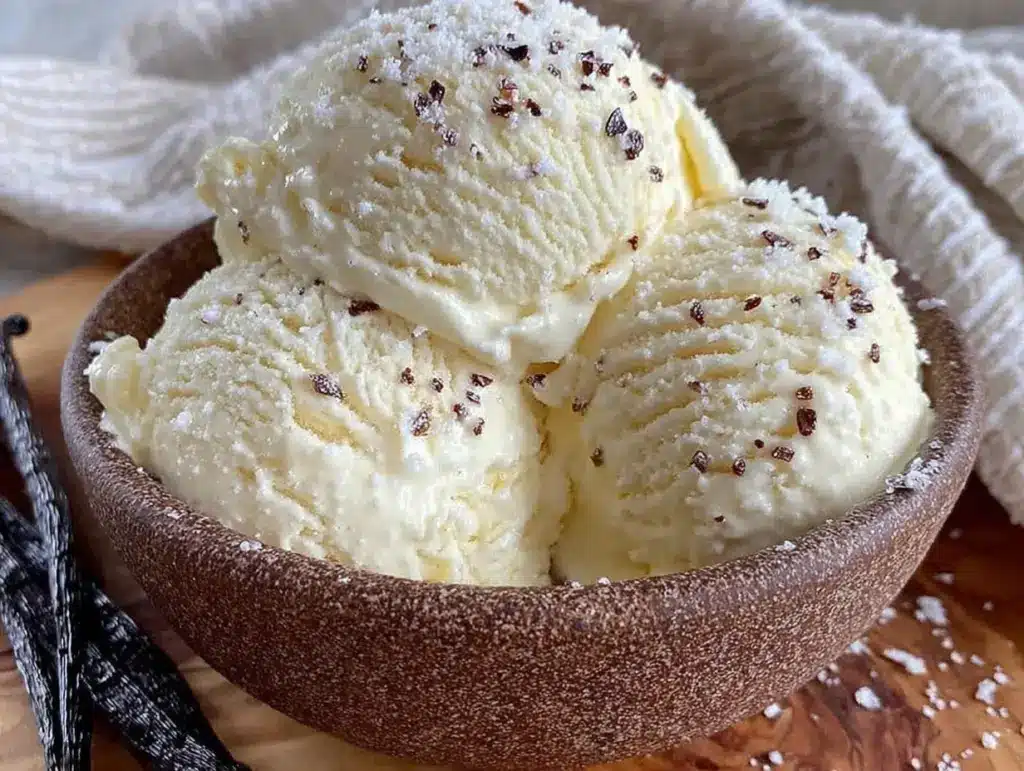
That craving hung around quietly, nudging me to tinker and experiment. After a few tries, I found a way to make creamy no-churn vanilla bean ice cream that actually tastes like the real deal—smooth, luscious, and filled with those tiny specks of vanilla bean that give it character. No ice cream maker, no complicated custard, just a few ingredients and some patience while it sets. The texture isn’t just good; it’s honestly surprising how close it gets to the classic churned version, without the fuss.
It stuck with me because it’s approachable, comforting, and a little bit nostalgic. Plus, it’s the kind of recipe you can pull out when guests show up unexpectedly or when you want a sweet treat without a big production. I find myself coming back to this creamy no-churn vanilla bean ice cream recipe again and again—it’s quietly satisfying in a way that reminds me homemade doesn’t have to be complicated.
Why You’ll Love This Recipe
After perfecting this creamy no-churn vanilla bean ice cream recipe, I’ve seen how it checks all the boxes for a homemade dessert that’s both simple and impressive. Here’s why it’s become a staple in my kitchen:
- Quick & Easy: You can have the base ready in about 5 minutes, making it perfect for those last-minute dessert cravings or relaxed weekend treats.
- Simple Ingredients: No fancy or hard-to-find items here—just pantry staples like sweetened condensed milk, heavy cream, and real vanilla bean.
- Perfect for Any Occasion: Whether it’s a casual family dinner or a cozy night in, this ice cream fits right in without needing elaborate preparation.
- Crowd-Pleaser: Kids love the creamy texture and adults appreciate the authentic vanilla bean flavor—always a hit at gatherings.
- Unbelievably Delicious: The combination of smooth cream and the specks of vanilla bean makes every spoonful feel indulgent but homemade.
What sets this recipe apart, honestly, is the way the vanilla bean is handled. Instead of just vanilla extract, scraping fresh vanilla bean seeds into the mix brings that unmistakable aroma and flavor that turns simple ice cream into something special. Plus, whipping the cream until just right gives it a fluffy yet dense texture that stands out from the usual no-churn ice creams that can sometimes be icy or too soft.
This recipe isn’t just a quick fix; it’s the kind of dessert that makes you pause for a moment, savoring that creamy, fragrant bite. It’s comfort food that’s straightforward but feels like a little treat you made for yourself.
What Ingredients You Will Need
This creamy no-churn vanilla bean ice cream recipe relies on a handful of simple, wholesome ingredients that work together to create that silky texture and rich vanilla flavor without any complicated steps.
- Heavy Cream (1 1/2 cups / 360 ml): The backbone of the ice cream’s richness and creaminess. I always choose a high-fat cream (36% or higher) for the best texture.
- Sweetened Condensed Milk (1 can / 14 oz / 396 g): Adds sweetness and helps keep the ice cream smooth and scoopable without freezing solid. I typically use a trusted brand like Eagle Brand.
- Vanilla Bean (1 whole bean): Scraped for its tiny black seeds that infuse the ice cream with genuine vanilla flavor. If you can’t find fresh vanilla beans, use 1 1/2 teaspoons of pure vanilla extract instead, but the bean seeds really make a difference.
- Vanilla Extract (1 teaspoon, optional): For an extra boost of vanilla aroma.
- Pinch of Salt: Just a little to balance the sweetness and bring out the vanilla notes.
These ingredients are mostly pantry staples or easily found in grocery stores. The vanilla bean is the one small luxury here, but it’s worth hunting down for the flavor it adds. If fresh vanilla bean isn’t accessible, pure vanilla extract does a solid job as a substitute. For a dairy-free version, you can swap the heavy cream with coconut cream and use sweetened condensed coconut milk, but the flavor and texture will shift slightly.
Equipment Needed
This recipe is delightfully simple when it comes to tools. You won’t need an ice cream maker or any fancy gadgets.
- Mixing Bowl: A large bowl to whip the heavy cream. Glass or metal works best to keep things cool.
- Electric Mixer or Stand Mixer: Essential for whipping the cream to the perfect consistency. You can use a hand whisk, but it takes quite a bit longer and more elbow grease.
- Spatula: For folding the sweetened condensed milk and vanilla bean seeds into the whipped cream without deflating it.
- Freezer-Safe Container: A loaf pan or any airtight container to freeze the ice cream in. I prefer a metal pan because it chills faster, but plastic works fine too.
- Sharp Knife and Spoon: To split and scrape the vanilla bean.
I’ve tried making this with different mixers, and honestly, a stand mixer makes it effortless, but a good hand mixer works just fine. Keeping your cream chilled before whipping helps speed things up and gives better volume. If you don’t have a fancy container, any freezer-safe bowl with a lid will do—it’s all about sealing it tight to avoid freezer burn.
Preparation Method
- Prepare the Vanilla Bean: Using a sharp knife, split the vanilla bean lengthwise. Scrape out the tiny black seeds with the back of the knife. Put the seeds aside and reserve the pod for infusing milk or sugar if you want to experiment later. (Time: 2 minutes)
- Whip the Heavy Cream: Pour the cold heavy cream into the mixing bowl. Using an electric mixer on medium-high speed, whip until soft peaks form. You want it fluffy but not over-whipped to the point of turning into butter. (Time: 3-5 minutes)
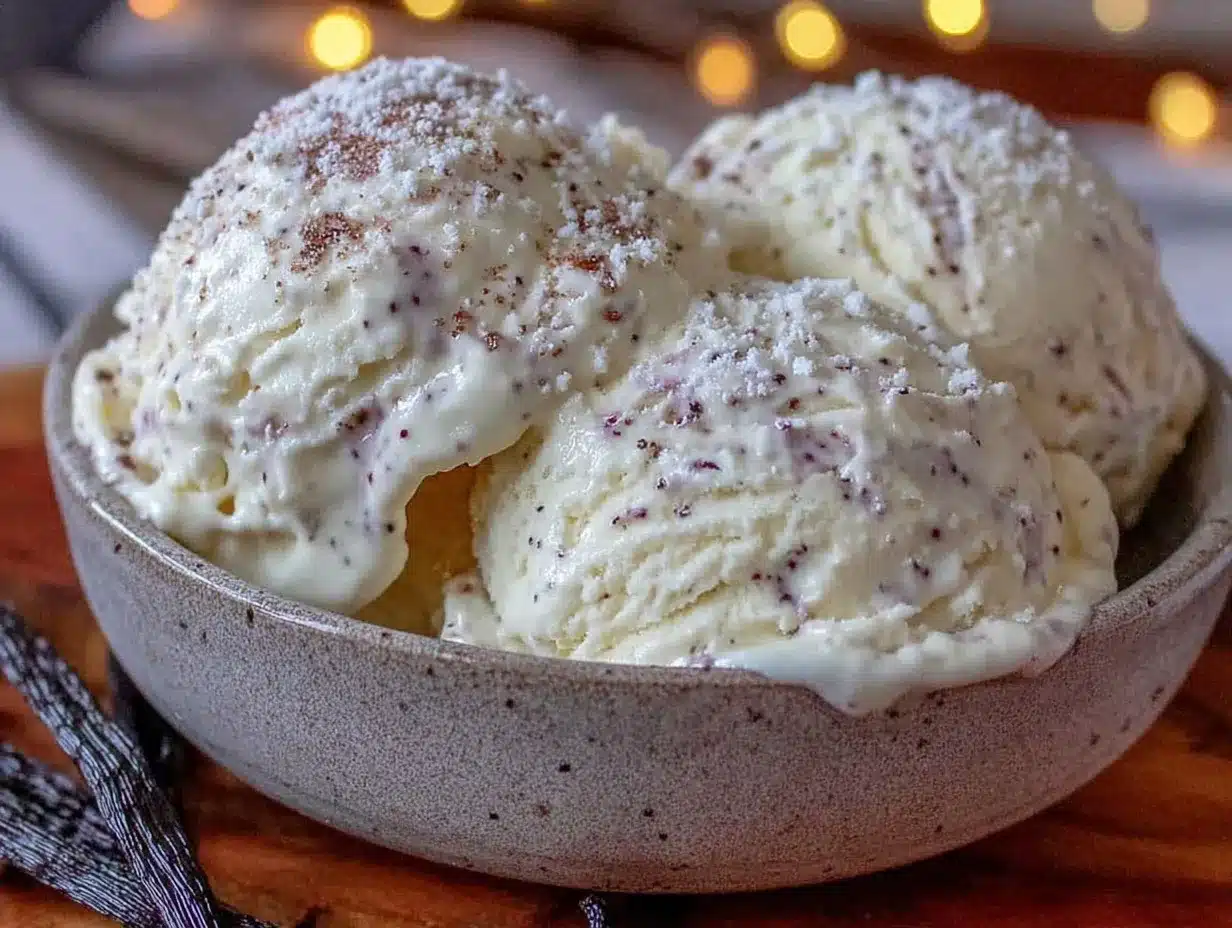
- Mix in Sweetened Condensed Milk and Vanilla: Gently fold the sweetened condensed milk, vanilla bean seeds, vanilla extract (if using), and a pinch of salt into the whipped cream. Use a spatula with a folding motion to keep the air in the mixture. The batter should look smooth and creamy with visible vanilla specks. (Time: 3 minutes)
- Transfer to Container: Spoon the mixture into your freezer-safe container, smooth the top with the spatula, and cover tightly with a lid or plastic wrap to prevent ice crystals. (Time: 1-2 minutes)
- Freeze: Place the container in the freezer for at least 6 hours, preferably overnight. The texture will firm up into that creamy, scoopable consistency. (Time: 6+ hours)
- Serve: Remove from the freezer about 5 minutes before scooping to soften slightly for easier serving. Use an ice cream scoop dipped in warm water for perfect scoops every time.
Keep an eye on the texture if you’re freezing in a shallow container; sometimes the edges freeze harder, so stirring gently halfway through the freezing time can improve consistency. I’ve found that patience here pays off—the longer it sets, the better the texture, so overnight is ideal.
Cooking Tips & Techniques
Getting that creamy no-churn vanilla bean ice cream just right takes some little tricks I picked up along the way.
- Use Cold Ingredients: Chill your heavy cream and mixing bowl before whipping. Cold cream whips better and holds its volume longer.
- Don’t Overwhip the Cream: Soft peaks are your goal. If you whip too far, the cream turns grainy and can separate—something I learned from a failed batch that ended up more like butter.
- Fold Gently: When combining the condensed milk and vanilla into the whipped cream, fold carefully to keep the air bubbles intact. That’s what gives the ice cream its light texture.
- Freezing Container Matters: Metal pans chill faster than plastic, which can mean a smoother texture. If you use plastic, try to freeze longer.
- Vanilla Bean Selection: Look for plump, moist vanilla beans. Dry, brittle beans won’t give as much flavor or those delightful specks that make the ice cream feel special.
One time, I tried skipping the pinch of salt—big mistake. It really helps balance the sweetness and bring out the vanilla, so don’t skip it. Also, multitasking while the ice cream freezes is key—I often prep a batch of egg muffins for meal prep or bake some Japanese souffle pancakes to enjoy alongside. It’s all about making the most of your kitchen time.
Variations & Adaptations
This creamy no-churn vanilla bean ice cream recipe is a great base to customize. Here are some ways I like to switch it up:
- Chocolate Swirl: Gently fold in melted bittersweet chocolate or cocoa powder before freezing for a marbled effect.
- Berry Infusion: Mix fresh or frozen berries (like raspberries or blueberries) into the base for a fruity twist. You might want to slightly reduce the sweetened condensed milk to balance sweetness.
- Dairy-Free Version: Use canned coconut cream instead of heavy cream and sweetened condensed coconut milk. The texture is slightly different but still luscious and rich.
- Spiced Vanilla: Add a pinch of cinnamon or cardamom along with the vanilla bean for a warming flavor.
- Mint Chocolate Chip: Add a few drops of natural peppermint extract and fold in mini chocolate chips after mixing.
Personally, I once made a version with a drizzle of salted caramel sauce swirled in—totally decadent and a crowd favorite. Whatever variation you try, the key is to keep the whipped cream light and fold in mix-ins gently to preserve that airy texture.
Serving & Storage Suggestions
Serving this creamy no-churn vanilla bean ice cream at the right temperature makes all the difference. Take it out of the freezer about 5 minutes before scooping so it softens just enough to scoop easily without melting. I like to serve it in chilled bowls or cones to keep things cool longer.
This ice cream pairs wonderfully with warm desserts like a slice of apple pie with cheddar crust or a drizzle of homemade berry compote. For a simple treat, sprinkle toasted nuts or shaved dark chocolate on top for texture and contrast.
Store leftovers in an airtight container in the freezer, ideally with a piece of parchment paper pressed directly on the surface to prevent ice crystals. It keeps well for up to 2 weeks, although the vanilla flavor is freshest within the first week.
When reheating ice cream (if you want a softer scoop), avoid microwaving. Instead, leave it on the counter for a few minutes or scoop with a warm spoon dipped in hot water for clean, smooth scoops.
Nutritional Information & Benefits
Here’s a rough estimate per serving (1/2 cup / 125 ml):
| Calories | 250 |
|---|---|
| Fat | 15g |
| Saturated Fat | 9g |
| Sugar | 22g |
| Protein | 3g |
The heavy cream provides healthy fats that help keep you full, while the vanilla bean adds antioxidants and natural flavor without artificial ingredients. This recipe is gluten-free by default, making it suitable for those avoiding gluten. Just keep in mind the dairy content if you have sensitivities.
From a wellness perspective, having a small, homemade portion of ice cream feels more satisfying than grabbing processed store-bought options loaded with additives. It’s a treat you can feel good about indulging in every now and then.
Conclusion
This creamy no-churn vanilla bean ice cream recipe is an honest, straightforward way to enjoy homemade ice cream without the need for special equipment or complicated steps. Its simplicity and authentic vanilla flavor make it a dependable choice whenever a sweet craving hits.
Feel free to tweak the recipe to suit your taste—whether that means adding swirls of chocolate, mixing in fresh fruit, or trying a dairy-free version. It’s a recipe that welcomes your creativity while delivering that classic creamy texture and fragrant vanilla bean goodness.
For me, this recipe is a quiet little victory in the kitchen—a reminder that sometimes the best treats are the simplest to make. If you try it out, I’d love to hear how you customize it or what moments you enjoy it in.
Happy scooping!
FAQs
Can I use vanilla extract instead of a vanilla bean?
Yes, you can substitute 1 1/2 teaspoons of pure vanilla extract for one vanilla bean. While it won’t have those tiny vanilla specks, the flavor will still be lovely.
Do I need an ice cream maker for this recipe?
Nope! This is a no-churn recipe, so all you need is a mixer, a freezer-safe container, and a bit of patience while it freezes.
How long does the ice cream need to freeze?
It should freeze for at least 6 hours, but overnight is best for a firm, scoopable texture.
Can I add mix-ins like chocolate chips or nuts?
Absolutely! Fold them in gently after mixing the base to maintain the creamy texture.
Is this recipe gluten-free?
Yes, all the ingredients are naturally gluten-free, making it safe for gluten-sensitive diets.
Pin This Recipe!
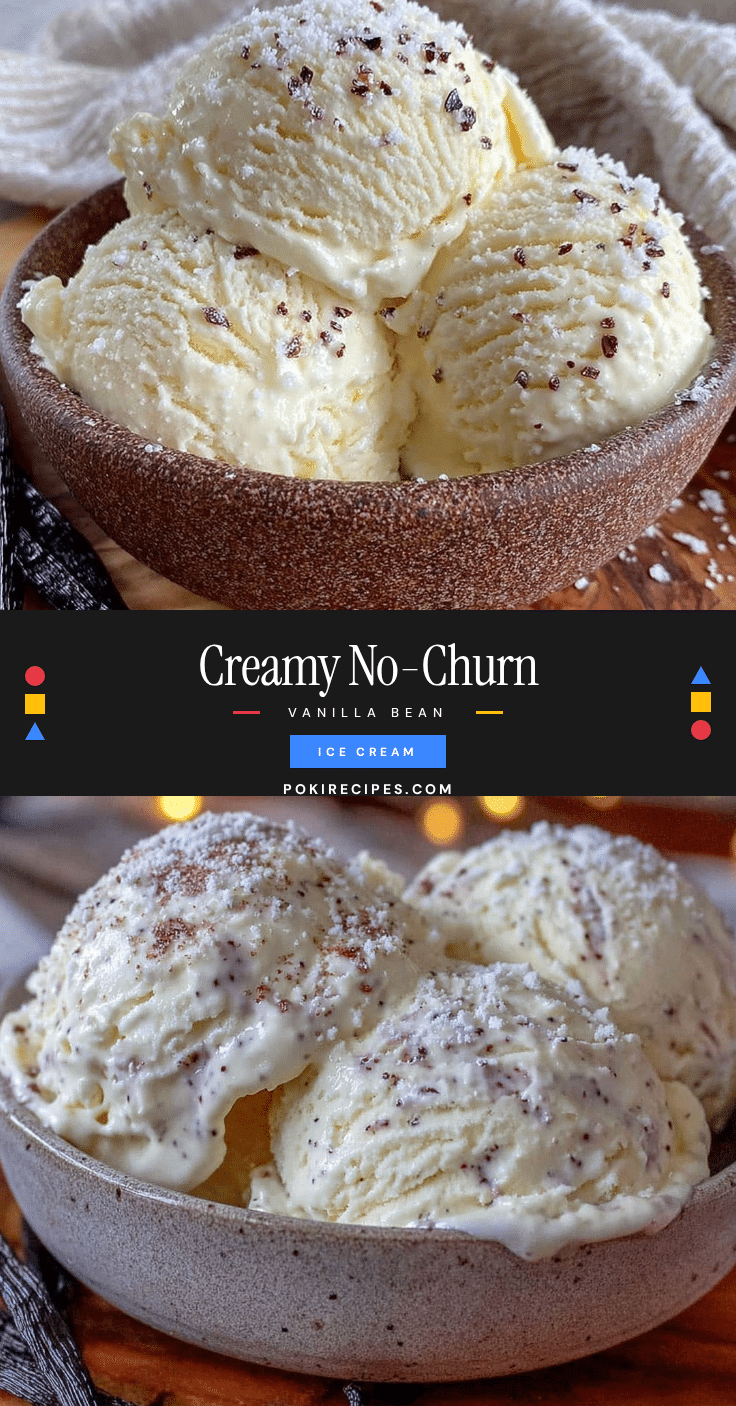
Creamy No-Churn Vanilla Bean Ice Cream

A simple and quick homemade no-churn vanilla bean ice cream recipe that is creamy, luscious, and full of authentic vanilla flavor without the need for an ice cream maker.
- Prep Time: 5 minutes
- Cook Time: 0 minutes
- Total Time: 6 hours 5 minutes
- Yield: 8 servings 1x
- Category: Dessert
- Cuisine: American
Ingredients
- 1 1/2 cups (360 ml) heavy cream (36% fat or higher)
- 1 can (14 oz / 396 g) sweetened condensed milk
- 1 whole vanilla bean, split and seeds scraped
- 1 teaspoon vanilla extract (optional)
- Pinch of salt
Instructions
- Using a sharp knife, split the vanilla bean lengthwise and scrape out the tiny black seeds. Set the seeds aside.
- Pour the cold heavy cream into a large mixing bowl. Using an electric mixer on medium-high speed, whip until soft peaks form, about 3-5 minutes.
- Gently fold the sweetened condensed milk, vanilla bean seeds, vanilla extract (if using), and a pinch of salt into the whipped cream using a spatula, keeping the mixture light and airy.
- Spoon the mixture into a freezer-safe container, smooth the top, and cover tightly with a lid or plastic wrap.
- Freeze for at least 6 hours, preferably overnight, until firm and scoopable.
- Remove from the freezer about 5 minutes before serving to soften slightly for easier scooping.
Notes
Use cold heavy cream and a chilled mixing bowl for best whipping results. Do not overwhip the cream to avoid turning it into butter. Fold ingredients gently to keep the mixture airy. Metal containers freeze faster and can improve texture. Remove ice cream 5 minutes before serving for easier scooping. Store leftovers in an airtight container with parchment paper on top to prevent ice crystals.
Nutrition
- Serving Size: 1/2 cup (125 ml)
- Calories: 250
- Sugar: 22
- Fat: 15
- Saturated Fat: 9
- Carbohydrates: 22
- Protein: 3
Keywords: no-churn ice cream, vanilla bean ice cream, homemade ice cream, easy dessert, no ice cream maker, creamy ice cream