I burned the first batch of my homemade caramel sauce three times before figuring out what went wrong. Not because I’m a terrible cook, but caramel really demands your full attention — and I was distracted, honestly. That initial burnt bitterness had me doubting if I’d ever nail a creamy no-churn salted caramel ice cream that tasted just right. I didn’t even usually like salted caramel ice cream that much; it always felt too sweet or too icy at home compared to the soft scoop you get from a good shop. But then something clicked.
I remember standing over the stove, smelling the golden edges of that caramel darken just enough, the air thick with a buttery, sugary aroma that made me stop mid-scroll on my phone. It wasn’t fancy—no ice cream maker, no complicated churns—just patience and a few tweaks that turned the sauce silky and smooth. Folding that into whipped cream, gently mixing in a pinch of flaky sea salt, and freezing it in a simple loaf pan was surprisingly satisfying.
What really convinced me this recipe was worth sharing was how easy it is to make a homemade dessert that tastes like you spent hours fussing over it but without the fuss. It’s rich, indulgent, and the perfect balance of sweet and salty that you didn’t even realize you craved. Plus, it’s no-churn, so it’s totally doable even if you don’t own fancy equipment.
Honestly, this creamy no-churn salted caramel ice cream recipe stuck with me because it’s the kind of treat that feels like a quiet reward after a long day. No frills, no stress, just that perfect scoop that melts on your tongue and makes you pause for a moment of pure, simple pleasure.
Why You’ll Love This Creamy No-Churn Salted Caramel Ice Cream Recipe
After plenty of trial and error (and a few burnt sauces), I can say this is one of the easiest, most satisfying desserts you’ll make at home. Here’s why it’s quickly become a favorite:
- Quick & Easy: Ready in under 10 minutes of prep time, then just freeze. Perfect for last-minute dessert cravings or impressing guests without breaking a sweat.
- Simple Ingredients: No exotic components or trips to specialty stores. You probably have most of these staples sitting in your pantry and fridge.
- Perfect for Summer & Year-Round: Whether it’s a scorching day or you want a creamy treat after dinner, this ice cream hits the spot.
- Crowd-Pleaser: Kids, adults, salted caramel skeptics—even they ask for seconds. The balance of salty and sweet is just right.
- Unbelievably Delicious: The caramel’s buttery depth combined with the airy creaminess is like a little celebration in every spoonful.
What sets this apart from the usual no-churn ice creams? It’s the caramel technique. I don’t just dump caramel sauce in; I make a proper salted caramel first, letting it cool slightly before folding it in. This method keeps the texture silky and prevents icy chunks. Plus, adding just the right amount of flaky sea salt gives it that gourmet feel—trust me, it’s worth the pinch.
This recipe isn’t just another scoop of sweetness; it’s the kind of dessert that makes you pause, close your eyes, and savor the rich, creamy texture. It’s perfect for those cozy nights when you want a treat that feels special but doesn’t require hours in the kitchen. If you enjoy recipes like no-bake pumpkin cheesecake or crave the simplicity of easy egg muffins for meal prep, this ice cream will fit right into your homemade dessert lineup.
What Ingredients You Will Need for Creamy No-Churn Salted Caramel Ice Cream
This recipe uses simple, wholesome ingredients to deliver bold flavor and a velvety texture without any fuss or special equipment. Most are pantry staples, and a couple are easy to swap if you need to. Here’s the breakdown:
- For the Caramel Sauce:
- 1 cup (200g) granulated sugar — the base for that classic caramel flavor
- 6 tablespoons (85g) unsalted butter, cut into pieces and softened (adds richness)
- 1/2 cup (120ml) heavy cream, warmed (makes the caramel smooth and creamy)
- 1 teaspoon flaky sea salt (the star of salted caramel, but adjust to taste)
- For the Ice Cream Base:
- 2 cups (480ml) heavy whipping cream, chilled (whipped for that creamy texture)
- 1 (14 oz) can sweetened condensed milk — this sweetens and thickens without churning
- 1 teaspoon pure vanilla extract (enhances flavor depth)
Some personal notes: I like using Land O Lakes butter for a rich, creamy taste, but any good-quality unsalted butter will do. For the sea salt, Maldon flakes work wonderfully, but you can use coarse kosher salt if that’s what you have on hand.
If you prefer a dairy-free version, swap heavy cream with coconut cream and use a plant-based condensed milk alternative, although the texture will be slightly different.
In summer, if you want to add a fresh twist, try swirling in chopped fresh peaches or a handful of toasted pecans for texture and flavor contrast.
Equipment Needed
- Mixing bowls: A large bowl for whipping cream and a medium bowl for combining ingredients.
- Electric hand mixer or stand mixer: Essential for whipping heavy cream to stiff peaks. I’ve tried whisking by hand, but it takes forever and the texture isn’t quite right.
- Medium saucepan: For making the caramel sauce. A heavy-bottomed pan helps avoid burning.
- Measuring cups and spoons: Accurate measurements make a big difference in candy making.
- Rubber spatula: Perfect for folding ingredients gently without deflating the whipped cream.
- Loaf pan or airtight container: For freezing the ice cream. I prefer a metal loaf pan because it helps the ice cream freeze evenly.
If you don’t have a mixer, a whisk and some patience can work, but the whipped cream might not be as fluffy. Also, a candy thermometer can be handy but isn’t mandatory — I rely on visual cues and smell for the caramel.
Preparation Method
- Make the salted caramel sauce: Place 1 cup (200g) of granulated sugar in a medium saucepan over medium heat. Stir continuously with a heat-resistant spatula or wooden spoon. The sugar will clump and then melt into a smooth amber liquid after about 5-7 minutes. Watch carefully to avoid burning — once it’s golden brown and fragrant, immediately remove from heat.
- Add butter: Quickly stir in 6 tablespoons (85g) of softened unsalted butter. The mixture will bubble vigorously, so be careful. Stir until the butter is fully melted and combined, about 1 minute.
- Incorporate cream: Slowly pour in 1/2 cup (120ml) of warm heavy cream while stirring. Again, it will bubble up a lot. Stir until smooth and glossy.
- Add sea salt: Remove from heat and stir in 1 teaspoon of flaky sea salt. Taste and adjust if you want a bit more saltiness. Let the caramel cool for about 15-20 minutes to thicken slightly. It should still be pourable but not hot.
- Whip heavy cream: In a large chilled bowl, whip 2 cups (480ml) of heavy cream with an electric mixer until stiff peaks form. This usually takes about 3-5 minutes on medium-high speed. (Tip: Cold cream whips better and faster.)
- Mix base ingredients: In a separate bowl, whisk together 1 can (14 oz) sweetened condensed milk and 1 teaspoon pure vanilla extract until smooth.
- Combine: Gently fold the sweetened condensed milk mixture into the whipped cream using a rubber spatula, being careful not to deflate the cream. Fold until just combined and creamy.
- Swirl in caramel: Pour about two-thirds of the cooled salted caramel into the ice cream base and gently fold to create a marbled effect. Save the remaining caramel for drizzling on top after freezing.
- Freeze: Transfer the mixture to a loaf pan or airtight container. Drizzle the remaining caramel over the top and use a knife or skewer to swirl it in slightly for a pretty finish.
- Freeze for at least 6 hours or overnight: The ice cream will firm up to a scoopable consistency without needing an ice cream maker.
- Serve: Scoop and enjoy! (Pro tip: Let it sit at room temperature for 5 minutes before scooping for easier serving.)
Cooking Tips & Techniques for Successful No-Churn Salted Caramel Ice Cream
Making caramel can be intimidating, but here’s what I’ve learned the hard way:
- Patience is key: Don’t rush the caramel melting process. Stir constantly and keep the heat medium to medium-low. If it seems uneven, gently swirl the pan instead of stirring too aggressively.
- Butter and cream temperature: Using room temperature butter and warm cream helps the caramel stay silky without seizing.
- Whipping cream to stiff peaks: This is crucial for that fluffy texture. Under-whipped cream leads to icier ice cream, so don’t stop at soft peaks.
- Folding gently: Mix your condensed milk and whipped cream carefully to keep the airiness intact. It feels slow at first but totally worth it.
- Salt balance: Add salt gradually. Too much can overpower the sweetness, too little and you lose that signature salted caramel magic.
- Freezing tips: Use a metal loaf pan if you can. It chills faster and helps prevent large ice crystals. Also, cover the surface with parchment paper before sealing to avoid freezer burn.
I once tried to shortcut by skipping the caramel cooling step, and the sauce just sank to the bottom, leaving the ice cream unevenly textured. So don’t skip letting it cool a bit.
Variations & Adaptations
- Nutty twist: Fold in 1/2 cup chopped toasted pecans or almonds for a crunchy contrast that pairs beautifully with salted caramel.
- Chocolate swirl: Add ribbons of melted dark chocolate or chocolate ganache swirled in alongside the caramel for a richer dessert.
- Dairy-free alternative: Use coconut cream whipped to stiff peaks and canned coconut milk condensed milk substitute. The flavor will be slightly coconutty but still delicious.
- Spiced caramel: Stir a pinch of cinnamon or cayenne pepper into the caramel sauce for a warming or spicy kick.
- Fruit infusion: Swirl in a homemade berry compote or chopped fresh mango for a bright, fruity layer.
My personal favorite variation is adding chopped roasted pecans and a pinch of cinnamon to the caramel sauce — it’s like fall in every bite. I’ve also experimented with making a similar base for Japanese souffle pancakes by folding in just a bit more whipped cream and baking it gently. It’s a different experience but uses the same creamy principles.
Serving & Storage Suggestions
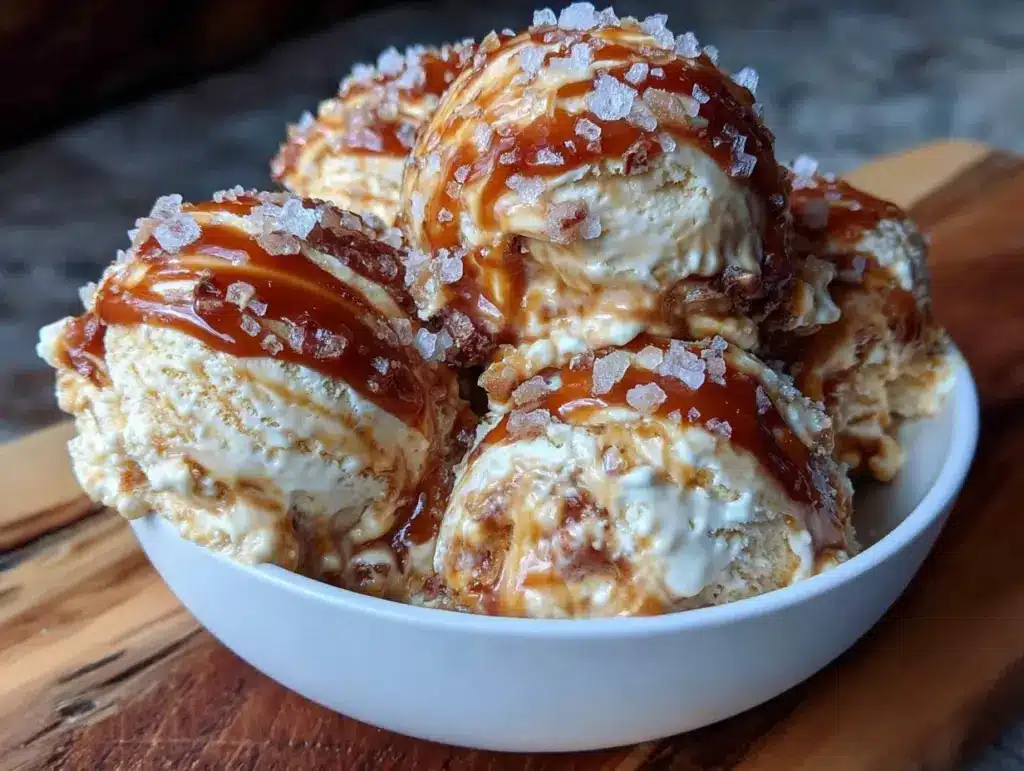
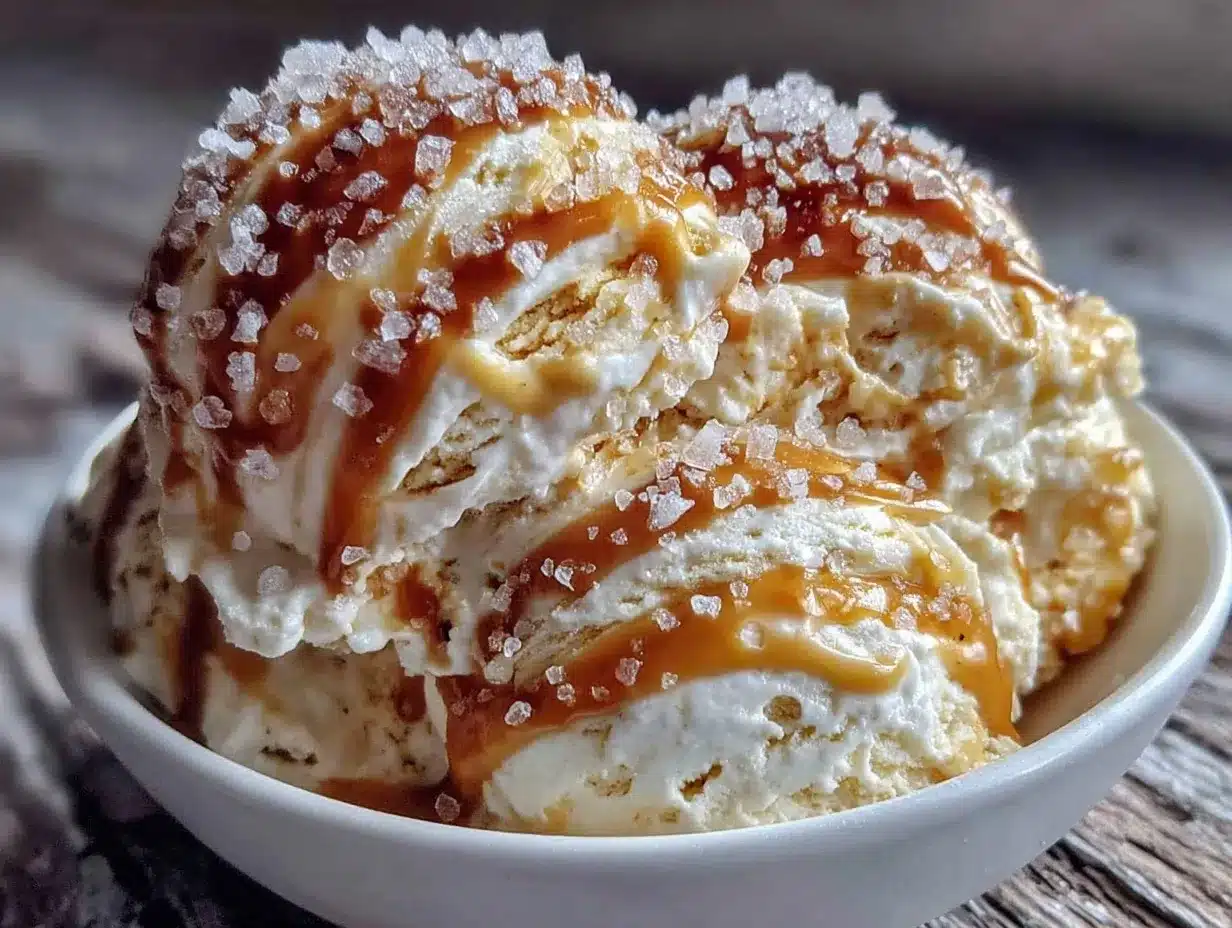
This ice cream is best served slightly softened — let it sit out for about 5 minutes before scooping to get that creamy, scoopable texture without being rock hard. Presentation-wise, drizzle a little extra salted caramel sauce on top and sprinkle a few flaky sea salt flakes for a pretty, tempting look.
It pairs wonderfully with warm desserts like apple pie or even alongside a rich chocolate brownie for an indulgent combo. For a casual treat, serve it with a few salted pretzels or buttery cookies on the side.
To store, keep the ice cream in an airtight container in the freezer for up to 2 weeks. Over time, the flavors deepen, but to avoid ice crystals, press a layer of parchment paper directly on the surface before sealing.
For reheating or softening, avoid microwaving. Instead, transfer to the fridge for 20-30 minutes before serving to keep the creamy texture intact.
Nutritional Information & Benefits
This creamy no-churn salted caramel ice cream is richer than typical store-bought versions because of its heavy cream and condensed milk base. A typical serving (about 1/2 cup or 125ml) contains approximately:
| Calories | 300-350 kcal |
|---|---|
| Fat | 20-25g (mostly saturated fat from cream and butter) |
| Sugar | 25-30g |
| Protein | 3-4g |
While indulgent, the recipe uses real ingredients and no artificial additives or stabilizers. The caramel’s salt helps balance sweetness, which can reduce the need for extra sugar. For those with dietary concerns, it’s gluten-free by default, and the dairy-free variation makes it suitable for vegans.
From a wellness perspective, this ice cream is a treat best enjoyed mindfully, but making it at home means you control the quality and can avoid preservatives found in commercial versions.
Conclusion
This creamy no-churn salted caramel ice cream recipe is a keeper because it’s simple, rewarding, and honestly, a little bit magical when you get it right. If you’re intimidated by making caramel or ice cream at home, this recipe breaks it down into manageable steps that don’t require fancy tools or hours of effort.
Feel free to tweak the salt level, add nuts or chocolate, or even try the dairy-free version to match your taste and dietary needs. It’s flexible and forgiving — the kind of recipe that invites you to make it your own.
Why do I love it? Because it’s proof that a homemade dessert can be both fuss-free and indulgent, comforting in a way that’s hard to beat. If you’ve enjoyed this, I’d love to hear how you personalize it or your favorite caramel moments. Sharing those little wins makes cooking even more fun.
So, grab your saucepan and mixer, and treat yourself to this smooth, luscious homemade ice cream—you won’t regret it.
Frequently Asked Questions About Creamy No-Churn Salted Caramel Ice Cream
Can I make this ice cream without an electric mixer?
Yes, but whipping the cream by hand takes longer and requires some muscle. Make sure your cream is very cold and use a large whisk to get as much air in as possible for a fluffy texture.
How do I prevent the caramel from burning?
Use medium heat and stir constantly. Watch the sugar closely as it melts—it can go from golden to burnt very quickly. Remove from heat as soon as it’s a deep amber color and fragrant.
Can I store the ice cream for longer than two weeks?
It’s best consumed within two weeks for optimal texture and flavor. After that, ice crystals may form, and the quality can decline.
Is this recipe suitable for kids?
Absolutely! It’s sweet, creamy, and free from alcohol or strong spices, making it a kid-friendly treat. Just be cautious with the salt level if your kids are sensitive to it.
Can I add mix-ins like chocolate chips or nuts?
Yes! Fold them in gently at the end before freezing. Toasted nuts or mini chocolate chips are popular choices that add great texture.
Pin This Recipe!
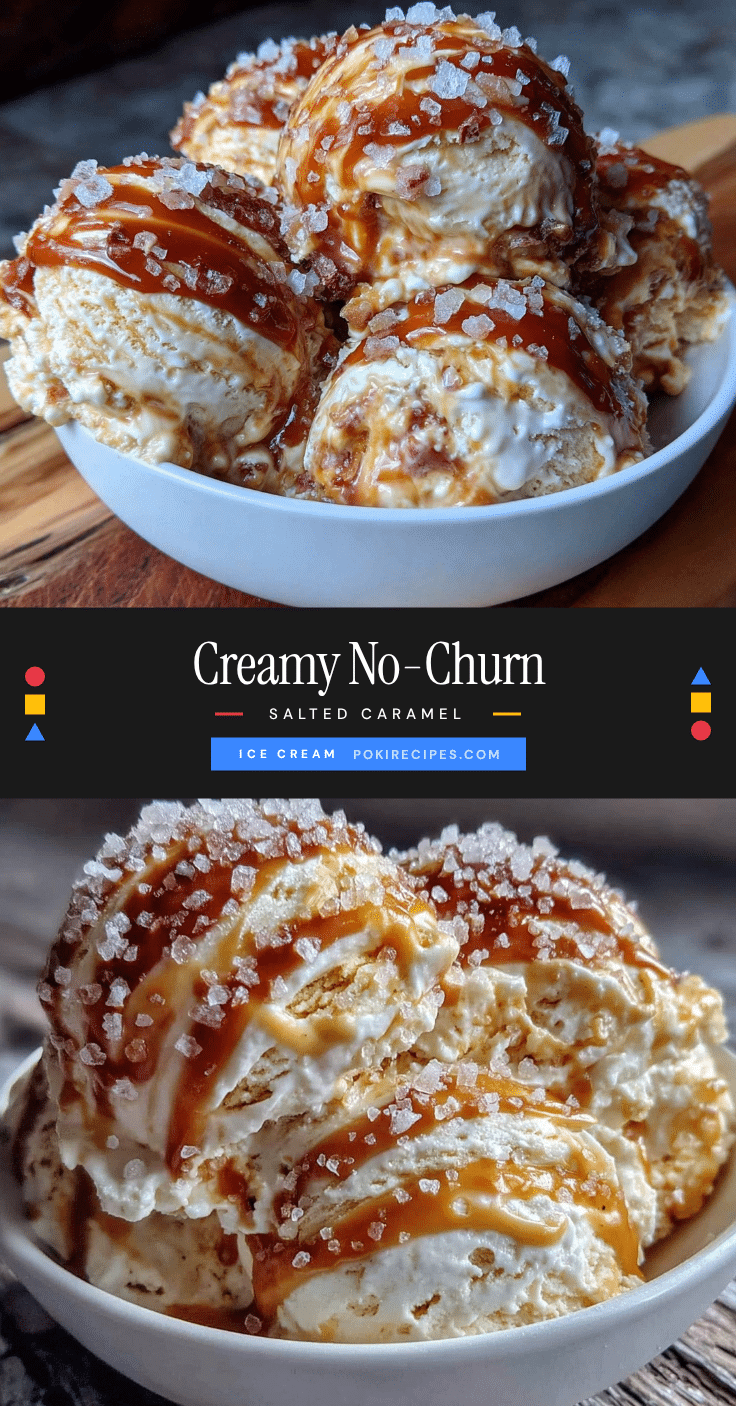
Creamy No-Churn Salted Caramel Ice Cream

A rich and indulgent homemade no-churn salted caramel ice cream that balances sweet and salty flavors perfectly, made without an ice cream maker.
- Prep Time: 10 minutes
- Cook Time: 10 minutes
- Total Time: 6 hours 20 minutes
- Yield: 8 servings 1x
- Category: Dessert
- Cuisine: American
Ingredients
- 1 cup (200g) granulated sugar
- 6 tablespoons (85g) unsalted butter, softened
- 1/2 cup (120ml) heavy cream, warmed
- 1 teaspoon flaky sea salt
- 2 cups (480ml) heavy whipping cream, chilled
- 1 (14 oz) can sweetened condensed milk
- 1 teaspoon pure vanilla extract
Instructions
- Place 1 cup (200g) granulated sugar in a medium saucepan over medium heat. Stir continuously until sugar melts into a smooth amber liquid, about 5-7 minutes. Remove from heat once golden brown and fragrant.
- Quickly stir in 6 tablespoons (85g) softened unsalted butter until fully melted and combined, about 1 minute.
- Slowly pour in 1/2 cup (120ml) warm heavy cream while stirring until smooth and glossy.
- Remove from heat and stir in 1 teaspoon flaky sea salt. Let caramel cool for 15-20 minutes until slightly thickened but still pourable.
- In a large chilled bowl, whip 2 cups (480ml) heavy cream with an electric mixer until stiff peaks form, about 3-5 minutes.
- In a separate bowl, whisk together 1 can (14 oz) sweetened condensed milk and 1 teaspoon pure vanilla extract until smooth.
- Gently fold the condensed milk mixture into the whipped cream using a rubber spatula until just combined and creamy.
- Pour about two-thirds of the cooled salted caramel into the ice cream base and gently fold to create a marbled effect. Reserve remaining caramel for topping.
- Transfer mixture to a loaf pan or airtight container. Drizzle remaining caramel on top and swirl slightly with a knife or skewer.
- Freeze for at least 6 hours or overnight until firm and scoopable.
- Before serving, let sit at room temperature for 5 minutes for easier scooping.
Notes
Use room temperature butter and warm cream for silky caramel. Whip cream to stiff peaks for best texture. Let caramel cool before folding in to avoid icy chunks. Use a metal loaf pan for faster freezing and fewer ice crystals. Let ice cream soften 5 minutes before scooping.
Nutrition
- Serving Size: 1/2 cup (125ml)
- Calories: 325
- Sugar: 27.5
- Sodium: 150
- Fat: 22.5
- Saturated Fat: 15
- Carbohydrates: 28
- Protein: 3.5
Keywords: no-churn ice cream, salted caramel, homemade dessert, easy ice cream recipe, no ice cream maker, creamy ice cream


