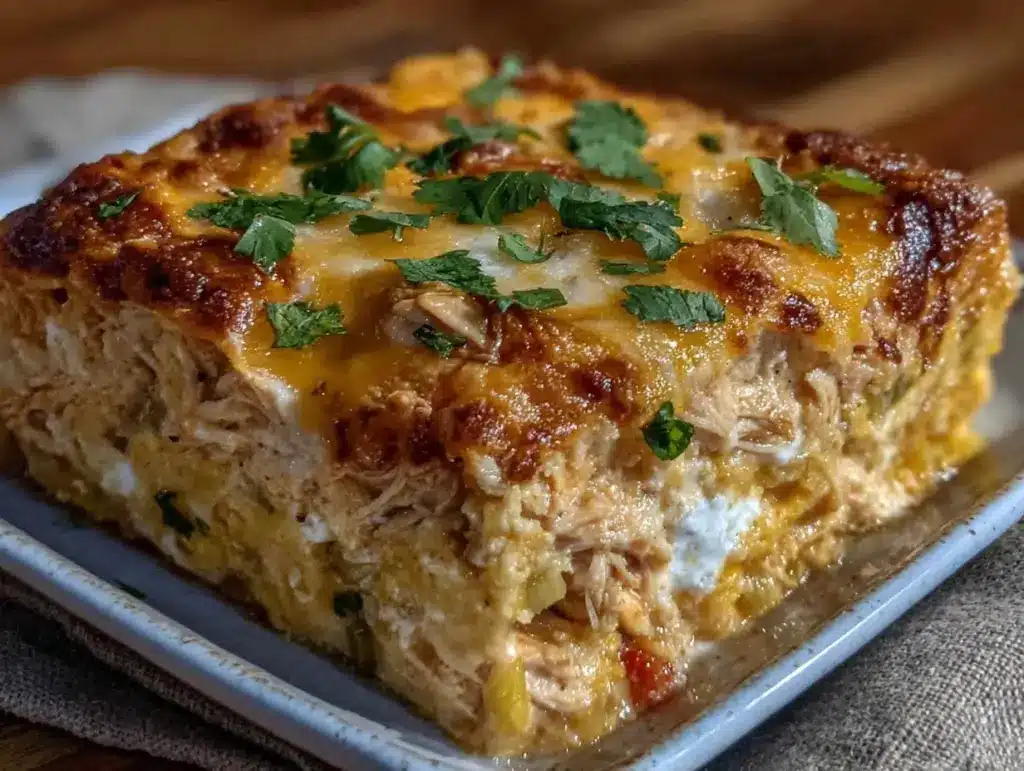
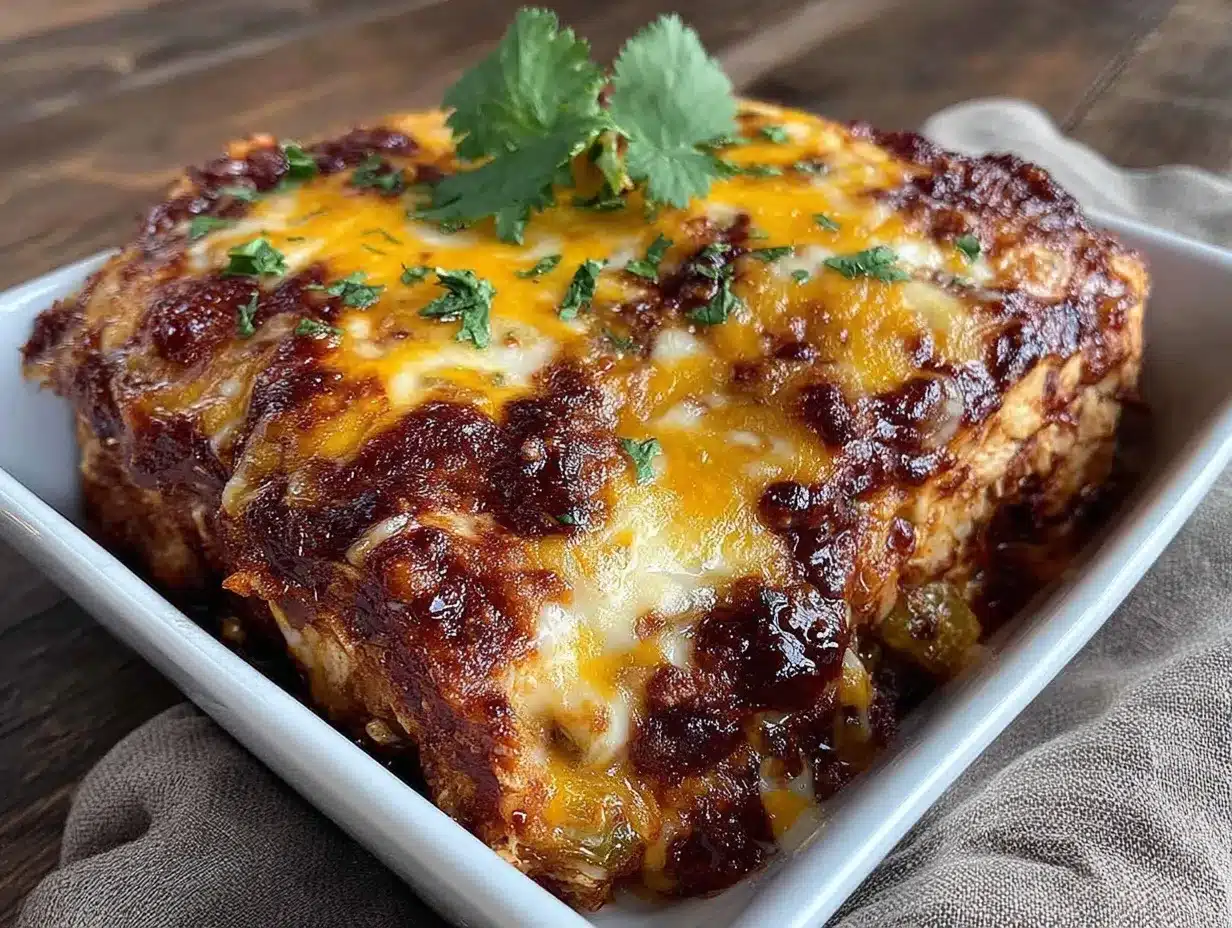
Velvety melted cheese bubbling and stretching with every scoop — and that’s the whole point. The way the golden cheese blankets the roasted Hatch chiles and tender chicken, all nestled in soft tortillas, is what I made this casserole for — everything else is secondary. When you peek under the bubbly cheese crust, you’ll spot the flecks of charred green chile skin, roasted to smoky perfection, promising a subtle heat that teases your fingertips before your taste buds even get a chance. Honestly, the texture of this Cheesy Roasted Hatch Chile Chicken Enchilada Casserole is almost hypnotic — creamy, cheesy, tender, and just a hint of crisp where the edges of the tortillas meet the hot oven air.
I remember the first time I roasted Hatch chiles for this dish — the way the skins blistered and smelled like a smoky campfire kindled an urge to dive right in. It wasn’t just about the flavor; it was the way the roasted peppers softened and melded with the creamy cheese and chicken that really grabbed me. The casserole’s layers invite you to savor the contrast between the smooth cheese, the juicy chicken, and the slightly chewy tortillas. You know that feeling when food looks like it was made with love? This casserole nails that with its bubbly, textured surface and inviting green patches of chile poking through.
What’s quietly satisfying is how this recipe came to be my go-to when I needed a dish that felt both comforting and a little adventurous. Hatch chiles, with their unique flavor and mild heat, bring that Southwest charm without overwhelming the dish. And let’s face it, there’s something so cozy about a casserole you can prepare ahead, pop in the oven, and watch transform into a golden, gooey masterpiece. This one stuck with me because it’s the kind of meal that doesn’t just feed hunger — it feels like a warm hug on a plate.
Why You’ll Love This Recipe
This Cheesy Roasted Hatch Chile Chicken Enchilada Casserole isn’t your average weeknight dinner; it’s a carefully crafted balance of textures and flavors that I’ve tested and tweaked through many cozy nights in my kitchen. Here’s why it’s become a staple for me and many others:
- Quick & Easy: You can have this casserole ready to bake in under 30 minutes, perfect for busy nights when you want something satisfying without fuss.
- Simple Ingredients: No need for specialty stores — most ingredients are pantry staples with a fresh Hatch chile twist that adds a unique kick.
- Perfect for Gatherings: Whether it’s a casual dinner or a festive potluck, this dish impresses without the stress.
- Crowd-Pleaser: The creamy cheese and smoky chile flavor get rave reviews from kids and adults alike — it’s comfort food with a Southwestern soul.
- Unbelievably Delicious: The roasted Hatch chiles add a mild heat and earthy depth that sets this recipe apart from run-of-the-mill enchiladas.
What makes this casserole stand out is the roasting technique for the Hatch chiles. Roasting them yourself unlocks a smoky, slightly sweet flavor and soft texture that canned chiles just can’t match. The chicken is shredded and mixed with a tangy, creamy sauce, binding everything together under a blanket of melted cheese that browns just right in the oven. It’s the kind of recipe that makes you pause and savor each bite — and maybe close your eyes after the first mouthful.
What Ingredients You Will Need
This recipe uses simple, wholesome ingredients to deliver bold flavor and satisfying texture without the fuss. Many of these you probably already have on hand, and the fresh Hatch chiles add an exciting seasonal twist.
For the Roasted Hatch Chile Chicken Filling:
- 4-5 fresh Hatch chiles, roasted, peeled, and chopped (adds smoky, mild heat)
- 2 cups cooked chicken, shredded (rotisserie chicken works great for convenience)
- 1 cup diced onions, sautéed until translucent
- 2 cloves garlic, minced
- 1 cup green enchilada sauce (choose your favorite brand or homemade)
- 1/2 cup sour cream (for creamy tang)
- 1 teaspoon ground cumin
- 1/2 teaspoon smoked paprika
- Salt and freshly ground black pepper, to taste
For the Casserole Assembly:
- 8-10 corn tortillas, lightly toasted (softens in casserole but keeps structure)
- 2 cups shredded cheese (I recommend a blend of Monterey Jack and sharp cheddar for flavor and melt)
- Fresh cilantro, chopped, for garnish (optional but brightens the dish)
- 1 lime, cut into wedges for serving
Ingredient Tips: When selecting Hatch chiles, look for firm pods with shiny skin. If fresh Hatch isn’t available, roasted Anaheim or poblano peppers can substitute, though the flavor won’t be quite the same. For a dairy-free version, swap sour cream with coconut yogurt and use a vegan cheese alternative.
Equipment Needed
- Baking sheet or cast iron skillet for roasting Hatch chiles — a sturdy pan that withstands high heat is best.
- Medium skillet for sautéing onions and garlic.
- Mixing bowl to combine chicken, chiles, and sauce.
- 9×13-inch casserole dish for layering and baking the enchilada casserole.
- Sharp knife and cutting board for prepping chiles and other ingredients.
- Aluminum foil to cover casserole while baking, preventing over-browning.
If you don’t have a cast iron, a heavy-duty baking sheet works fine for roasting chiles, but watch them closely so they don’t burn. For quick cleanup, a silicone spatula and non-stick spray for the casserole dish come in handy. Personally, using a sharp serrated knife made peeling the roasted chiles a breeze.
Preparation Method
- Roast the Hatch chiles: Preheat your oven to 450°F (230°C). Place the fresh Hatch chiles on a baking sheet and roast them until the skins blister and blacken in spots, about 15-20 minutes, turning occasionally for even charring. This process creates that smoky flavor and makes peeling easier.
- Peel and chop the chiles: Transfer the roasted chiles to a bowl and cover tightly with plastic wrap or a kitchen towel. Let them steam for 10 minutes — this loosens the skins. Then peel off the skins, remove the seeds if you want milder heat, and chop the flesh into small pieces.
- Prepare the filling: In a medium skillet, heat a bit of oil over medium heat. Add diced onions and sauté until translucent, about 5 minutes. Add minced garlic and cook for another 30 seconds until fragrant.
- Combine chicken and sauce: In a large mixing bowl, combine shredded chicken, roasted Hatch chiles, sautéed onions and garlic, green enchilada sauce, sour cream, cumin, smoked paprika, salt, and pepper. Mix well until evenly combined. The mixture should be creamy but not too wet — adjust sour cream or sauce if needed.
- Toast tortillas: Lightly warm and toast corn tortillas in a dry skillet or microwave for a few seconds to make them pliable. This step helps prevent sogginess in the casserole.
- Assemble the casserole: Preheat oven to 375°F (190°C). Spread a thin layer of the chicken chile mixture on the bottom of a greased 9×13-inch casserole dish. Layer 3-4 tortillas on top, then spread another layer of the filling, followed by a generous sprinkle of shredded cheese. Repeat layers until all filling and tortillas are used, finishing with a thick layer of cheese on top.
- Bake: Cover the casserole with aluminum foil and bake for 20 minutes. Remove foil and bake for an additional 10-15 minutes, or until the cheese is bubbly and golden brown around the edges.
- Rest and garnish: Let the casserole rest for 10 minutes before serving. Garnish with fresh cilantro and lime wedges for a fresh zing.
Pro tip: If the cheese browns too fast, tent the casserole with foil again or lower the oven rack after the first 10 minutes uncovered. The filling should be hot and bubbly — you’ll know it’s ready when the cheese bubbles up around the edges and smells irresistible.
Cooking Tips & Techniques
Getting the texture just right in this casserole is all about balancing moisture and timing. Here are a few tips I’ve picked up along the way:
- Don’t skip roasting the Hatch chiles: It’s the key to that smoky, slightly sweet flavor that sets this dish apart. Use a broiler if your oven doesn’t go high enough.
- Peeling the chiles: Letting the chiles steam after roasting makes peeling easier and reduces bitterness from charred skin.
- Toasted tortillas: Warm tortillas are less likely to tear and absorb just enough sauce to stay tender without becoming mushy.
- Layer evenly: Spread the filling evenly to avoid dry or overly saucy bites.
- Cheese choice: A blend of Monterey Jack and sharp cheddar melts beautifully and adds depth. Avoid pre-shredded cheese if you can — it often has anti-caking agents that affect melt.
- Cover while baking: Keeps moisture locked in; remove foil toward the end to brown the cheese.
- Rest after baking: This helps the layers set so your casserole slices nicely without falling apart.
In my early attempts, I learned the hard way that skipping the steaming step after roasting leads to bitter bits of skin in the casserole — no fun. Also, under-toasting tortillas resulted in limp layers that sogged out too quickly. Now, I time the roasting and assembly so everything flows smoothly — multitasking with prepping a side like duchess potatoes makes dinner feel special without extra stress.
Variations & Adaptations
This casserole is versatile and easy to tweak based on your pantry, dietary needs, or mood:
- Spicy Upgrade: Add diced jalapeños or a dash of cayenne to the filling for more heat.
- Vegetarian Version: Swap chicken for black beans or sautéed mushrooms for a meatless twist.
- Gluten-Free Option: Use corn tortillas labeled gluten-free to keep the dish safe for gluten-sensitive eaters.
- Dairy-Free Adaptation: Replace sour cream with coconut yogurt and use vegan cheese alternatives — the roasted chiles still shine through.
- Seasonal Twist: In summer, add fresh diced tomatoes or corn kernels for a fresh pop.
Personally, I once tried adding a layer of sliced roasted sweet potatoes beneath the chicken mixture for extra texture and natural sweetness — it was a hit, adding a lovely contrast to the smoky chiles. Also, if you want to speed things up, assembling the casserole the night before and baking it the next day works perfectly.
Serving & Storage Suggestions
This Cheesy Roasted Hatch Chile Chicken Enchilada Casserole is best served warm, straight from the oven, so the cheese is gooey and the layers are tender. I love pairing it with a simple side salad to cut through the richness, or a fresh avocado salsa for creaminess with a bite. Lime wedges on the side add a bright finish — squeeze liberally.
Store leftovers covered in the refrigerator for up to 4 days. Reheat gently in the oven at 350°F (175°C) covered with foil to keep moisture, or microwave in portions if you’re in a hurry. The flavors meld beautifully overnight, so leftovers often taste even better the next day. You can also freeze individual portions wrapped tightly for up to 3 months — thaw overnight in the fridge before reheating.
For a quick reheat, I recommend topping with a little extra cheese before warming to revive that melty magic. The casserole holds its texture well, so it’s great for meal prep or feeding a crowd with minimal fuss.
Nutritional Information & Benefits
Per serving (approximate): 350-400 calories, 30g protein, 18g fat, 15g carbohydrates.
This casserole packs a protein punch from the chicken and cheese, making it satisfying and well-rounded. Hatch chiles are rich in vitamins A and C, and their antioxidants support immune health. Using corn tortillas provides a gluten-free base with fiber, while sour cream adds a creamy texture along with some calcium.
It’s a balanced comfort meal that fits well within many dietary preferences. For those watching carbs, swapping corn tortillas for low-carb wraps can work. Just be mindful of cheese portions if you’re limiting fat intake. Overall, it’s a wholesome dish that feels indulgent but doesn’t go overboard.
Conclusion
This Cheesy Roasted Hatch Chile Chicken Enchilada Casserole isn’t just another casserole — it’s a texture-rich, smoky, and cheesy experience that I find hard to resist. Its layers of tender chicken, roasted chiles, and stretchy cheese come together in a way that feels both familiar and a little special. I love how easy it is to put together, yet it delivers so much flavor.
Feel free to play around with the heat level, cheese types, or add-ins to make it your own. Cooking is about making food that fits your taste and lifestyle, after all. I can’t wait to hear how you make this recipe your own — it’s been a favorite in my kitchen for good reason. So, grab those Hatch chiles while they’re in season and get ready for a casserole that’s as cozy as it is crave-worthy.
FAQs About Cheesy Roasted Hatch Chile Chicken Enchilada Casserole
Can I use canned green chiles instead of fresh Hatch chiles?
Yes, canned green chiles can be used if fresh Hatch chiles aren’t available, but keep in mind the flavor will be less smoky and slightly different in texture.
How do I roast Hatch chiles if I don’t have an oven?
You can roast Hatch chiles on a gas stovetop burner using tongs, turning frequently until the skin is blistered. Alternatively, use a grill or broiler.
Can I prepare this casserole ahead of time?
Absolutely! Assemble the casserole and keep it covered in the fridge for up to 24 hours before baking. This actually helps the flavors meld nicely.
What cheese works best for melting in this casserole?
A blend of Monterey Jack and sharp cheddar melts well and offers a nice balance of creaminess and flavor. Avoid pre-shredded cheese for best melt.
Is this recipe freezer-friendly?
Yes, you can freeze individual portions wrapped tightly for up to 3 months. Thaw overnight in the fridge before reheating in the oven or microwave.
Pin This Recipe!
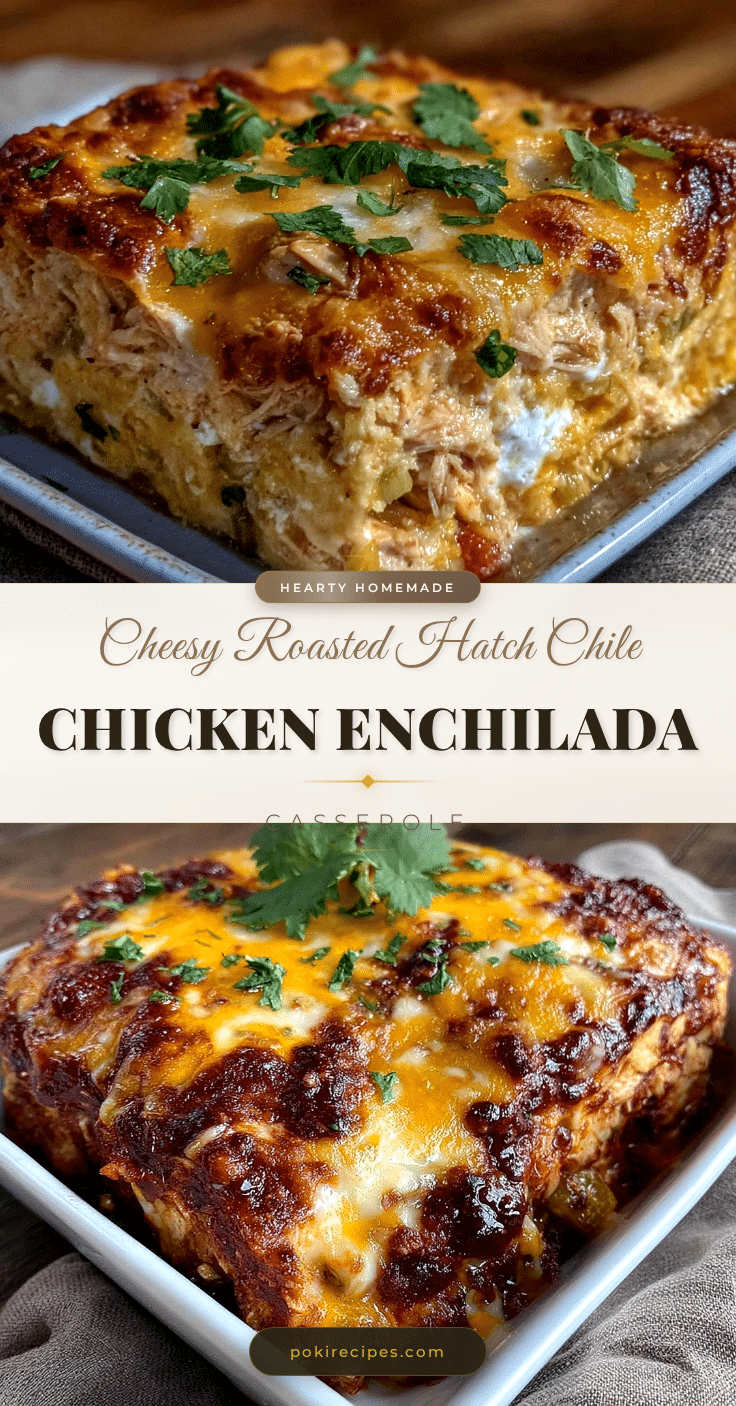
Cheesy Roasted Hatch Chile Chicken Enchilada Casserole

A comforting and flavorful casserole featuring smoky roasted Hatch chiles, tender shredded chicken, creamy cheese, and soft corn tortillas baked to bubbly perfection.
- Prep Time: 25 minutes
- Cook Time: 35 minutes
- Total Time: 1 hour
- Yield: 6 servings 1x
- Category: Main Course
- Cuisine: Southwestern
Ingredients
- 4–5 fresh Hatch chiles, roasted, peeled, and chopped
- 2 cups cooked chicken, shredded (rotisserie chicken recommended)
- 1 cup diced onions, sautéed until translucent
- 2 cloves garlic, minced
- 1 cup green enchilada sauce
- 1/2 cup sour cream
- 1 teaspoon ground cumin
- 1/2 teaspoon smoked paprika
- Salt and freshly ground black pepper, to taste
- 8–10 corn tortillas, lightly toasted
- 2 cups shredded cheese (blend of Monterey Jack and sharp cheddar recommended)
- Fresh cilantro, chopped (optional, for garnish)
- 1 lime, cut into wedges for serving
Instructions
- Preheat oven to 450°F (230°C). Place fresh Hatch chiles on a baking sheet and roast until skins blister and blacken, about 15-20 minutes, turning occasionally.
- Transfer roasted chiles to a bowl, cover tightly with plastic wrap or kitchen towel, and let steam for 10 minutes. Peel skins off, remove seeds if desired, and chop the flesh.
- In a medium skillet, heat oil over medium heat. Sauté diced onions until translucent, about 5 minutes. Add minced garlic and cook for 30 seconds until fragrant.
- In a large mixing bowl, combine shredded chicken, roasted Hatch chiles, sautéed onions and garlic, green enchilada sauce, sour cream, cumin, smoked paprika, salt, and pepper. Mix until evenly combined.
- Lightly warm and toast corn tortillas in a dry skillet or microwave to make them pliable.
- Preheat oven to 375°F (190°C). Grease a 9×13-inch casserole dish. Spread a thin layer of chicken chile mixture on the bottom.
- Layer 3-4 tortillas on top, spread another layer of filling, then sprinkle shredded cheese. Repeat layers until all filling and tortillas are used, finishing with a thick cheese layer on top.
- Cover casserole with aluminum foil and bake for 20 minutes. Remove foil and bake an additional 10-15 minutes until cheese is bubbly and golden brown.
- Let casserole rest for 10 minutes before serving. Garnish with fresh cilantro and lime wedges.
Notes
Roasting the Hatch chiles is key for smoky flavor. Let chiles steam after roasting to ease peeling. Toast tortillas to prevent sogginess. Cover casserole while baking to retain moisture, remove foil near end to brown cheese. Rest casserole before serving for better slicing. For dairy-free, substitute sour cream with coconut yogurt and use vegan cheese. Can prepare ahead and refrigerate up to 24 hours before baking. Freeze portions up to 3 months.
Nutrition
- Serving Size: 1 slice (approximate
- Calories: 375
- Sugar: 3
- Sodium: 550
- Fat: 18
- Saturated Fat: 8
- Carbohydrates: 15
- Fiber: 3
- Protein: 30
Keywords: Hatch chile, chicken enchilada casserole, cheesy casserole, roasted chiles, comfort food, Southwestern recipe