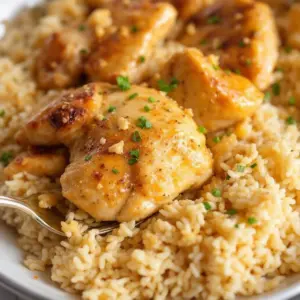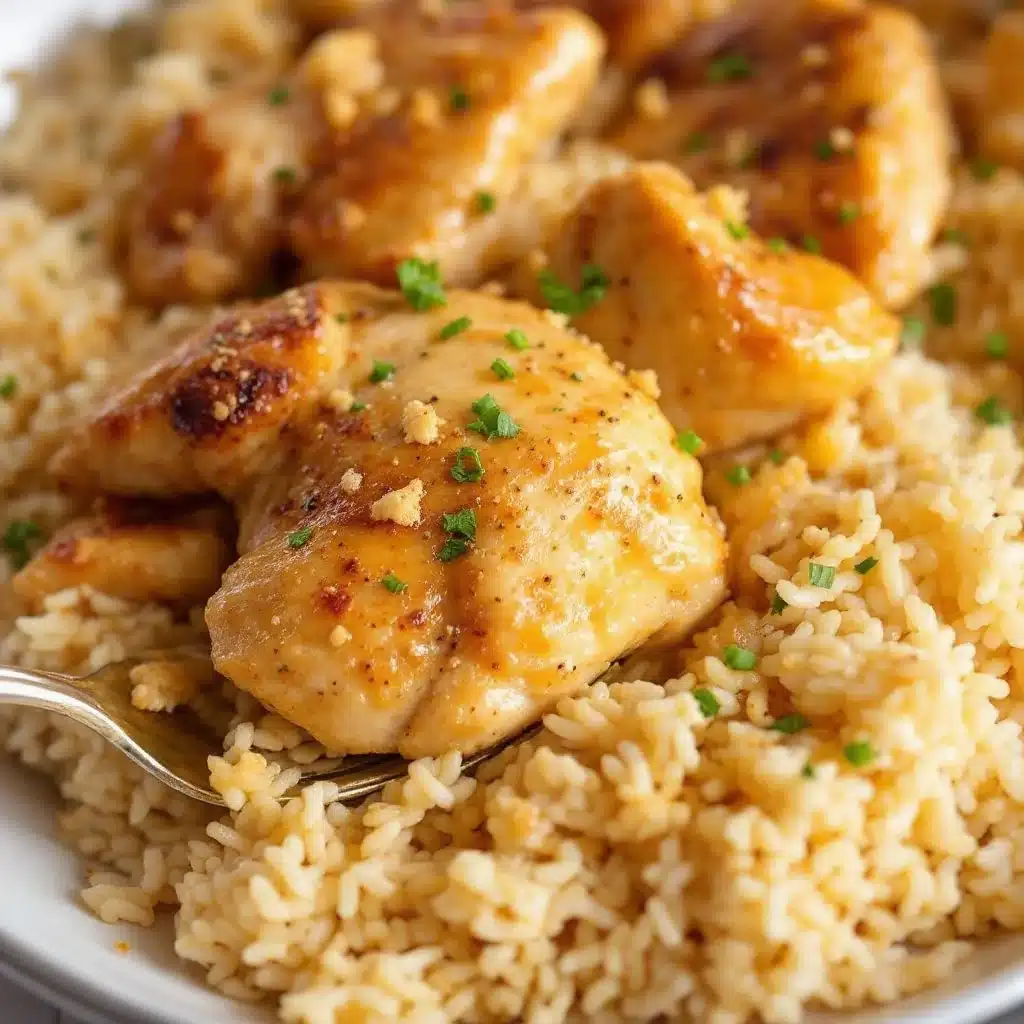
The way that garlic butter slowly soaks into every single grain of rice—that’s what got me. I was standing over my stove on a Tuesday night, completely exhausted, staring at a sad, empty sink full of dishes I did not want to wash. I had a single skillet, a few chicken thighs, and a desperate need for something that felt like a real meal but required almost zero cleanup. So I just started tossing things in. Butter first—always butter. Then garlic, because honestly, garlic fixes everything. The chicken went in skin-side down, sizzling and popping, and I watched the fat render into that golden pool of goodness. I poured in the rice without even measuring properly, added some broth, and crossed my fingers. Thirty minutes later, I was eating the best thing I’d made all week. The rice was impossibly fluffy, each bite carrying that rich, savory garlic butter flavor, and the chicken was tender enough to fall apart with a fork. That chaotic Tuesday night experiment turned into my most-requested dinner. It’s the kind of recipe that makes you feel like you actually know what you’re doing in the kitchen—even when you’re winging it.
Why You’ll Love This Recipe
Let’s be real for a second. Weeknight dinners can feel like a chore, and the last thing you want is a sink full of pots and pans. This easy one-pan garlic butter chicken and rice solves that problem completely. It’s the dinner that keeps on giving—mostly because you only have one pan to wash afterward.
- One-Pan Wonder: Everything cooks in a single skillet. That means less time cleaning and more time actually enjoying your meal. It’s practically a life hack.
- Bold Garlic Butter Flavor: This isn’t one of those bland chicken and rice dishes. The garlic butter infuses every layer, from the crispy chicken skin down to the last grain of rice. It’s rich, savory, and completely satisfying.
- Simple Pantry Ingredients: You probably have most of these ingredients in your kitchen right now. Chicken, rice, garlic, butter, broth—that’s the backbone of this meal. No fancy grocery trips required.
- Perfect for Busy Weeknights: This recipe comes together in about 30 minutes with minimal hands-on time. You can prep it, walk away, and come back to a complete dinner that tastes like you spent hours on it.
- Crowd-Pleaser Status: I’ve made this for my family, for friends, and even for picky eaters. It always gets the same reaction—quiet eating followed by requests for seconds. Kids love it, adults love it, and it reheats beautifully for lunch the next day.
What makes this version different from all the others? It’s the technique. I brown the chicken first to build that deep, caramelized flavor, then cook the rice directly in the rendered fat and garlic butter. The rice absorbs all that goodness, so every single bite tastes like the best part of the chicken. It’s not just another chicken and rice recipe—it’s the one you’ll actually want to make again and again.
What Ingredients You Will Need
This recipe relies on simple, wholesome ingredients that work together to create something truly special. Each component has a specific job, and together they deliver that rich, comforting flavor you’re craving.
- Chicken Thighs (4-6, bone-in and skin-on): This is my non-negotiable choice for this recipe. Bone-in, skin-on thighs stay incredibly juicy during cooking, and the skin gets perfectly crispy in the garlic butter. The bone also adds depth to the rice as it simmers. You can use boneless thighs if you must, but you will lose some flavor and moisture. I recommend getting thighs that are roughly the same size so they cook evenly.
- Unsalted Butter (4 tablespoons): Butter is the star here. Using unsalted butter lets you control the salt level yourself. I like to use a good-quality European-style butter for extra richness, but any unsalted butter works perfectly. Do not substitute margarine—it just won’t give you that same luxurious flavor.
- Garlic (6-8 cloves, minced): Fresh garlic is absolutely essential. Please do not use the pre-minced stuff in a jar. Fresh garlic has a pungent, aromatic quality that mellows into something sweet and nutty as it cooks in the butter. I mince mine finely so it melts into the sauce rather than leaving big chunks.
- Long-Grain White Rice (1 cup): I prefer long-grain white rice like jasmine or basmati for this recipe. It stays fluffy and separate rather than turning into a sticky mess. Do not use instant rice or brown rice—they have different cooking times and liquid ratios that will throw off the whole dish. Rinse your rice in a fine-mesh strainer until the water runs clear to remove excess starch.
- Chicken Broth (2 cups): Use a good-quality chicken broth or stock. Low-sodium is best so you can control the salt. The broth is what the rice cooks in, so it needs to taste good on its own. I like using homemade stock when I have it, but store-bought works perfectly fine.
- Onion (1 medium, finely diced): Onion adds a subtle sweetness and savory depth to the rice. Yellow onion is my go-to, but white onion works too. Dice it finely so it practically disappears into the rice.
- Dried Thyme (1 teaspoon): Thyme pairs beautifully with garlic butter and chicken. It adds an earthy, slightly floral note that keeps the dish from feeling one-dimensional. You can use fresh thyme if you have it—just use about 1 tablespoon of fresh leaves.
- Paprika (1 teaspoon): Paprika adds a mild sweetness and a beautiful color to the chicken skin. Smoked paprika would also be incredible here if you want a deeper, smokier flavor.
- Salt and Black Pepper (to taste): Simple seasoning goes a long way. Season the chicken generously on both sides before searing, and adjust the rice seasoning at the end.
- Fresh Parsley (for garnish): A sprinkle of fresh parsley at the end adds brightness and color. It’s optional but highly recommended. It makes the dish look restaurant-quality with almost zero effort.
Equipment Needed
The beauty of this recipe is how little equipment it requires. You truly only need a few basic kitchen tools to pull it off.
- A Large, Deep Skillet (12-inch with a lid): This is the most important piece of equipment. You need a skillet that’s deep enough to hold the rice and broth, wide enough to fit all the chicken in a single layer, and has a tight-fitting lid. A cast-iron skillet or a heavy-bottomed stainless steel pan works best because they hold heat evenly. I use my trusty 12-inch cast iron skillet for this—it’s seasoned beautifully and gives the chicken an incredible crust. If you don’t have a lid, you can use a sheet of aluminum foil tightly crimped around the edges.
- Tongs: You need tongs to flip the chicken and stir the rice. They give you better control than a spatula and keep your hands away from the hot butter splatters.
- Cutting Board and Knife: For mincing garlic, dicing the onion, and chopping parsley. A sharp chef’s knife makes this prep work quick and painless.
- Measuring Cups and Spoons: Accurate measurements matter here, especially for the rice-to-liquid ratio. Use dry measuring cups for the rice and liquid measuring cups for the broth.
- Fine-Mesh Strainer: For rinsing the rice. This step is important, so don’t skip it even if you think your rice is clean enough.
If you don’t have a deep skillet, you can use a Dutch oven instead. It works just as well and the heavy bottom helps prevent the rice from burning. I’ve also made this in a large non-stick skillet with good results, though you won’t get quite as much browning on the chicken.
Preparation Method
Let me walk you through this step by step. Trust me, it’s easier than it sounds, and the results are absolutely worth the small amount of effort involved.
- Prep your ingredients first. Before you turn on the stove, get everything ready. Mince the garlic, dice the onion, rinse the rice in a fine-mesh strainer until the water runs clear, and pat the chicken thighs dry with paper towels. Drying the chicken is crucial—wet skin won’t crisp up properly. Season the chicken generously on both sides with salt, pepper, and the paprika. Set it aside while you heat the pan.
- Melt the butter and sear the chicken. Place your skillet over medium-high heat and add 2 tablespoons of the butter. Let it melt and get foamy, but don’t let it brown. Carefully place the chicken thighs skin-side down in the hot butter. Listen for that satisfying sizzle—if it doesn’t sizzle, your pan isn’t hot enough. Cook without moving the chicken for about 5-6 minutes, until the skin is deep golden brown and crispy. Flip the chicken and cook for another 3-4 minutes on the other side. The chicken won’t be fully cooked through yet, and that’s perfectly fine. Transfer the chicken to a plate and set it aside.
- Sauté the aromatics. Reduce the heat to medium. Add the remaining 2 tablespoons of butter to the same skillet. Once it melts, add the diced onion and cook for about 3 minutes, stirring occasionally, until the onion is soft and translucent. Add the minced garlic and cook for another 30 seconds, stirring constantly. Garlic burns very quickly, so keep it moving and don’t walk away. Your kitchen should smell absolutely incredible at this point.
- Toast the rice. Add the rinsed and drained rice to the skillet. Stir it into the garlic butter mixture and let it toast for about 2 minutes. You want the rice to turn slightly opaque and start smelling nutty. This step adds so much flavor—don’t skip it. Stir in the dried thyme at this point so it gets evenly distributed.
- Add the broth and nestle the chicken back in. Pour in the chicken broth and give everything a good stir, scraping up any browned bits from the bottom of the pan. Bring the liquid to a gentle boil. Once it’s bubbling, carefully place the chicken thighs back on top of the rice, skin-side up. The rice should be mostly submerged in the broth, with the chicken sitting proudly on top.
- Cover and simmer. Reduce the heat to low, put the lid on your skillet, and let it cook undisturbed for 18-20 minutes. Do not lift the lid during this time. I know it’s tempting, but every time you lift that lid, steam escapes, and that steam is what cooks the rice perfectly. Set a timer and walk away. Maybe make a quick salad or pour yourself a glass of wine.
- Rest and fluff. After 18-20 minutes, turn off the heat but keep the lid on. Let the pan rest for 5 more minutes. This resting time allows the rice to absorb any remaining liquid and become perfectly fluffy. After the rest, remove the lid carefully (steam is hot!), and check the rice. It should be tender and fully cooked. If it’s still a little firm, add a splash more broth, cover, and cook on low for another 5 minutes. Fluff the rice gently with a fork, being careful not to break up the chicken.
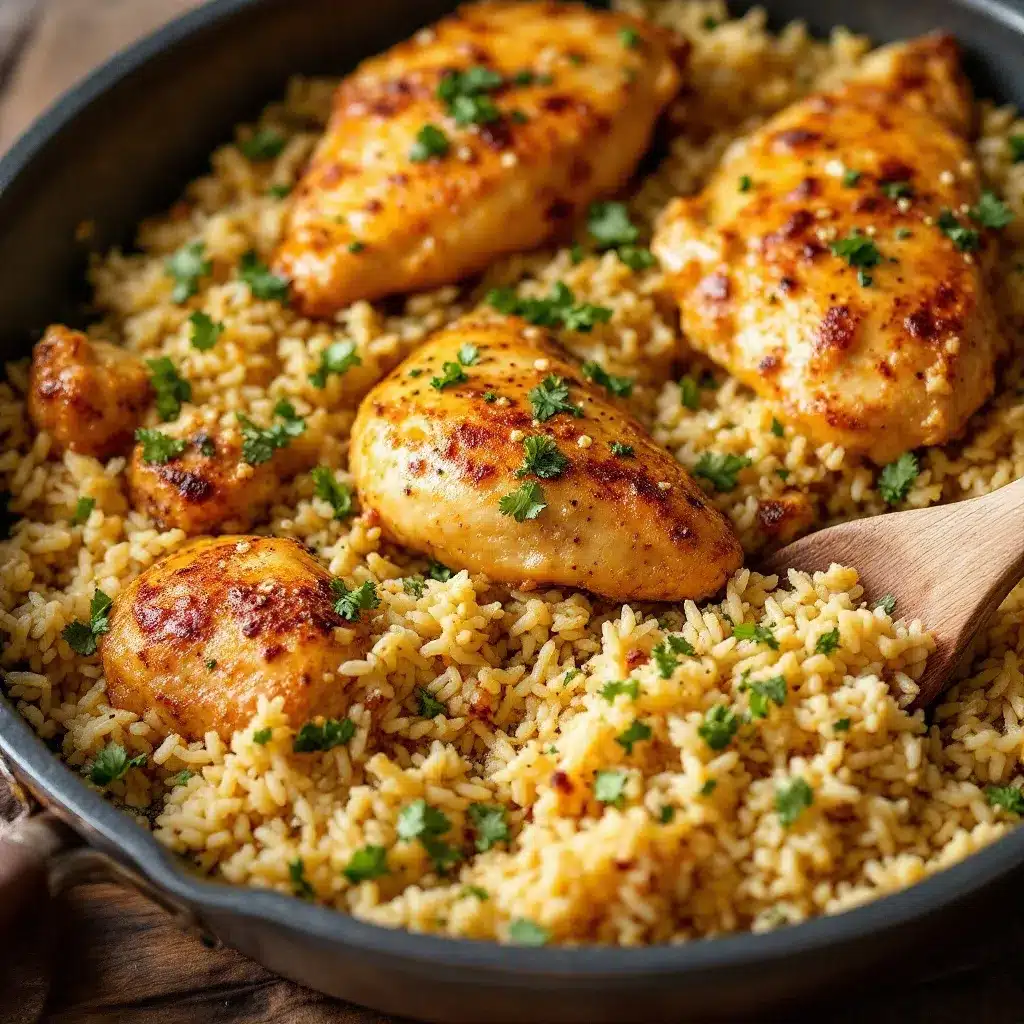
- Garnish and serve. Sprinkle fresh chopped parsley over everything. Taste the rice and adjust salt and pepper if needed. Serve directly from the skillet for maximum cozy vibes. The chicken should be tender and juicy, the rice fluffy and flavorful, and every single bite should taste like garlic butter heaven.
Cooking Tips & Techniques
I’ve made this recipe more times than I can count, and I’ve learned a few things along the way. These tips will help you get perfect results every single time.
Don’t overcrowd the pan. When you’re searing the chicken, make sure each piece has enough space to make contact with the hot surface. If the thighs are too close together, they’ll steam instead of sear, and you won’t get that beautiful golden crust. Cook in batches if you need to—it’s worth the extra few minutes.
Patience is key with the rice. The hardest part of this recipe is leaving the lid on. I know it’s tempting to peek, especially when your kitchen smells amazing. But trust the process. Lifting the lid releases steam and drops the temperature inside the pan, which can lead to unevenly cooked rice. Set a timer and walk away. I once ruined a perfect batch of rice because I checked it three times. Learn from my mistakes.
Use a heavy-bottomed pan. Thin pans create hot spots that can burn the rice before it’s fully cooked. A heavy cast-iron skillet or stainless steel pan distributes heat evenly, which means your rice cooks consistently. If you’re using a thinner pan, keep the heat on the lower side of medium-low and check the rice a few minutes early.
Adjust liquid based on your rice. Different brands and types of rice absorb liquid differently. If you’re using a different variety of long-grain rice, you might need to adjust the broth slightly. The general rule is a 1:2 ratio of rice to liquid, but some rice needs a little more or less. If your rice seems dry after the cooking time, add a few tablespoons of broth and let it steam for a few more minutes.
Season in layers. Don’t just season the chicken and call it done. Season the rice when you add the broth, and taste and adjust at the end. Layered seasoning creates a more complex, well-rounded flavor. I add a pinch of salt to the rice when I add the broth, and I always taste before serving.
Variations & Adaptations
This recipe is incredibly versatile, and I love experimenting with different flavors. Here are some of my favorite variations that I’ve tested over the years.
Lemon Herb Version: Add the zest of one lemon and a tablespoon of fresh lemon juice along with the broth. Swap the dried thyme for a mix of fresh rosemary and thyme. The lemon brightens up the rich garlic butter and makes the dish feel lighter. I make this version during spring and summer, and it’s always a hit.
Creamy Mushroom Adaptation: Sauté 8 ounces of sliced mushrooms along with the onion. Use a mix of cremini and shiitake mushrooms for the best flavor. After the rice cooks, stir in ¼ cup of heavy cream or full-fat coconut milk for an extra creamy texture. This version feels incredibly luxurious and is perfect for colder months.
Spicy Cajun Twist: Replace the paprika with Cajun seasoning and add a pinch of cayenne pepper to the rice. Use andouille sausage slices along with the chicken for extra flavor. This version has a nice kick and pairs beautifully with a cold beer. It’s my go-to when I’m craving something bold and spicy.
Vegetarian Option: Skip the chicken entirely and use vegetable broth instead of chicken broth. Add a can of drained and rinsed chickpeas or white beans along with the broth for protein. You can also add sautéed bell peppers and zucchini for extra vegetables. The garlic butter rice is so flavorful on its own that you won’t miss the meat.
Dairy-Free Version: Use a high-quality vegan butter or olive oil in place of the regular butter. I’ve tested this with a good vegan butter, and the results were surprisingly close to the original. The flavor is slightly different but still delicious. Just make sure to use a vegan butter that’s designed for cooking, not just spreading.
Serving & Storage Suggestions
This dish is incredibly forgiving when it comes to serving and storing, which is another reason it’s perfect for busy weeks.
Serving: Serve this dish straight from the skillet for maximum cozy presentation. The chicken should be placed on top of the rice, with a generous sprinkle of fresh parsley. I like to serve it with a simple side salad dressed with lemon vinaigrette to cut through the richness. Steamed green beans or roasted asparagus also pair beautifully. For a complete meal, you can also serve it alongside some crispy roasted vegetables for extra texture and color.
Storage: Let the dish cool completely before storing. Transfer the chicken and rice to an airtight container and refrigerate for up to 4 days. The flavors actually meld and deepen overnight, so leftovers taste even better the next day. I’ve been known to make a double batch just for lunch leftovers.
Reheating: The best way to reheat this dish is in a skillet over medium-low heat with a splash of broth or water. Add the liquid, cover the pan, and let it steam for about 5-7 minutes, stirring occasionally. This helps the rice regain its moisture and fluffiness. You can also reheat individual portions in the microwave, but the rice won’t be as fluffy. If using the microwave, cover the bowl with a damp paper towel to add moisture.
Freezing: This dish freezes surprisingly well. Portion the chicken and rice into freezer-safe containers, leaving a little space for expansion. Freeze for up to 3 months. To thaw, transfer to the refrigerator overnight and reheat using the skillet method above. The rice might be slightly softer after freezing, but the flavor remains excellent.
Nutritional Information & Benefits
While this dish is undeniably comforting, it also offers some solid nutritional benefits that make it a smart choice for a balanced diet.
Estimated Nutritional Values (per serving, based on 4 servings):
- Calories: 520
- Protein: 32g
- Fat: 28g
- Carbohydrates: 38g
- Fiber: 1g
- Sugar: 2g
- Sodium: 680mg
Health Benefits: Chicken thighs are a great source of high-quality protein, which supports muscle repair and keeps you feeling full and satisfied. They also provide essential B vitamins, particularly B6 and B12, which are important for energy metabolism. Garlic is known for its immune-supporting properties and contains compounds that may help reduce inflammation. Butter, when used in moderation, provides fat-soluble vitamins like A and D, which are important for immune function and bone health.
Dietary Considerations: This recipe is naturally gluten-free (just double-check your chicken broth label to make sure it’s certified gluten-free). For a lower-fat version, you can use boneless, skinless chicken thighs, though you will lose some flavor and moisture. For a lower-carb option, you can substitute cauliflower rice, but the cooking time and liquid ratio will need significant adjustment. This recipe contains dairy from the butter, but as mentioned above, it can be made dairy-free with a simple substitution.
Conclusion
This easy one-pan garlic butter chicken and rice has become a staple in my kitchen for good reason. It’s the kind of recipe that delivers restaurant-quality results with minimal effort and almost no cleanup. The garlic butter infuses every single bite, the chicken stays perfectly juicy, and the rice is fluffy and flavorful beyond belief. It’s comfort food that doesn’t require a complicated shopping list or hours of standing over the stove.
I honestly believe this is the best weeknight dinner you can make. It’s forgiving, adaptable, and always, always delicious. Whether you’re cooking for your family, meal prepping for the week, or just treating yourself to a cozy night in, this recipe delivers every single time. I love that I can make it on my busiest days and still feel like I’ve accomplished something real in the kitchen.
Now I want to hear from you. Have you tried this recipe? Did you add your own twist? Drop a comment below and let me know how it turned out. And if you loved it as much as I do, share it with someone who needs an easy, delicious dinner in their life. Happy cooking, friends!
Frequently Asked Questions
Can I use chicken breasts instead of thighs?
Yes, you can use boneless, skinless chicken breasts, but be aware that they will cook faster and can dry out more easily. Reduce the simmering time to about 15 minutes and check the internal temperature of the chicken. It should reach 165°F. I recommend pounding the breasts to an even thickness for the most consistent results.
Why is my rice mushy?
Mushy rice usually means there was too much liquid or the rice was cooked too long. Make sure you’re using the correct 1:2 ratio of rice to broth. Also, do not skip rinsing the rice—excess starch can make the rice gummy. Finally, resist the urge to stir the rice while it’s cooking, as this can break the grains and release more starch.
Can I make this in a slow cooker or Instant Pot?
This recipe is designed for a stovetop skillet, but you can adapt it. For an Instant Pot, use the sauté function to brown the chicken and cook the aromatics, then add the rice and broth, and pressure cook on high for 5 minutes with a natural release. For a slow cooker, I recommend cooking the chicken separately and adding the rice later in the cooking process, as rice can become very mushy in a slow cooker.
How do I prevent the rice from burning on the bottom?
Burning usually happens when the heat is too high or the pan is too thin. Keep the heat on low once you add the broth and cover the pan. If you’re using a thinner pan, you can place a heat diffuser underneath it. Also, make sure your pan is large enough—crowding can cause uneven cooking and hot spots.
Can I double this recipe?
Absolutely! Just make sure you have a large enough skillet or use a Dutch oven. Double all the ingredients, but keep in mind that the cooking time might need to increase by about 5-10 minutes. The chicken should still be cooked through and the rice tender. You might need to sear the chicken in batches to avoid overcrowding the pan.
Pin This Recipe!
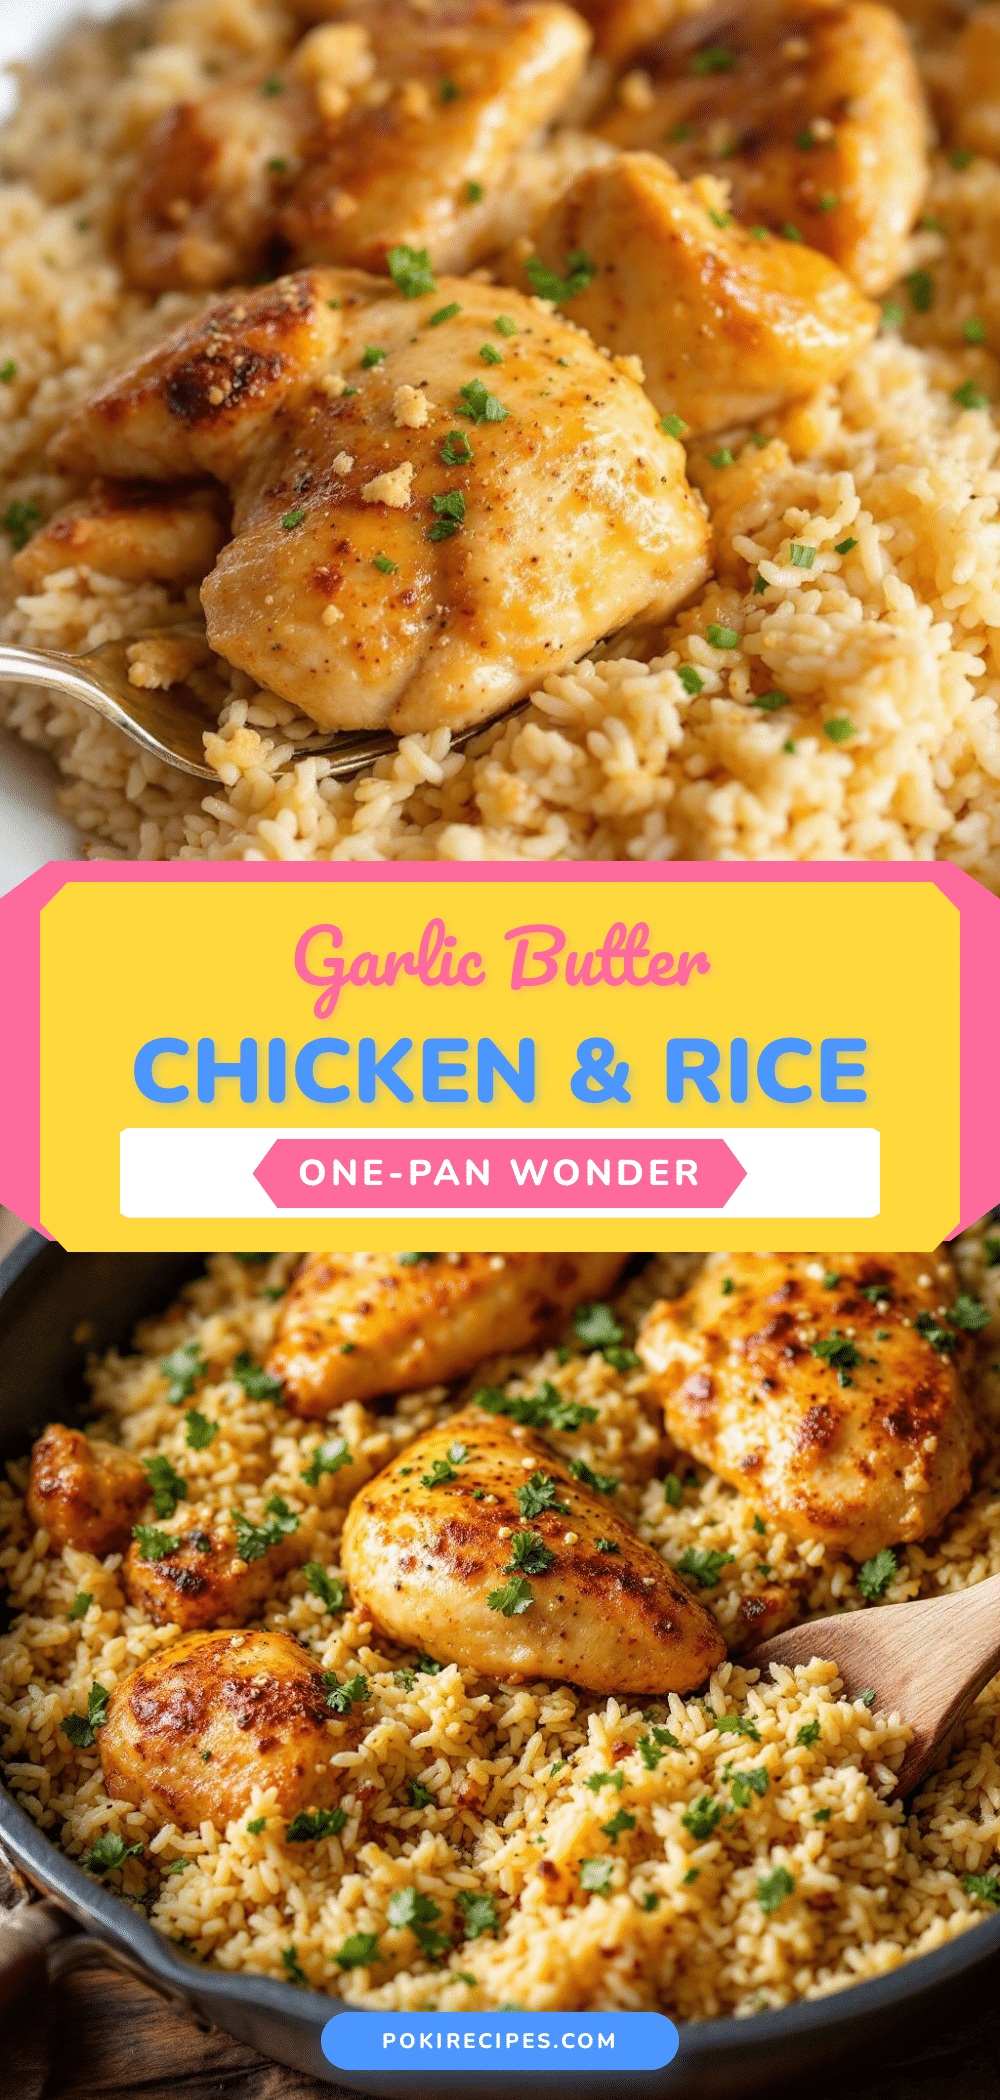
Easy One-Pan Garlic Butter Chicken and Rice: The Best Weeknight Dinner

This one-pan garlic butter chicken and rice is the ultimate weeknight dinner—juicy chicken thighs, fluffy rice, and rich garlic butter flavor, all cooked in a single skillet for minimal cleanup.
- Prep Time: 10 minutes
- Cook Time: 30 minutes
- Total Time: 40 minutes
- Yield: 4 servings 1x
- Category: Main Course
- Cuisine: American
Ingredients
- 4–6 bone-in, skin-on chicken thighs
- 4 tablespoons unsalted butter
- 6–8 cloves garlic, minced
- 1 cup long-grain white rice (jasmine or basmati), rinsed
- 2 cups low-sodium chicken broth
- 1 medium yellow onion, finely diced
- 1 teaspoon dried thyme
- 1 teaspoon paprika
- Salt and black pepper to taste
- Fresh parsley for garnish
Instructions
- Prep your ingredients: mince garlic, dice onion, rinse rice until water runs clear, pat chicken thighs dry, and season generously with salt, pepper, and paprika.
- Heat a large deep skillet over medium-high heat. Add 2 tablespoons butter. Once foamy, place chicken skin-side down and cook without moving for 5-6 minutes until deep golden brown. Flip and cook 3-4 minutes more. Transfer chicken to a plate.
- Reduce heat to medium. Add remaining 2 tablespoons butter. Sauté onion for 3 minutes until soft. Add garlic and cook 30 seconds, stirring constantly.
- Add rinsed rice and toast for 2 minutes, stirring, until slightly opaque and nutty. Stir in dried thyme.
- Pour in chicken broth, scraping up browned bits. Bring to a gentle boil. Nestle chicken back in skin-side up.
- Reduce heat to low, cover, and cook undisturbed for 18-20 minutes. Do not lift lid.
- Turn off heat and let rest covered for 5 minutes. Remove lid carefully. Fluff rice with a fork.
- Garnish with fresh parsley, adjust salt and pepper, and serve directly from the skillet.
Notes
Do not lift the lid while rice is cooking. For best results, use bone-in, skin-on chicken thighs. Rinse rice to remove excess starch. Adjust liquid if using different rice varieties.
Nutrition
- Serving Size: 1 serving (about 1 c
- Calories: 520
- Sugar: 2
- Sodium: 680
- Fat: 28
- Saturated Fat: 12
- Carbohydrates: 38
- Fiber: 1
- Protein: 32
Keywords: one-pan chicken and rice, garlic butter chicken, easy weeknight dinner, skillet chicken and rice, chicken thighs and rice