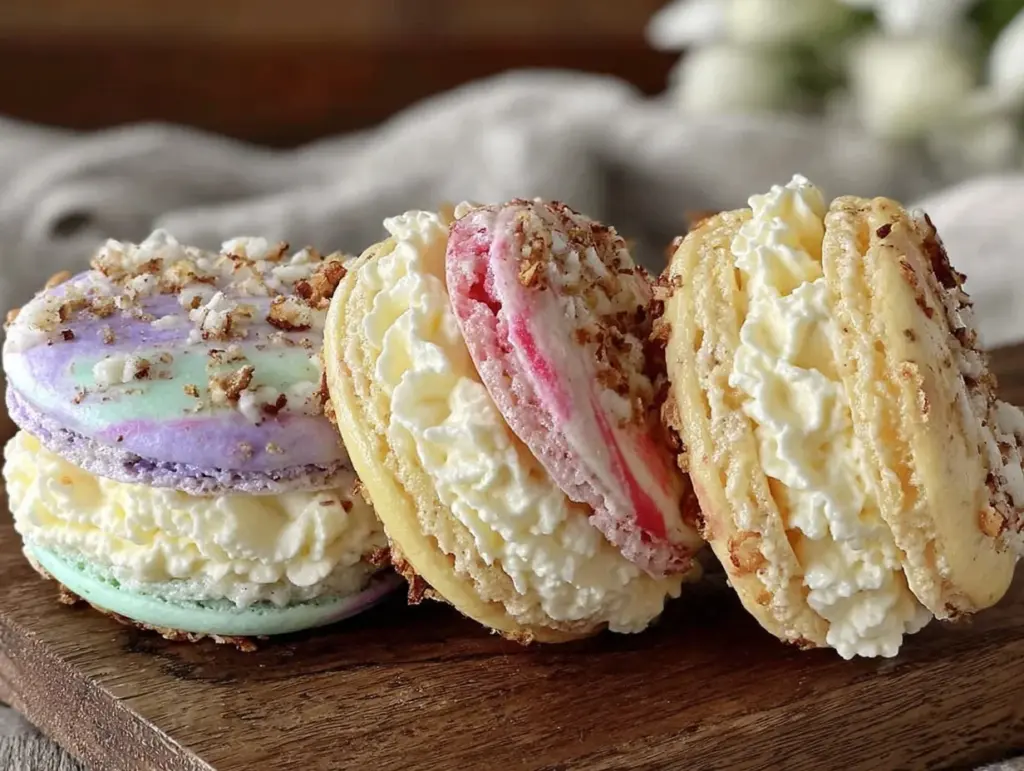
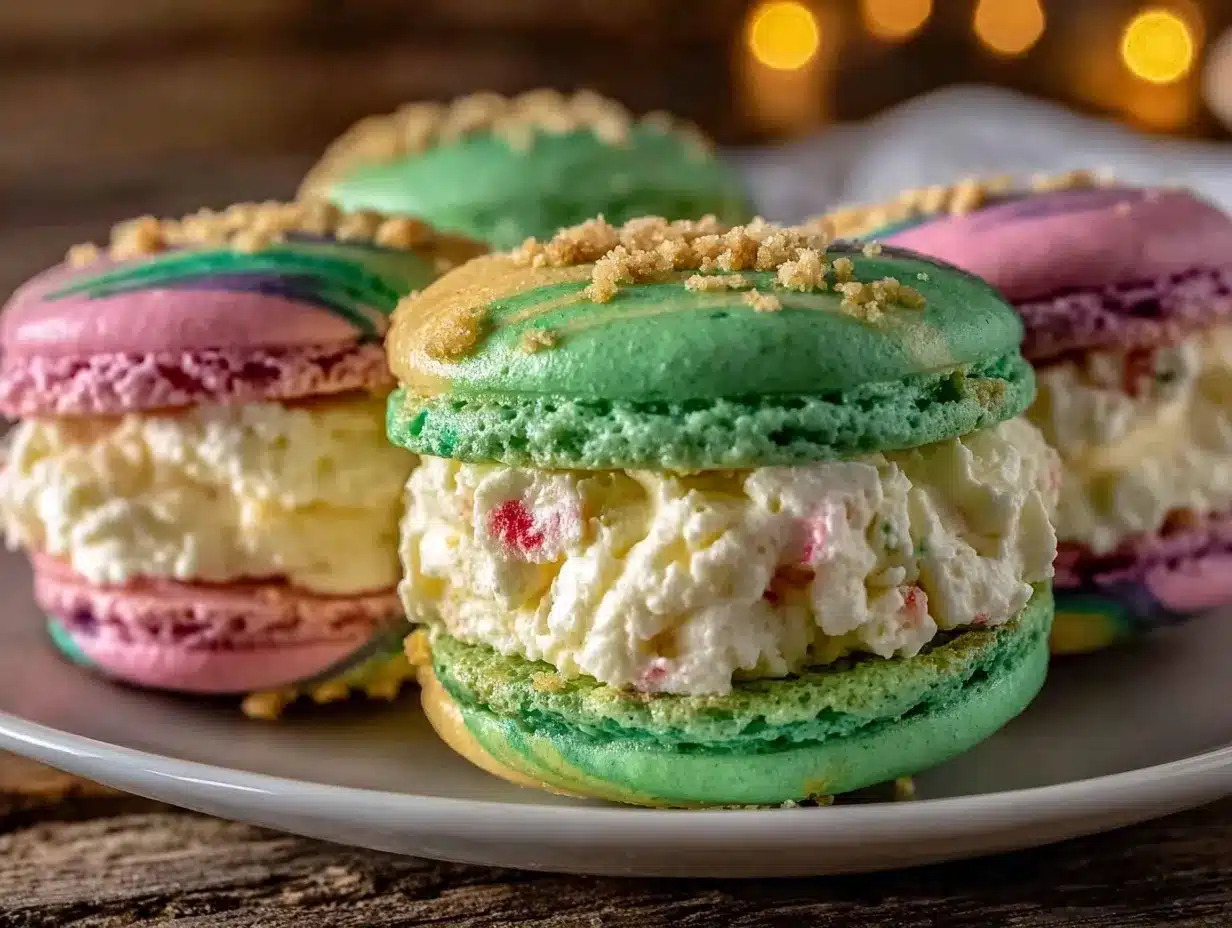
The first time I made these Vibrant Dr. Seuss Tri-Color Mac Cups, I was instantly hooked. Honestly, the way the bright red, blue, and white colors swirl together reminded me of flipping through a Dr. Seuss book on a rainy afternoon, full of whimsy and fun. You know that feeling when a treat is as joyful to look at as it is to eat? That’s exactly what these tri-color mac cups bring to the table.
I stumbled upon the idea while trying to create a festive, homemade dessert that would wow both kids and adults alike. After a few joyful kitchen experiments and lots of colorful messes, this recipe became my go-to for celebrations and casual weekends. It’s one of those recipes that’s simple enough to whip up on a whim but special enough to impress a crowd.
Why this recipe? Well, if you’re looking for a fun, eye-catching treat that’s bursting with flavor and personality, these mac cups are your answer. Perfect for birthday parties, themed events, or just because you deserve a little whimsy in your life, these vibrant tri-color mac cups deliver on every front. Plus, making them is a blast—trust me, I’ve made these dozens of times and still get excited when those colors come alive in the oven.
Why You’ll Love This Recipe
- Quick & Easy: You can have these tri-color mac cups ready in under 30 minutes—ideal for last-minute party prep or an afternoon treat.
- Simple Ingredients: No need for fancy shopping trips; you likely have all the essentials in your pantry and fridge right now.
- Perfect for Celebrations: Whether it’s a Dr. Seuss-themed birthday or just a colorful snack, these mac cups bring fun and flavor to any occasion.
- Crowd-Pleaser: Kids love the bright colors, and adults appreciate the delightful taste and texture combo.
- Unbelievably Delicious: The sweet, chewy macaroon base combined with that vibrant tri-color twist makes every bite a little party.
This isn’t your average coconut macaron recipe. The trick is in carefully layering the colors so they don’t just mix into brownish mush. By piping each color side-by-side and giving them a gentle swirl, you get this playful, striped effect that’s just plain cool. Plus, I’ve tweaked the sweetness and texture after countless tries to make sure it’s not too dry or too sticky—just perfect.
Honestly, it’s the kind of treat that makes you want to close your eyes and savor the moment. It’s bright, cheerful, and reminds me why simple homemade sweets can sometimes feel like magic.
What Ingredients You Will Need
This recipe calls for straightforward ingredients that come together to create that iconic tri-color look and a satisfyingly chewy texture. Most are pantry staples, and I’ve included easy swaps if you need them.
- 1 ½ cups shredded coconut (unsweetened) – the base of your mac cups; I always go for finer shredded coconut for a better texture.
- 1 cup sweetened condensed milk – adds sweetness and holds everything together perfectly.
- 1 teaspoon vanilla extract – a little flavor boost that you don’t want to skip.
- Red food coloring – gel-based works best to keep colors vibrant without watering down the batter.
- Blue food coloring – same tip as red; gel color packs a punch.
- 1/4 teaspoon salt – balances out the sweetness beautifully.
- Optional: ½ cup mini chocolate chips or white chocolate chips – for a fun twist, fold in before baking.
Substitution tips: If you want a dairy-free version, swap sweetened condensed milk for coconut condensed milk or a homemade coconut milk and sugar reduction. For a natural color alternative, beet powder works beautifully for red, and spirulina powder can be a subtle blue-green.
Equipment Needed
- Mixing bowls: I like using medium-sized glass or stainless steel bowls for easy mixing and less sticking.
- Electric hand mixer or stand mixer: Helpful but not mandatory; you can mix by hand if you’re patient.
- Piping bags and round tips: Essential for creating those neat, colorful swirls; nozzle size around ½ inch works great.
- Baking sheet: A rimmed baking sheet lined with parchment paper to keep things tidy.
- Spatula: For folding and scraping down the sides of your bowl.
- Toothpicks or small skewers: To swirl the colors together gently without overmixing.
If you don’t have piping bags, no worries! You can use zip-top bags with a tiny corner cut off. I’ve done that plenty of times when I’m in a pinch. Also, make sure your baking sheet is sturdy and flat for even baking—warped pans can throw off the shape.
Detailed Preparation Method
- Preheat your oven to 325°F (160°C) and line a baking sheet with parchment paper. This step sets the stage for perfectly baked mac cups.
- In a large bowl, combine shredded coconut, sweetened condensed milk, vanilla extract, and salt. Stir gently with a spatula until everything is evenly mixed but don’t overwork it, or the coconut can get mushy. The mixture should be sticky but hold its shape.
- Divide the batter into three equal parts. Place each into a separate small bowl for coloring.
- Add red food coloring to one bowl and blue to another. Start with a few drops and mix until you reach your desired shade. The third bowl stays white (uncolored).
- Fill three piping bags (or zip-top bags) with each colored batter. If you want the tri-color effect, you’ll pipe the colors side by side on the same parchment line.
- On your baking sheet, pipe the red, white, and blue colors side-by-side in small dollops, about 1.5 inches (4 cm) in diameter. Overlap them slightly so the colors meld during baking but don’t fully mix.
- Use a toothpick or skewer to gently swirl the colors together. Just a light swirl to create that whimsical tri-color pattern without turning it into one color.
- Repeat until your baking sheet is full, leaving an inch of space between each mac cup. They’ll hold their shape but expand slightly while baking.
- Bake for 15-18 minutes. Keep a close eye: you want the edges to turn golden but the centers to stay tender and moist.
- Remove from the oven and let cool on the baking sheet for 10 minutes. Then, transfer carefully to a wire rack to cool completely. This helps maintain the chewy texture you’re aiming for.
Pro tip: If the batter feels too loose for piping, pop it in the fridge for 10 minutes to firm up a bit. Also, avoid over-swelling during the swirl step—too much mixing dulls the colors.
Cooking Tips & Techniques
Macaroon-style treats can be a bit finicky, but here are some lessons I learned the hard way to get these tri-color mac cups just right.
- Don’t overmix the coconut batter. The shredded coconut should stay fluffy and distinct, not mushy. Overmixing breaks down the coconut strands.
- Use gel food coloring for vibrant hues. Liquid food coloring can thin out your batter, making it harder to pipe and less vivid.
- Pipe the colors side-by-side, not layered. This keeps the colors striking instead of blending into a muddy mess.
- Swirl gently. Just a light swirl with a toothpick creates that playful tri-color effect without losing definition.
- Watch your oven temperature. Too hot and the edges burn before the center sets; too low and they dry out. I always use an oven thermometer to be sure.
- Let them cool completely. Fresh out of the oven, they’re delicate. Cooling helps them firm up without losing that chewy interior.
- Try multitasking: While the first batch bakes, prep the next piping bags to keep things moving smoothly.
Variations & Adaptations
Want to mix things up? These tri-color mac cups are surprisingly adaptable.
- Dietary: Swap sweetened condensed milk for a vegan coconut condensed milk to make this recipe dairy-free.
- Flavor twist: Add a teaspoon of almond or lemon extract instead of vanilla for a fresh spin.
- Seasonal colors: Use green and orange gel food coloring for a Halloween vibe or pastels for Easter celebrations.
- Chocolate lovers: Fold mini chocolate chips or drizzle melted chocolate on top once cooled.
- Texture tweak: Toss in chopped nuts like pistachios or toasted almonds for a little crunch.
One time, I swapped the blue for purple using a mix of red and blue gel colors, and it was a huge hit at a birthday party. Honestly, the recipe is super forgiving, so feel free to get playful.
Serving & Storage Suggestions
These mac cups are best enjoyed at room temperature when their chewy texture shines. Serve them on a bright, festive platter to highlight those Dr. Seuss-inspired colors. They pair beautifully with a cup of hot tea or a cold glass of milk—comfort food at its finest.
Store leftover mac cups in an airtight container at room temperature for up to 3 days. For longer storage, pop them in the fridge for up to a week, but bring them back to room temp before eating to soften. You can also freeze them in a sealed bag for up to 2 months—just thaw at room temperature.
Fun fact: letting them sit for a day actually lets the flavors meld even more, making each bite even tastier. So, if you can wait (which is the hardest part), give them a little time to rest.
Nutritional Information & Benefits
Each mac cup (about 1.5 inches in diameter) offers roughly 90-110 calories, depending on size and ingredients. They’re a treat with moderate sugar, thanks to the sweetened condensed milk, but also provide a good amount of healthy fats from the coconut.
Coconut is known for its medium-chain triglycerides (MCTs), which can offer a quick energy source. Plus, this recipe contains no flour or gluten, making it suitable for gluten-sensitive folks. Just watch out if you have dairy allergies—substitute accordingly.
From a wellness perspective, these colorful mac cups are a fun way to enjoy a sweet treat without overdoing it. I love having them as a small indulgence that doesn’t feel heavy or overwhelming.
Conclusion
So there you have it—Vibrant Dr. Seuss Tri-Color Mac Cups that bring color, joy, and delicious flavor to your kitchen. They’re easy, fun, and perfect for impressing guests or brightening your own day. I love how this recipe lets me get creative with colors and flavors while sticking to simple ingredients and quick prep.
Give them a try, tweak the colors or flavors to your liking, and don’t forget to share your results—I’d love to hear how your tri-color mac cups turn out! Whether you’re making them for a party or just because, these little treats are sure to bring a smile.
Happy baking and colorful snacking!
FAQs
Can I make these tri-color mac cups ahead of time?
Absolutely! You can bake them a day or two in advance and store them in an airtight container at room temperature. Just bring them back to room temp before serving for the best texture.
What if I don’t have gel food coloring?
You can use liquid food coloring, but be cautious—it can thin the batter and dull the colors. Try to use as little as possible or opt for natural powders like beet or spirulina for a vibrant effect.
Can I freeze the mac cups?
Yes, freeze them in a sealed container or freezer bag for up to 2 months. Thaw at room temperature before enjoying.
Is there a gluten-free option for this recipe?
Good news! This recipe is naturally gluten-free since it uses shredded coconut and no flour.
How do I prevent the colors from mixing too much?
Pipe the colors side by side without overlapping too much, and swirl gently with a toothpick. Overmixing will blend the colors and lose the tri-color effect.
Pin This Recipe!
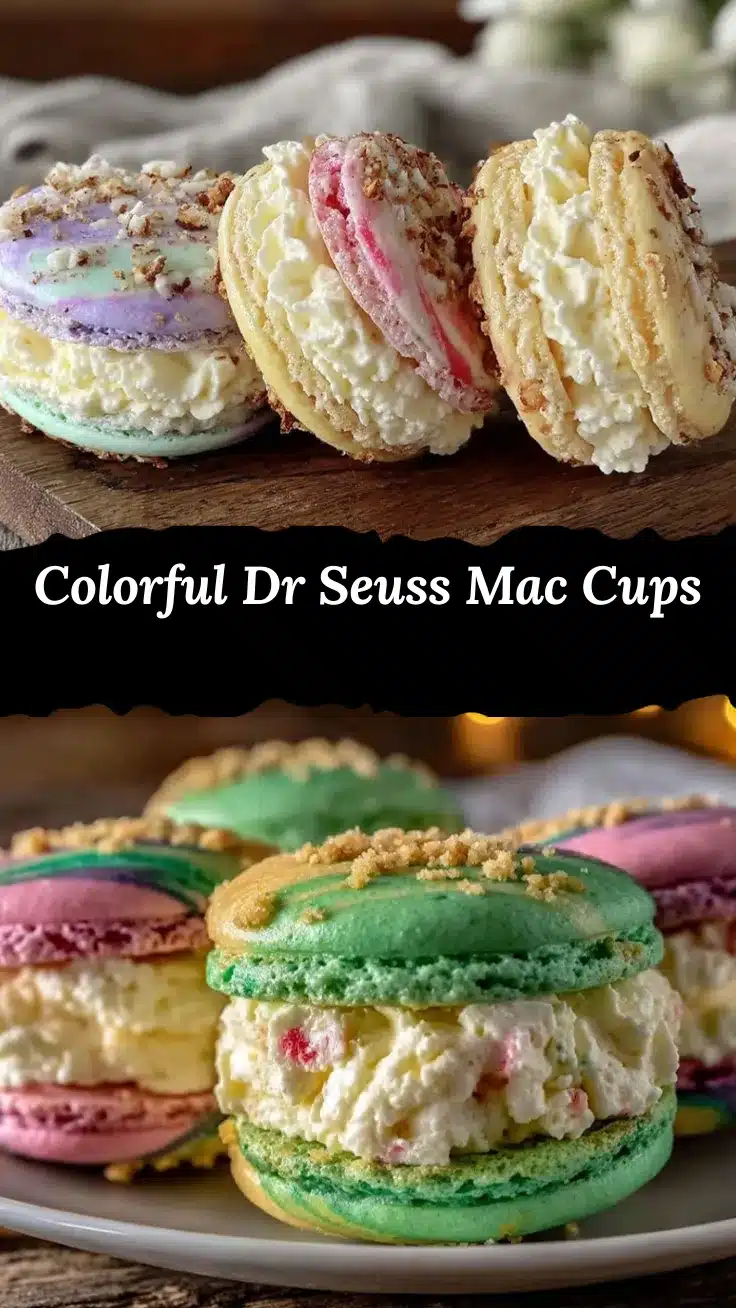
Vibrant Dr Seuss Tri-Color Mac Cups

These vibrant tri-color mac cups are a fun, eye-catching treat with a chewy coconut base, perfect for celebrations or casual snacking. They feature bright red, blue, and white swirls that bring whimsy and flavor to any occasion.
- Prep Time: 10 minutes
- Cook Time: 18 minutes
- Total Time: 28 minutes
- Yield: 24 mac cups 1x
- Category: Dessert
- Cuisine: American
Ingredients
- 1 ½ cups shredded coconut (unsweetened)
- 1 cup sweetened condensed milk
- 1 teaspoon vanilla extract
- Red gel food coloring
- Blue gel food coloring
- 1/4 teaspoon salt
- Optional: ½ cup mini chocolate chips or white chocolate chips
Instructions
- Preheat your oven to 325°F (160°C) and line a baking sheet with parchment paper.
- In a large bowl, combine shredded coconut, sweetened condensed milk, vanilla extract, and salt. Stir gently with a spatula until evenly mixed but not overworked; the mixture should be sticky but hold its shape.
- Divide the batter into three equal parts and place each into a separate small bowl.
- Add red food coloring to one bowl and blue to another; mix until desired shade is reached. Leave the third bowl white (uncolored).
- Fill three piping bags (or zip-top bags with a small corner cut off) with each colored batter.
- Pipe the red, white, and blue colors side-by-side in small dollops about 1.5 inches (4 cm) in diameter on the prepared baking sheet, overlapping slightly but not fully mixing.
- Use a toothpick or skewer to gently swirl the colors together to create a tri-color pattern without blending into one color.
- Repeat until the baking sheet is full, leaving about an inch of space between each mac cup.
- Bake for 15-18 minutes until edges turn golden but centers remain tender and moist.
- Remove from oven and let cool on the baking sheet for 10 minutes, then transfer to a wire rack to cool completely.
Notes
Use gel food coloring for vibrant hues and to avoid thinning the batter. Pipe colors side-by-side and swirl gently to maintain distinct tri-color patterns. If batter is too loose for piping, chill for 10 minutes. Avoid overmixing to keep coconut strands fluffy. Let mac cups cool completely to maintain chewy texture. Store in airtight container at room temperature for up to 3 days or freeze for up to 2 months.
Nutrition
- Serving Size: 1 mac cup (about 1.5
- Calories: 100
- Sugar: 10
- Sodium: 50
- Fat: 5
- Saturated Fat: 4.5
- Carbohydrates: 12
- Fiber: 1
- Protein: 1
Keywords: tri-color mac cups, coconut macaroons, Dr Seuss dessert, colorful treats, easy macaroons, party snacks, gluten-free dessert