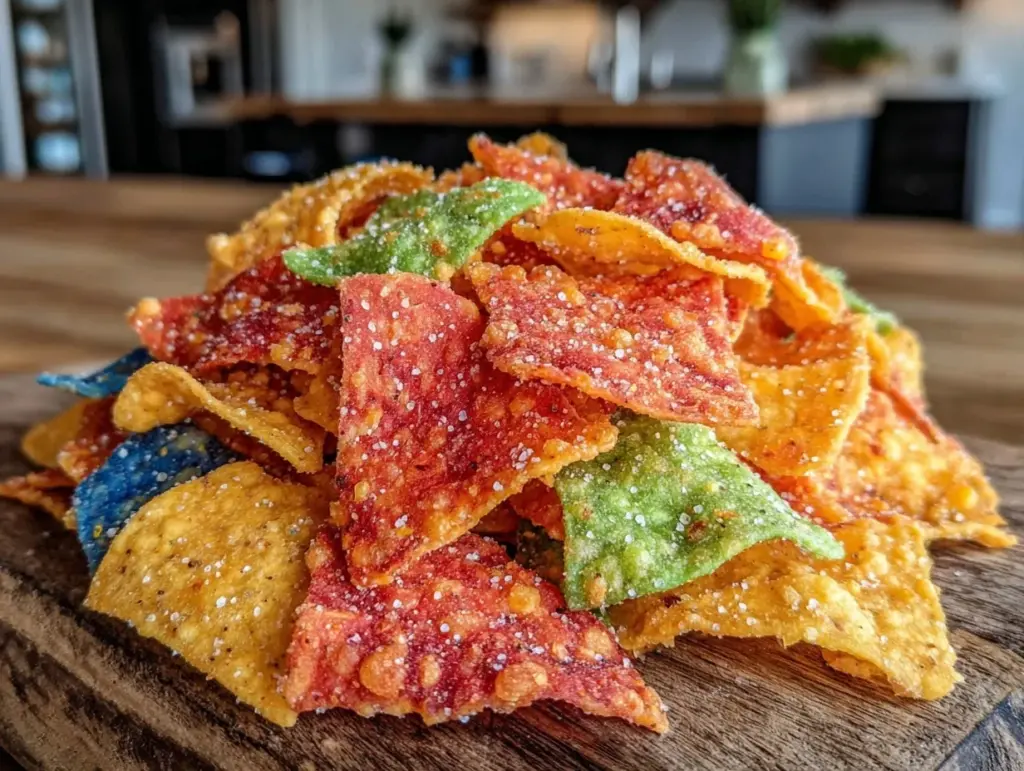
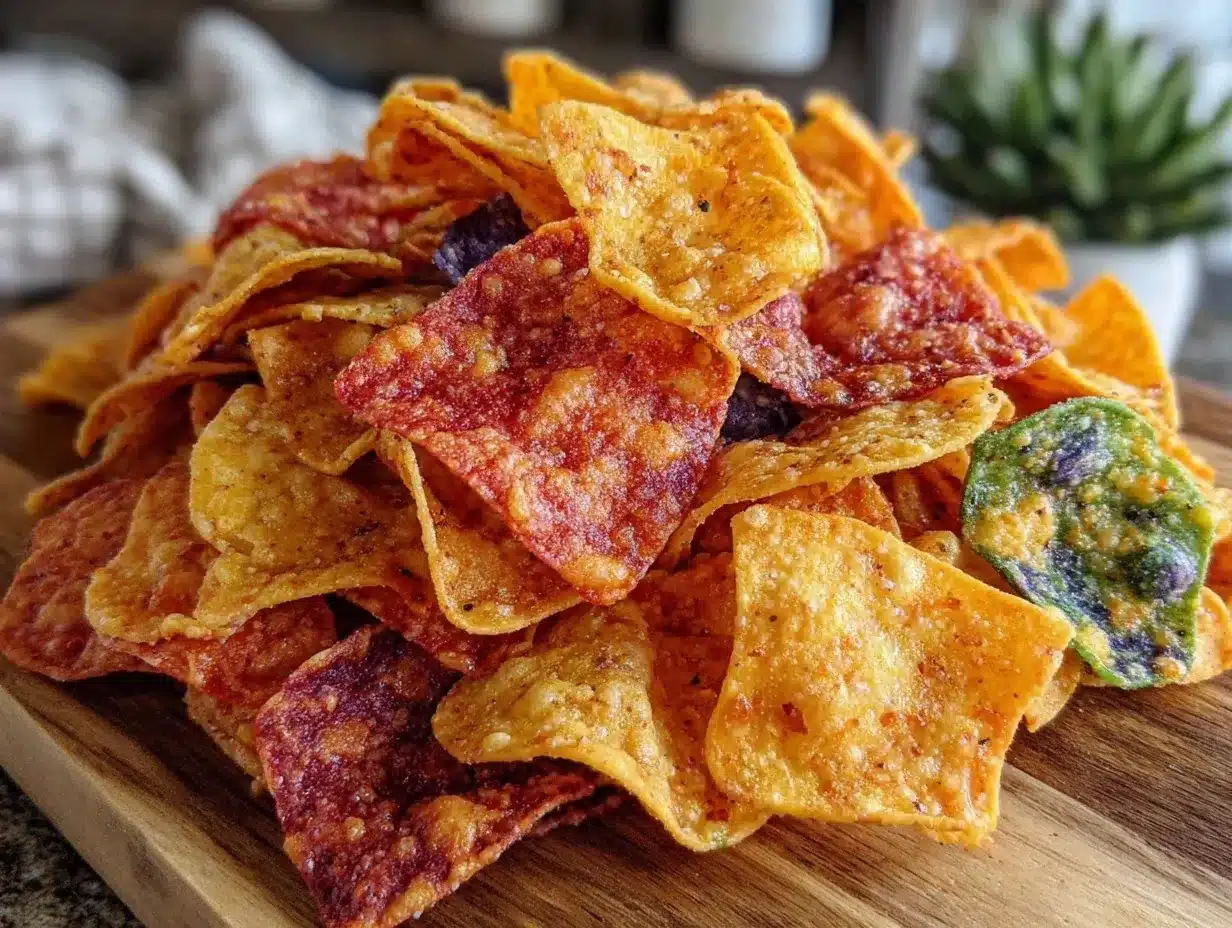
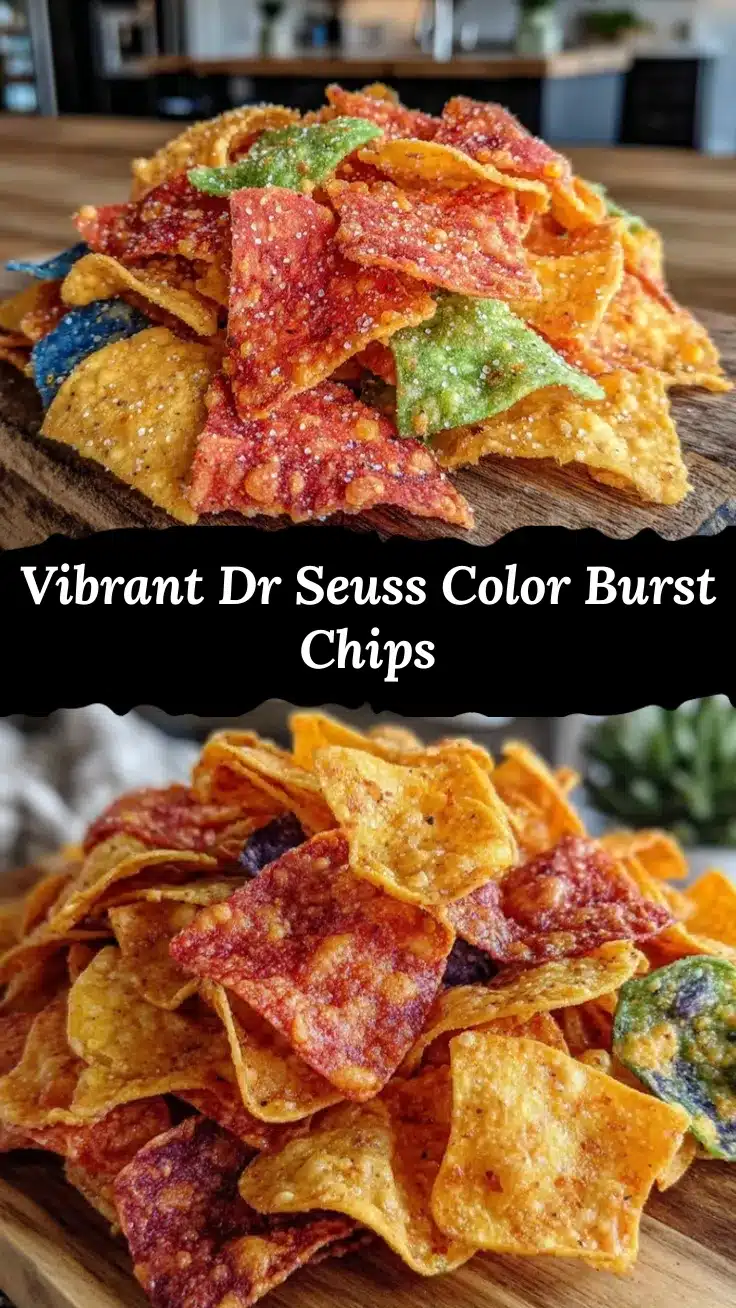
The sight of bright, swirling colors on a plate just makes snack time feel like a mini celebration, doesn’t it? I first stumbled upon the idea for this vibrant Dr. Seuss color burst tortilla chips recipe while trying to jazz up a simple movie night snack. Honestly, it started as a bit of kitchen playfulness—mixing natural food colors with homemade tortilla dough—and turned into one of my favorite go-to treats for parties and lazy afternoons alike.
These chips don’t just look like something out of a whimsical storybook; they bring that joyful vibe right to your snack bowl. Plus, making your own tortilla chips means you control exactly what goes in—no mystery ingredients or funky preservatives. Whether you’re feeding picky kids who love bright colors or just want to add a splash of fun and flavor to your snack game, this recipe has you covered.
After testing this recipe several times (and yes, sampling way more chips than I should admit), I can confidently say these colorful tortilla chips are as tasty as they are eye-catching. They’re crispy, perfectly salted, and a little bit magical in their simplicity. If you’ve been searching for an easy homemade snack idea that’s both playful and delicious, this vibrant Dr. Seuss color burst tortilla chips recipe is your new best friend.
Why You’ll Love This Recipe
- Quick & Easy: Comes together in about 30 minutes, perfect for last-minute cravings or fun weekend snacks.
- Simple Ingredients: Uses pantry staples like tortillas, natural food coloring, and basic seasonings—no complicated shopping trips required.
- Perfect for Parties: These chips bring a whimsical pop of color to any gathering, making snack time instantly more festive.
- Crowd-Pleaser: Kids love the bright colors, adults appreciate the homemade crunch, and everyone asks for seconds.
- Unbelievably Delicious: The balance of crispiness and light seasoning makes these chips addictive without being greasy or heavy.
- This recipe isn’t just about looks—using natural color bursts creates vibrant hues that don’t compromise flavor. Plus, the technique of brushing lightly with oil before baking gives the chips that perfect crunch without deep frying. It’s a healthier, fuss-free twist on a classic snack.
- Honestly, after making these a few times, I found it’s the kind of snack that makes you pause, smile, and say, “Yep, this is exactly what snack time needed.”
What Ingredients You Will Need
This recipe uses simple, wholesome ingredients that come together to make bold, colorful, and crispy tortilla chips without any fuss. Most of these are pantry staples or easy to find natural food colorings to create your favorite Dr. Seuss inspired hues.
- White corn tortillas (6-8 small, about 6-inch diameter; look for fresh, pliable ones for best results)
- Olive oil or avocado oil (2 tablespoons, for brushing; adds crispness and richness)
- Sea salt (1 teaspoon, adjust to taste; flaky salt works great for texture)
- Natural food coloring powders or gels (choose vibrant red, blue, and yellow—think beet powder, spirulina, turmeric, or store-bought natural gels)
- Lemon juice
- Water (2 tablespoons; to dilute food coloring for easier spreading)
- Optional seasonings: a pinch of smoked paprika, garlic powder, or chili powder to give your chips a little extra zing
For the best color pop, I recommend using trusted brands like McCormick natural food colors or Frontier Co-op powders. If you want to experiment, using fresh vegetable juices like beetroot or spinach can be fun, but keep in mind they might make the chips a little softer. Feel free to swap corn tortillas for flour ones if you prefer a different texture, but corn gives that classic chip crunch.
Equipment Needed
- Baking sheet (a rimmed one to catch any drips is ideal)
- Parchment paper or a silicone baking mat (to prevent sticking and make cleanup easy)
- Small mixing bowls (for mixing the colored oil)
- Pastry brush (for applying colored oil evenly; a silicone brush works great and is easy to clean)
- Sharp knife or pizza cutter (to slice tortillas into chip shapes)
- Measuring spoons (for precise oil and seasoning amounts)
Don’t have a pastry brush? No worries! You can use a clean spoon or even your fingertips to lightly spread the oil mixture. I’ve done both when in a pinch, and while a brush gives the most even coating, a little imperfection adds charm. Baking sheets can be swapped for air fryer baskets if you own one—just adjust cooking time accordingly.
Detailed Preparation Method
- Preheat your oven to 350°F (175°C). Line a baking sheet with parchment paper or a silicone mat to keep the chips from sticking and help with easy cleanup. This step takes about 5 minutes.
- Cut tortillas into chip shapes. Stack 3-4 tortillas and use a sharp knife or pizza cutter to slice into triangles, roughly 6-8 pieces per tortilla. You want chips about 2-3 inches wide for perfect crunch and easy dipping.
- Prepare your color bursts. In separate small bowls, mix 1 teaspoon of natural food coloring powder or gel with 2 tablespoons water and 1 teaspoon lemon juice each. Stir until smooth. This watery mixture helps the colors spread evenly on the chips without soaking in too much oil.
- Brush the colored oil mixture on the chips. Place the cut chips on the baking sheet in a single layer. Using a pastry brush, lightly paint each chip with a different colored mixture to create your Dr. Seuss-inspired burst. Don’t drench them; a thin coating is perfect for color and crispness. This step takes about 10 minutes depending on your brush speed.
- Drizzle or brush olive oil over the chips. After coloring, lightly brush or drizzle the chips with olive oil (about 2 tablespoons total) to help them crisp up and hold the colors. Make sure each chip has a thin, even coat.
- Sprinkle sea salt and optional seasonings. Add about 1 teaspoon sea salt evenly over the chips. If you want a little extra flavor, sprinkle a pinch of smoked paprika or garlic powder now.
- Bake the chips. Place the baking sheet in the oven and bake for 12-15 minutes. Keep an eye on them after 10 minutes to avoid burning—the edges should turn golden and crisp. The chips will firm up more as they cool.
- Cool and serve. Remove chips from oven and let cool on the baking sheet for about 5 minutes. This resting time helps them crisp fully. Then, transfer to a serving bowl or plate and watch the colorful magic happen!
Pro tip: If your chips feel a bit soft after baking, pop them back into the oven for a couple more minutes—it happens when the oil coating is a tad thick. Also, slicing the tortillas evenly ensures all chips cook uniformly, so take your time there.
Cooking Tips & Techniques
Getting these vibrant chips just right is all about balance. You want bold color without soggy chips or dull hues. Here’s what I’ve learned:
- Use natural powders or gels. Liquid food coloring can make the chips wet and limp. Powders mixed with a little water and lemon juice give bright color without sacrificing texture.
- Don’t over-oil. Too much oil keeps the chips from crisping. A light brush or drizzle is enough to get that golden crunch.
- Cut uniformly. Uneven chip sizes bake at different rates—smaller pieces may burn while larger ones stay soft.
- Bake at moderate heat (350°F/175°C). High heat can cause rapid browning and burnt edges before the chips dry out properly.
- Timing is key. Check chips at 10 minutes to avoid over-baking. They finish crisping as they cool.
- Multitask by prepping colors while oven heats. Mixing your color bursts before cutting tortillas saves time.
I once tried deep frying these colored chips for speed, but the colors faded and the chips got oily—not worth it! Baking keeps the colors vibrant and the texture perfect.
Variations & Adaptations
Feeling adventurous? Here are a few ways to switch up this vibrant Dr. Seuss color burst tortilla chips recipe:
- Dietary twist: Use gluten-free corn tortillas or swap to blue corn tortillas for a different flavor base and extra color.
- Seasonal spin: Switch natural colors with seasonal ingredients like pumpkin puree for orange or blueberry juice for purple hues.
- Flavor boost: Add a sprinkle of chili powder for heat or a dusting of cinnamon sugar for a sweet chip version.
- Cooking method adaptation: Air fry chips at 320°F (160°C) for 8-10 minutes, shaking halfway for even cooking.
- Personal favorite: I once swirled turmeric (yellow) and beet powder (red) with a bit of lime zest in the oil brush for an extra zingy, tangy chip that disappeared fast at a summer picnic.
Serving & Storage Suggestions
These colorful chips are best served fresh and warm for maximum crunch and vibrancy. Serve with classic sides like guacamole, salsa, or queso dip to complement the fun colors. They also pair surprisingly well with a cold, crisp margarita or your favorite iced tea.
To store leftover chips, place them in an airtight container once completely cooled. They keep well at room temperature for 2-3 days. If they soften, pop them in a preheated oven at 300°F (150°C) for 5 minutes to crisp back up.
While they’re wonderful fresh, the colors actually mellow a little when stored, giving a more rustic, charming look. Perfect if you like your snacks a little less bold but still tasty.
Nutritional Information & Benefits
One serving (about 12 chips) contains approximately:
| Calories | 120 |
|---|---|
| Fat | 5g |
| Carbohydrates | 16g |
| Protein | 2g |
| Sodium | 150mg |
Using olive oil adds heart-healthy fats, and the natural food coloring powders often come from antioxidant-rich sources (like turmeric and beetroot). This recipe is naturally gluten-free as long as you use certified corn tortillas. Just a heads-up if you have allergies: always check your tortilla brand and food colorants for any hidden ingredients.
From my nutritionist perspective, this snack strikes a nice balance—fun, flavorful, and with cleaner ingredients than many store-bought chips.
Conclusion
This vibrant Dr. Seuss color burst tortilla chips recipe turns a simple snack into a joyful experience you’ll want to share. It’s easy to make, fun to eat, and a total crowd-pleaser. I love how customizable it is—whether you want bright colors, bold flavors, or a healthier homemade option.
Give these chips a try and feel free to experiment with your favorite colors and seasonings. I’d love to hear how you make them your own, so don’t hesitate to leave a comment or share your photos!
Happy snacking, and remember: sometimes the best treats are the ones that bring a little color and fun into your day.
FAQs
Can I use store-bought colored tortilla chips instead of making these?
Store-bought colored chips often have artificial dyes and preservatives. Making these at home lets you control ingredients and get fresher, more vibrant flavors.
What natural ingredients work best as food coloring?
Beet powder (red), spirulina (blue-green), turmeric (yellow), and paprika are great natural colorants that also add subtle flavor.
Can I make these chips vegan and gluten-free?
Yes! This recipe is naturally vegan and gluten-free if you use corn tortillas labeled gluten-free and plant-based oils.
How do I store leftover chips to keep them crispy?
Store cooled chips in an airtight container at room temperature for up to 3 days. Re-crisp in a 300°F (150°C) oven for 5 minutes if needed.
Can I use flour tortillas instead of corn?
You can, but corn tortillas give a classic chip crunch and flavor. Flour tortillas will be softer and less crispy but still tasty.
Pin This Recipe!
Vibrant Dr Seuss Color Burst Tortilla Chips

A fun and colorful homemade tortilla chips recipe inspired by Dr. Seuss, featuring natural food colorings and a crispy, light seasoning perfect for parties and snacks.
- Prep Time: 10 minutes
- Cook Time: 15 minutes
- Total Time: 25 minutes
- Yield: 6-8 servings 1x
- Category: Snack
- Cuisine: American
Ingredients
- 6–8 small white corn tortillas (about 6-inch diameter)
- 2 tablespoons olive oil or avocado oil (for brushing)
- 1 teaspoon sea salt (adjust to taste)
- Natural food coloring powders or gels (red, blue, yellow – e.g., beet powder, spirulina, turmeric)
- 1 teaspoon lemon juice (optional, to brighten colors)
- 2 tablespoons water (to dilute food coloring)
- Optional seasonings: pinch of smoked paprika, garlic powder, or chili powder
Instructions
- Preheat your oven to 350°F (175°C). Line a baking sheet with parchment paper or a silicone mat.
- Cut tortillas into chip shapes by stacking 3-4 tortillas and slicing into 6-8 triangles per tortilla, about 2-3 inches wide.
- In separate small bowls, mix 1 teaspoon of natural food coloring powder or gel with 2 tablespoons water and 1 teaspoon lemon juice each until smooth.
- Place cut chips on the baking sheet in a single layer. Using a pastry brush, lightly paint each chip with a different colored mixture for a Dr. Seuss-inspired burst.
- Lightly brush or drizzle the chips with about 2 tablespoons olive oil to help crispness and color retention.
- Sprinkle about 1 teaspoon sea salt evenly over the chips. Add optional seasonings if desired.
- Bake the chips for 12-15 minutes, checking at 10 minutes to avoid burning. Chips should be golden and crisp at edges.
- Remove from oven and let cool on the baking sheet for about 5 minutes to crisp fully before serving.
Notes
Use natural powder or gel food colorings mixed with water and lemon juice for vibrant colors without sogginess. Avoid over-oiling to keep chips crispy. Uniformly cut chips bake evenly. If chips are soft after baking, reheat in oven for a few minutes to crisp. Can be air fried at 320°F (160°C) for 8-10 minutes as an alternative method.
Nutrition
- Serving Size: About 12 chips
- Calories: 120
- Sodium: 150
- Fat: 5
- Carbohydrates: 16
- Protein: 2
Keywords: tortilla chips, colorful chips, homemade snack, Dr. Seuss snack, natural food coloring, party snack, gluten-free, vegan


