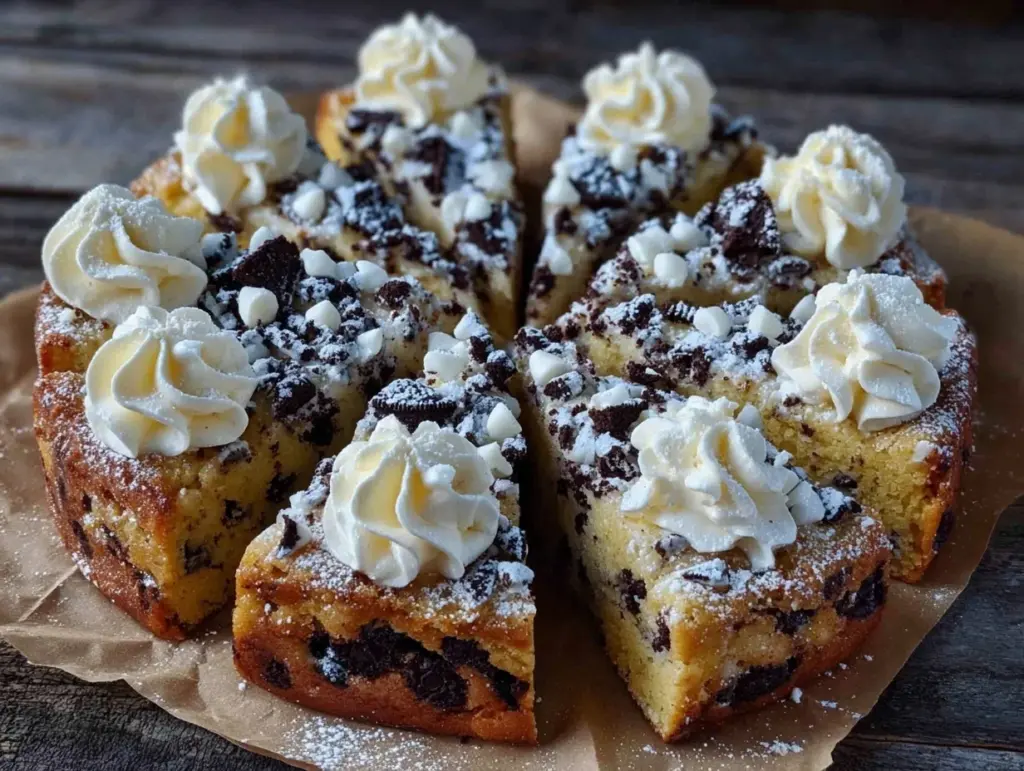
There’s something magical about combining the rich, velvety flavor of Oreo cookies with the creamy indulgence of cookie butter into a cake that’s downright irresistible. The first time I made this Oreo Cookie Butter Cake, I knew it was going to be a showstopper. Picture this: layers of moist chocolate cake infused with Oreo crumbs, sandwiched between luscious cookie butter frosting and topped with crushed Oreos. Sounds like a dream, right? Trust me—it’s even better than it sounds.
This recipe is perfect for celebrations, cozy weekends, or just because you need something sweet to brighten your day. Whether you’re an Oreo fanatic like me or just love a good dessert, this cake will have you coming back for seconds (and thirds). Plus, it’s surprisingly easy to make. So, grab your apron and let’s dive into this decadent creation!
Why You’ll Love This Recipe
- Rich and Decadent: The combination of Oreo cookies and cookie butter creates a flavor that’s indulgent and unforgettable.
- Easy to Make: Despite its impressive presentation, this recipe is simple and straightforward—no fancy techniques required.
- Crowd-Pleasing: Perfect for birthday parties, potlucks, or family gatherings, this cake will leave everyone raving.
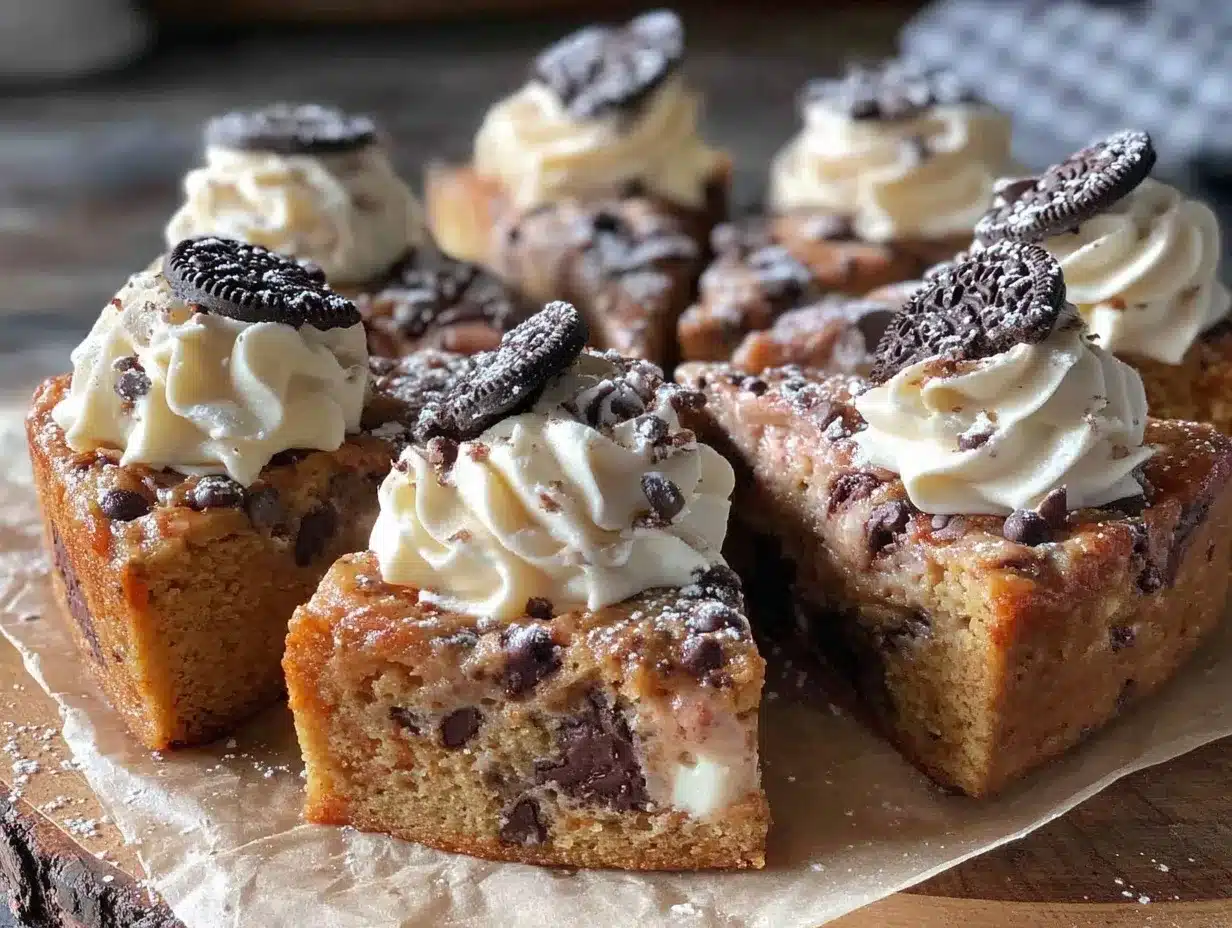
- Texture Heaven: Moist chocolate cake, creamy frosting, and crunchy Oreo pieces make every bite a delight.
- Customizable: You can tweak the recipe to suit your taste—add extra Oreos, drizzle chocolate ganache, or play with layers.
What sets this recipe apart is the addition of cookie butter in the frosting. It adds a unique dimension of flavor—like a hint of spiced caramel that pairs perfectly with the chocolatey Oreo goodness. This isn’t just another Oreo cake; it’s the ultimate treat for anyone who loves the combination of sweet, rich, and creamy. Honestly, this recipe might just become your go-to dessert for every occasion!
What Ingredients You Will Need
This Oreo Cookie Butter Cake uses simple ingredients to create big flavors. Most of these are pantry staples, but a few are the stars of the show.
- For the Cake:
- 1 ¾ cups (220g) all-purpose flour
- ¾ cup (65g) unsweetened cocoa powder
- 1 ½ cups (300g) granulated sugar
- 1 tsp baking powder
- 1 tsp baking soda
- ½ tsp salt
- 2 large eggs, room temperature
- 1 cup (240ml) whole milk
- ½ cup (120ml) vegetable oil
- 2 tsp vanilla extract
- 1 cup (240ml) boiling water
- 1 cup (100g) crushed Oreo cookies (filling removed)
- For the Frosting:
- 1 cup (240g) unsalted butter, softened
- ½ cup (120g) cookie butter
- 4 cups (500g) powdered sugar
- 2-3 tbsp (30-45ml) heavy cream
- 1 tsp vanilla extract
- For Topping:
- Crushed Oreo cookies
- Optional: Chocolate ganache drizzle
If you’re missing an ingredient, don’t worry! There’s room for substitutions—swap whole milk for almond milk, use gluten-free flour, or try a dairy-free butter alternative.
Equipment Needed
- Two 9-inch round cake pans
- Mixing bowls
- Electric mixer or stand mixer
- Rubber spatula
- Cooling racks
- Offset spatula for frosting
- Optional: Cake turntable for easier frosting application
If you don’t have two cake pans, you can bake the cake layers one at a time. A hand mixer will work just fine if you don’t own a stand mixer. For budget-friendly options, you can find cake pans and turntables at most discount stores or online.
Detailed Preparation Method
- Prepare the Cake Pans: Preheat your oven to 350°F (175°C). Grease and line two 9-inch round cake pans with parchment paper.
- Mix the Dry Ingredients: In a large bowl, whisk together the flour, cocoa powder, sugar, baking powder, baking soda, and salt until well combined.
- Combine Wet Ingredients: In a separate bowl, whisk together the eggs, milk, vegetable oil, and vanilla extract.
- Make the Batter: Gradually add the wet ingredients to the dry ingredients, mixing until smooth. Slowly pour in the boiling water while stirring. The batter will be thin—this is normal.
- Add the Oreos: Fold in the crushed Oreo cookies until evenly distributed.
- Bake the Cakes: Divide the batter evenly between the prepared pans. Bake for 30-35 minutes or until a toothpick inserted into the center comes out clean.
- Cool the Cakes: Allow the cakes to cool in the pans for 10 minutes, then transfer them to a wire rack to cool completely.
- Make the Frosting: Beat the butter and cookie butter together until creamy. Gradually add the powdered sugar, one cup at a time, alternating with heavy cream. Mix in the vanilla extract and beat until fluffy.
- Assemble the Cake: Place one cake layer on a serving plate. Spread a thick layer of frosting evenly over the top. Add the second cake layer and frost the entire cake.
- Add Toppings: Decorate the top and sides of the cake with crushed Oreos and, if desired, drizzle with chocolate ganache. Refrigerate for 20 minutes to set before serving.
Cooking Tips & Techniques
- Room Temperature Ingredients: Make sure your eggs and butter are at room temperature. This ensures the batter mixes evenly and the frosting is smooth.
- Don’t Overmix: Once you add the wet ingredients to the dry, mix until just combined. Overmixing can make the cake dense.
- Cool Completely: Never try to frost a warm cake—it’ll melt the frosting and make a mess. Patience is key!
- Crush the Oreos Properly: Remove the filling and crush the cookies in a zip-top bag using a rolling pin or pulse them in a food processor for even crumbs.
- Frosting Consistency: If your frosting is too thick, add a teaspoon of heavy cream at a time until it’s spreadable. If it’s too thin, add a bit more powdered sugar.
Pro tip: Chill the cake layers before frosting for easier assembly and a cleaner finish. This step makes all the difference!
Variations & Adaptations
- Make It Gluten-Free: Use a gluten-free all-purpose flour blend and gluten-free Oreo cookies.
- Dairy-Free Option: Swap the milk and butter for plant-based alternatives, and use a dairy-free cookie butter.
- Add a Flavor Twist: Try mixing peanut butter into the frosting or adding a layer of raspberry jam between the cakes for a fruity contrast.
- Seasonal Decor: For holidays, use themed sprinkles or dye the frosting with food coloring.
- Single Layer Cake: If you’re short on time, bake the batter in one pan and skip the layering—it’s just as delicious!
I once added crushed pretzels to the frosting for a sweet-and-salty vibe, and it was an instant hit. Don’t be afraid to get creative and make this recipe your own!
Serving & Storage Suggestions
This Oreo Cookie Butter Cake is best served slightly chilled or at room temperature. Pair it with a glass of cold milk, or for adults, a hot cup of espresso balances the sweetness beautifully. For a fun twist, serve with a scoop of vanilla ice cream on the side!
Store leftover cake in an airtight container in the refrigerator for up to 4 days. You can also freeze individual slices wrapped in plastic wrap and foil for up to 2 months. To thaw, place the slices in the fridge overnight or let them sit at room temperature for about 30 minutes.
Reheat slices slightly in the microwave (about 10 seconds) if you prefer a warm, gooey texture.
Nutritional Information & Benefits
While this cake is undeniably a treat, here’s an approximate breakdown of the nutritional values per serving:
- Calories: 450
- Carbohydrates: 55g
- Fat: 22g
- Protein: 5g
The Oreos and cookie butter make this a dessert for indulgence, not necessarily health. However, you can make guilt-free swaps like using unsweetened almond milk or cutting down sugar in the frosting. Moderation is key—and let’s face it, a slice of this cake is worth every bite!
Conclusion
If you’re looking for a dessert that’s rich, unique, and absolutely unforgettable, this Oreo Cookie Butter Cake is the answer. It’s a recipe that checks all the boxes—easy, delicious, and perfect for sharing. Whether you’re baking for a special occasion or just treating yourself, this cake delivers every time.
I’d love to hear how your Oreo Cookie Butter Cake turns out! Leave a comment below with your tweaks and tips, share it with your friends, or tag me on social media. Happy baking!
FAQs
Can I use store-bought frosting instead?
Yes, you can use store-bought frosting in a pinch, but homemade cookie butter frosting truly takes this cake to the next level.
What is cookie butter?
Cookie butter is a spread made from ground cookies, sugar, and oils, often with a spiced caramel flavor. You can find it in most grocery stores.
Can I make this cake ahead of time?
Absolutely! Bake the cake layers and store them in the fridge for up to 2 days before frosting and serving.
What’s the best way to crush Oreos?
Remove the filling and crush the cookies in a zip-top bag with a rolling pin or pulse them in a food processor for finer crumbs.
Can I make this recipe into cupcakes?
Yes! Pour the batter into lined cupcake tins and bake for 18-20 minutes. Frost with cookie butter frosting and top with crushed Oreos.
Pin This Recipe!
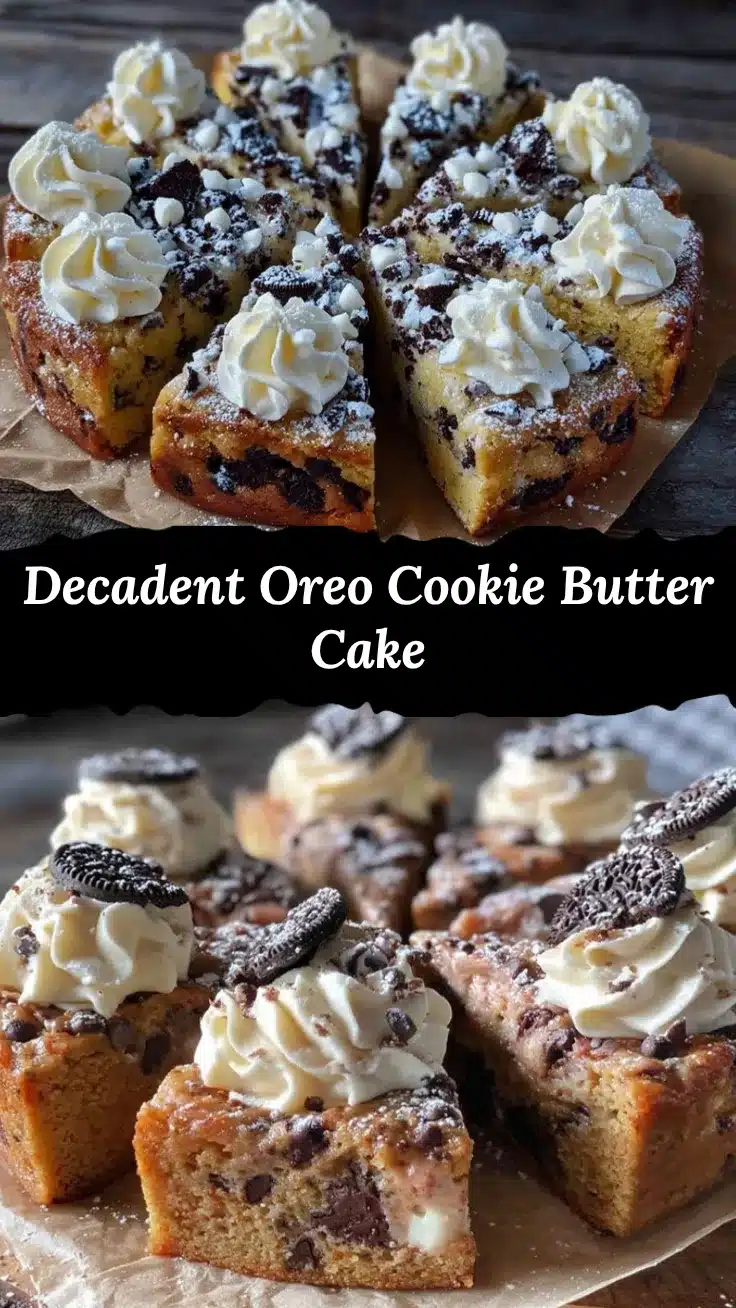
Oreo Cookie Butter Cake

A rich and decadent cake combining the flavors of Oreo cookies and cookie butter, perfect for celebrations or cozy weekends.
- Prep Time: 20 minutes
- Cook Time: 35 minutes
- Total Time: 55 minutes
- Yield: 12 servings 1x
- Category: Dessert
- Cuisine: American
Ingredients
- 1 ¾ cups (220g) all-purpose flour
- ¾ cup (65g) unsweetened cocoa powder
- 1 ½ cups (300g) granulated sugar
- 1 tsp baking powder
- 1 tsp baking soda
- ½ tsp salt
- 2 large eggs, room temperature
- 1 cup (240ml) whole milk
- ½ cup (120ml) vegetable oil
- 2 tsp vanilla extract
- 1 cup (240ml) boiling water
- 1 cup (100g) crushed Oreo cookies (filling removed)
- 1 cup (240g) unsalted butter, softened
- ½ cup (120g) cookie butter
- 4 cups (500g) powdered sugar
- 2–3 tbsp (30-45ml) heavy cream
- 1 tsp vanilla extract
- Crushed Oreo cookies
- Optional: Chocolate ganache drizzle
Instructions
- Preheat your oven to 350°F (175°C). Grease and line two 9-inch round cake pans with parchment paper.
- In a large bowl, whisk together the flour, cocoa powder, sugar, baking powder, baking soda, and salt until well combined.
- In a separate bowl, whisk together the eggs, milk, vegetable oil, and vanilla extract.
- Gradually add the wet ingredients to the dry ingredients, mixing until smooth. Slowly pour in the boiling water while stirring. The batter will be thin—this is normal.
- Fold in the crushed Oreo cookies until evenly distributed.
- Divide the batter evenly between the prepared pans. Bake for 30-35 minutes or until a toothpick inserted into the center comes out clean.
- Allow the cakes to cool in the pans for 10 minutes, then transfer them to a wire rack to cool completely.
- Beat the butter and cookie butter together until creamy. Gradually add the powdered sugar, one cup at a time, alternating with heavy cream. Mix in the vanilla extract and beat until fluffy.
- Place one cake layer on a serving plate. Spread a thick layer of frosting evenly over the top. Add the second cake layer and frost the entire cake.
- Decorate the top and sides of the cake with crushed Oreos and, if desired, drizzle with chocolate ganache. Refrigerate for 20 minutes to set before serving.
Notes
[‘Make sure your eggs and butter are at room temperature for smooth batter and frosting.’, ‘Don’t overmix the batter to avoid a dense cake.’, ‘Cool the cake layers completely before frosting to prevent melting.’, ‘Chill the cake layers before frosting for easier assembly and a cleaner finish.’, ‘If frosting is too thick, add a teaspoon of heavy cream at a time until spreadable.’]
Nutrition
- Serving Size: 1 slice
- Calories: 450
- Fat: 22
- Carbohydrates: 55
- Protein: 5
Keywords: Oreo Cake, Cookie Butter Cake, Chocolate Cake, Dessert Recipe, Easy Cake Recipe


