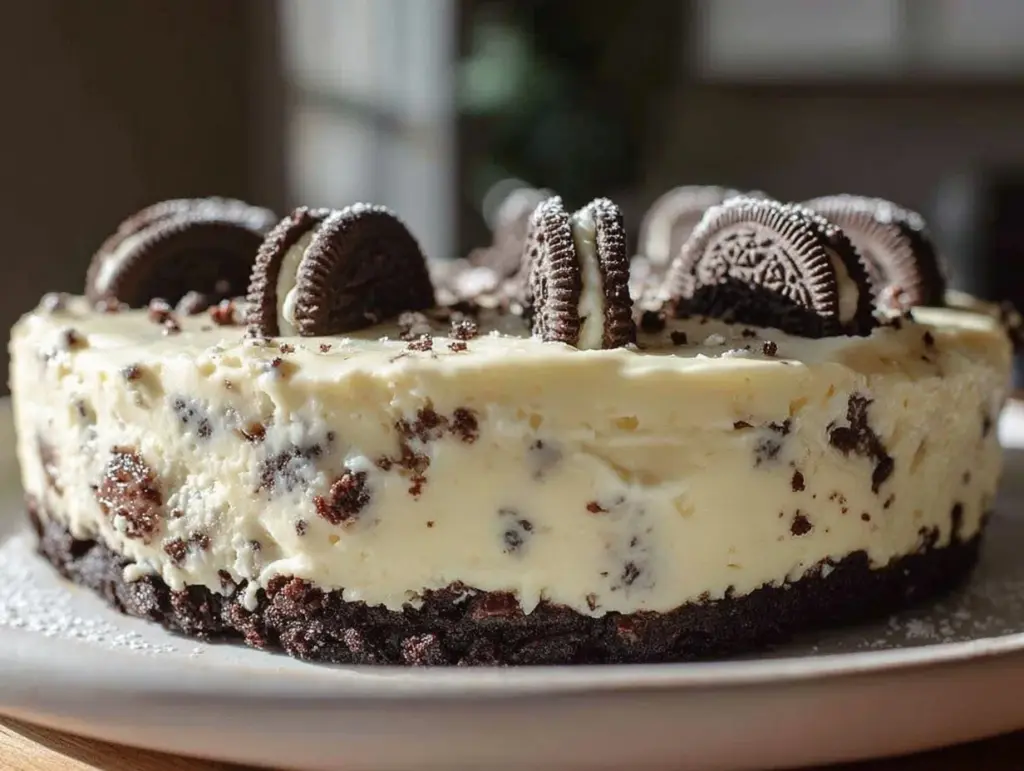
The moment you press your spoon into this no-bake Oreo cheesecake, that cool, creamy texture mixed with crunchy cookie bits just hits differently. Honestly, the first time I made this irresistible no-bake Oreo cheesecake recipe, I was blown away by how simple it was to whip up yet tasted like a dessert from a fancy bakery. It quickly became my go-to treat whenever I needed a fuss-free, crowd-pleasing dessert.
I remember making this during a spontaneous weekend get-together, and everyone kept asking for seconds (and thirds!). What’s great is that this no-bake Oreo cheesecake recipe doesn’t require turning on the oven—perfect for those hot summer days or when you’re short on time but still want something homemade and indulgent. Plus, it’s kid-friendly, family-approved, and honestly, a little bit addictive.
The best part? This recipe blends the classic chocolatey Oreo flavor with a luscious, smooth cheesecake filling that sets perfectly in the fridge. After testing this recipe multiple times (and tweaking it just right), I can confidently say it’s a keeper for any dessert lover looking to impress without sweating over the stove. Whether you’re new to cheesecake or a seasoned pro, this no-bake Oreo cheesecake recipe is a delicious win every time.
Why You’ll Love This Recipe
After making this no-bake Oreo cheesecake recipe more times than I can count, here’s why it’s such a winner:
- Quick & Easy: Ready in just about 20 minutes of hands-on prep—no oven needed! Perfect for busy nights or last-minute dessert cravings.
- Simple Ingredients: You probably already have everything on hand—cream cheese, Oreos, a bit of sugar, and some whipped cream. No fancy trips to specialty stores.
- Perfect for Any Occasion: Whether it’s a birthday party, holiday meal, or just a sweet treat after dinner, this cheesecake fits the bill.
- Crowd-Pleaser: Kids love it, adults love it—heck, even picky eaters can’t resist.
- Unbelievably Delicious: The creamy texture paired with Oreo chunks gives you that perfect balance of rich and crunchy. Honestly, it’s like a dream dessert without the fuss.
This isn’t your average cheesecake recipe. The trick is gently folding crushed Oreos into the cheesecake batter so you get bits of cookie in every bite without it turning soggy or heavy. Plus, chilling it just right means you get a smooth, firm slice that holds up beautifully. Trust me, once you try this no-bake Oreo cheesecake recipe, you’ll want to make it again and again.
It’s comfort food with a bit of a fun twist—no oven, less mess, all the flavor. And if you’re like me, sometimes you just want a dessert that feels special but doesn’t take hours to prepare. This recipe nails that balance perfectly.
What Ingredients You Will Need
This no-bake Oreo cheesecake recipe uses simple ingredients that come together to create a rich, creamy, and slightly crunchy dessert you’ll want to make on repeat.
- Oreo Cookies (24-28 pieces): Crushed for the crust and filling (I prefer the classic Oreo, but Double Stuf works great too!)
- Unsalted Butter (5 tablespoons / 70g), melted: Binds the Oreo crust together with a rich, buttery flavor
- Cream Cheese (16 ounces / 450g), softened: The base for the cheesecake filling, softened at room temperature for that smooth texture
- Granulated Sugar (3/4 cup / 150g): Adds just the right amount of sweetness without overpowering the Oreo flavor
- Heavy Whipping Cream (1 cup / 240ml), cold: Whipped to soft peaks to lighten the filling and add creaminess
- Vanilla Extract (1 teaspoon): For a subtle depth of flavor
- Salt (a pinch): Balances the sweetness and enhances the overall taste
You can find most of these ingredients easily at your local grocery store. I recommend using a trusted cream cheese brand like Philadelphia for best results—the texture is consistently smooth and creamy. When selecting Oreos, try to pick fresh packs to keep the cookies crisp for the crust and filling.
If you want to switch things up, you can use a low-fat cream cheese or even a dairy-free alternative, but keep in mind the texture might change slightly. Also, for a gluten-free option, there are gluten-free Oreo-style cookies available that work just as well.
Equipment Needed
- 9-inch (23 cm) Springform Pan: Essential for easy removal of the cheesecake without ruining the crust. I learned the hard way using a regular pan—it’s just not worth the mess!
- Mixing Bowls: At least two, one for the crust and one for the filling
- Electric Mixer (Hand or Stand): For whipping the cream cheese and heavy cream until fluffy—trust me, you’ll save time and get better texture.
- Food Processor or Plastic Bag & Rolling Pin: To crush the Oreos finely for the crust and roughly for the filling. I usually go with a food processor for ease.
- Rubber Spatula: For folding in the crushed Oreos gently without deflating the whipped cream
- Measuring Cups and Spoons: Accuracy helps keep the cheesecake balanced and delicious
If you don’t have a springform pan, a regular pie dish works, but be extra careful when serving. For those on a budget, a simple hand mixer and a sturdy plastic bag for cookie crushing will do just fine. Keeping your mixing bowls chilled before whipping cream can help achieve better volume, which I usually do by popping them in the fridge for 10 minutes before starting.
Detailed Preparation Method
- Prepare the Oreo crust: Crush 18 Oreo cookies finely until they resemble coarse crumbs (about 1 1/2 cups / 150g). Mix the crumbs with 5 tablespoons (70g) of melted unsalted butter until evenly combined. Press this mixture firmly into the bottom of your 9-inch (23 cm) springform pan. Use the back of a spoon or a flat-bottomed cup to compact the crust evenly. Chill in the fridge while you make the filling (about 10 minutes).
- Make the cheesecake filling: In a large bowl, beat 16 ounces (450g) of softened cream cheese with 3/4 cup (150g) granulated sugar and 1 teaspoon vanilla extract until smooth and creamy—about 3-4 minutes with an electric mixer. It should be lump-free and silky.
- Whip the heavy cream: In a separate chilled bowl, whip 1 cup (240ml) of cold heavy whipping cream with a pinch of salt until soft peaks form (when you lift the whisk, the peaks gently hold their shape but curl over). This usually takes 3-5 minutes with a mixer on medium speed.
- Combine the filling: Gently fold the whipped cream into the cream cheese mixture using a rubber spatula. Fold carefully to keep the mixture light and fluffy. Next, roughly crush the remaining 6-8 Oreo cookies and fold them into the batter evenly.
- Assemble and chill: Pour the filling over the chilled Oreo crust, spreading it out evenly with a spatula. Cover the pan with plastic wrap and refrigerate for at least 4 hours, preferably overnight. This chilling step is key—it lets the cheesecake set firmly and the flavors meld beautifully.
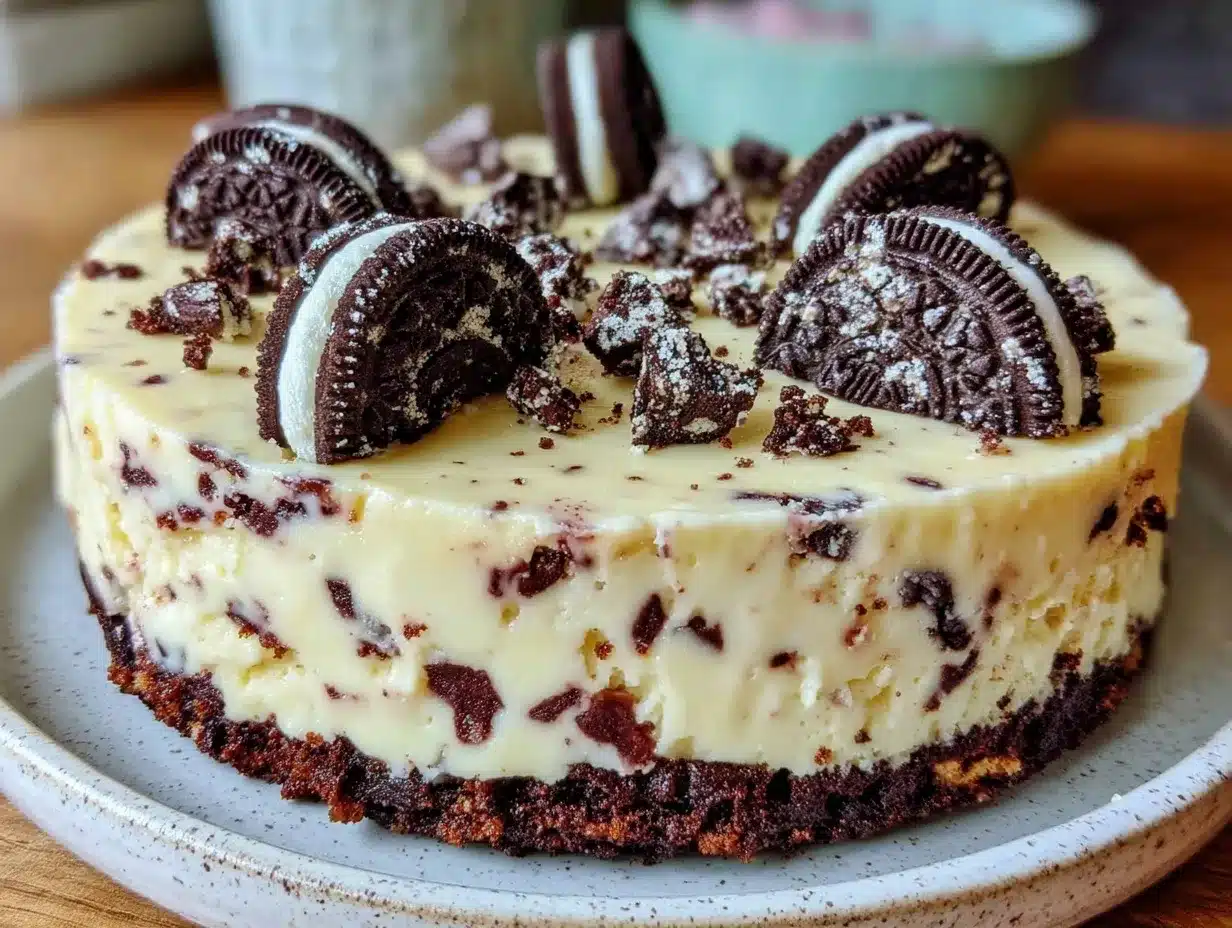
When ready to serve, run a thin knife around the edges before unclipping the springform to get clean slices. If you want, garnish with extra Oreo crumbs or whipped cream on top. If the cheesecake feels too soft after chilling, give it a bit more time in the fridge; patience really pays off here.
Cooking Tips & Techniques
Making this no-bake Oreo cheesecake recipe has taught me a few things that might save you some headaches:
- Softened cream cheese is a must: If your cream cheese is too cold, lumps are almost guaranteed. Let it sit at room temperature for about 30 minutes before mixing.
- Don’t overmix whipped cream: Stop whipping as soon as soft peaks form. Over-whipping will turn it grainy and eventually into butter. Been there, ruined batches.
- Use a chilled bowl for whipping cream: It really helps the cream whip faster and hold its volume better.
- Press the crust firmly: The sturdier the crust, the better the cheesecake holds together when you slice it.
- Folding technique: Fold gently when combining whipped cream and cream cheese mixture. Stirring too hard will deflate the air and make the filling dense.
Also, if you want perfectly even Oreo chunks in every bite, crush half the cookies finely for the crust and break the rest into medium pieces for folding in. It adds great texture contrast. And remember, chilling time is non-negotiable—rushing this step will make slicing messy.
Variations & Adaptations
This no-bake Oreo cheesecake recipe is super versatile, and I’ve played around with a few tasty tweaks over time:
- Peanut Butter Oreo Cheesecake: Add 1/2 cup (120g) creamy peanut butter to the cream cheese mixture for a nutty twist that pairs beautifully with Oreos.
- Mint Oreo Version: Swap regular Oreos for mint-flavored ones and add a few drops of peppermint extract for a refreshing spin—perfect around the holidays.
- Vegan/Dairy-Free: Use dairy-free cream cheese and coconut whipped cream. Try gluten-free Oreo alternatives to keep it allergy-friendly.
- Mini Cheesecakes: Make individual portions in a muffin tin lined with cupcake papers for parties or grab-and-go treats.
- Chocolate Lover’s Dream: Add 1/4 cup (25g) of cocoa powder to the filling and use chocolate sandwich cookies for a richer, chocolatey experience.
I tried the peanut butter version for a friend who loves that combo, and it was a hit—just make sure to soften the peanut butter well to keep the filling smooth. Feel free to get creative; this recipe is forgiving and welcoming to your favorite flavors.
Serving & Storage Suggestions
Serve this no-bake Oreo cheesecake chilled, straight from the fridge for the best texture and flavor. I like to garnish mine with extra crushed Oreos or a dollop of lightly sweetened whipped cream for a pretty presentation.
This cheesecake pairs wonderfully with a hot cup of coffee or a cold glass of milk—think classic dessert vibes. For parties, slice it into small wedges to make sure everyone gets a taste (or two!).
Store leftovers covered tightly in the refrigerator for up to 4 days. If you need to keep it longer, you can freeze the cheesecake (wrapped well) for up to 1 month. Thaw it overnight in the fridge before serving.
Interestingly, the flavors deepen the longer it chills, so if you make it a day ahead, you’ll notice the Oreos soften just enough to blend perfectly with the creamy filling without losing their crunch. Just don’t skip the chilling step—it’s essential to get that perfect slice.
Nutritional Information & Benefits
Here’s a rough estimate per serving (based on 12 slices):
| Calories | 320 |
|---|---|
| Fat | 22g |
| Carbohydrates | 28g |
| Protein | 5g |
| Sugar | 18g |
This no-bake Oreo cheesecake recipe isn’t exactly light, but it does have some perks. Cream cheese provides calcium and protein, while the Oreo cookies offer that nostalgic chocolate flavor. If you’re mindful of sugar or dairy, consider swapping in reduced-fat cream cheese or sugar alternatives like erythritol.
For those avoiding gluten, gluten-free Oreo cookies are widely available, making this recipe adaptable. It’s a dessert meant for sharing and savoring in moderation, perfect for special occasions or whenever you want a sweet pick-me-up that feels homemade.
Conclusion
There you have it—my easy, no-fuss no-bake Oreo cheesecake recipe that’s sure to become a favorite in your dessert rotation. It’s simple enough for beginners but delicious enough to impress any crowd. I love how it combines the classic Oreo crunch with a smooth, creamy filling that sets perfectly without baking.
Don’t be shy about customizing it to your taste—whether that means adding a splash of your favorite extract, swapping Oreos for another cookie, or making mini versions for parties. I hope you enjoy making and sharing this delicious treat as much as I do!
If you try this recipe, please leave a comment or share your variations—I’d love to hear how you make it your own. Happy no-bake cheesecake making!
FAQs
Can I make this Oreo cheesecake ahead of time?
Absolutely! It actually tastes better after chilling overnight since the flavors meld and it firms up perfectly.
Do I have to use a springform pan?
While a springform pan makes removing the cheesecake easier, you can use a regular pie dish—just be gentle when serving.
Can I freeze leftover cheesecake?
Yes, wrap it tightly and freeze for up to 1 month. Thaw overnight in the fridge before serving.
What if I don’t have heavy cream?
Whipping cream is best for texture, but you can try using chilled coconut cream for a dairy-free option.
How do I prevent the cheesecake from being too soft?
Make sure to chill it for at least 4 hours, and press the crust firmly. Also, avoid overmixing the whipped cream to keep the filling light but firm.
Pin This Recipe!
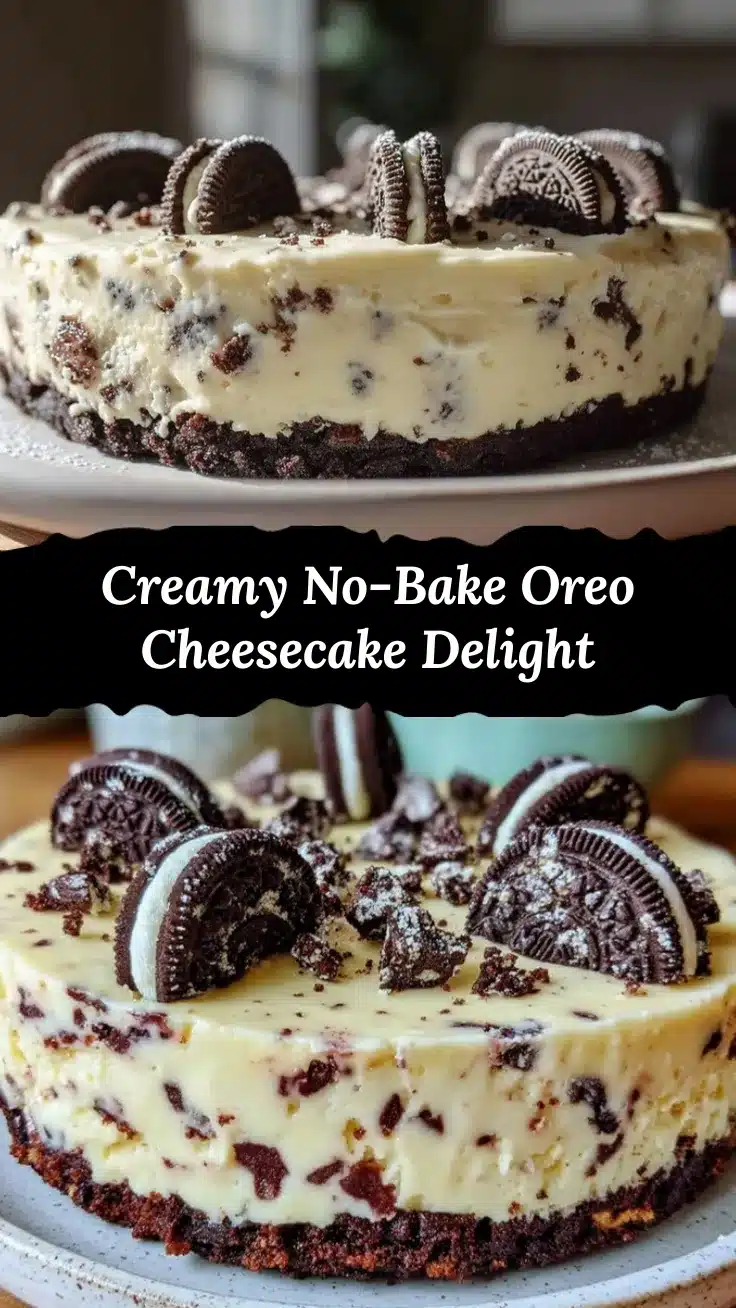
No-Bake Oreo Cheesecake Recipe Easy 5-Step Homemade Delight

A quick and easy no-bake Oreo cheesecake with a creamy texture and crunchy cookie bits, perfect for any occasion and crowd-pleasing dessert.
- Prep Time: 20 minutes
- Cook Time: 0 minutes
- Total Time: 4 hours 20 minutes
- Yield: 12 servings 1x
- Category: Dessert
- Cuisine: American
Ingredients
- 24–28 Oreo Cookies (crushed for crust and filling)
- 5 tablespoons (70g) unsalted butter, melted
- 16 ounces (450g) cream cheese, softened
- 3/4 cup (150g) granulated sugar
- 1 cup (240ml) heavy whipping cream, cold
- 1 teaspoon vanilla extract
- Pinch of salt
Instructions
- Prepare the Oreo crust: Crush 18 Oreo cookies finely until they resemble coarse crumbs (about 1 1/2 cups / 150g). Mix the crumbs with 5 tablespoons (70g) of melted unsalted butter until evenly combined. Press this mixture firmly into the bottom of your 9-inch (23 cm) springform pan. Chill in the fridge for about 10 minutes.
- Make the cheesecake filling: In a large bowl, beat 16 ounces (450g) of softened cream cheese with 3/4 cup (150g) granulated sugar and 1 teaspoon vanilla extract until smooth and creamy, about 3-4 minutes with an electric mixer.
- Whip the heavy cream: In a separate chilled bowl, whip 1 cup (240ml) of cold heavy whipping cream with a pinch of salt until soft peaks form, about 3-5 minutes.
- Combine the filling: Gently fold the whipped cream into the cream cheese mixture using a rubber spatula. Then roughly crush the remaining 6-8 Oreo cookies and fold them into the batter evenly.
- Assemble and chill: Pour the filling over the chilled Oreo crust, spreading it evenly. Cover with plastic wrap and refrigerate for at least 4 hours, preferably overnight.
Notes
[‘Softened cream cheese is essential to avoid lumps.’, ‘Do not overwhip the cream to prevent it from turning grainy or into butter.’, ‘Use a chilled bowl for whipping cream to achieve better volume.’, ‘Press the crust firmly for a sturdy base.’, ‘Fold whipped cream gently into the cream cheese mixture to keep it light and fluffy.’, ‘Chilling time is crucial for a firm cheesecake and clean slices.’, ‘For gluten-free option, use gluten-free Oreo-style cookies.’, ‘Variations include adding peanut butter, peppermint extract, cocoa powder, or making mini cheesecakes.’]
Nutrition
- Serving Size: 1 slice (1/12th of c
- Calories: 320
- Sugar: 18
- Fat: 22
- Carbohydrates: 28
- Protein: 5
Keywords: no-bake cheesecake, Oreo cheesecake, easy dessert, no oven dessert, creamy cheesecake, Oreo dessert, quick cheesecake


