
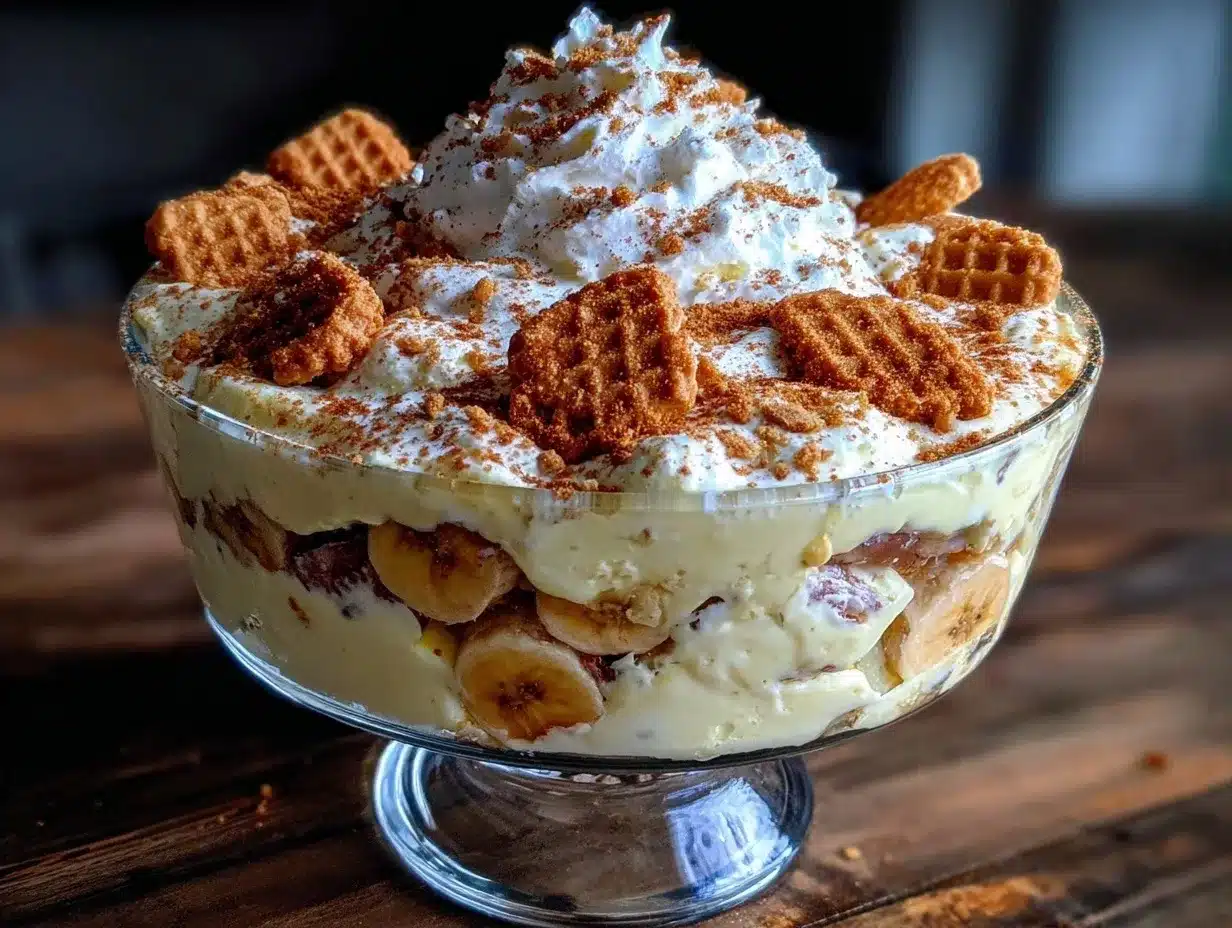
The smell of creamy banana pudding mingled with the nostalgic crunch of vanilla wafers instantly takes me back to family gatherings and lazy Sunday afternoons. Honestly, there’s something magical about this classic Southern dessert that never gets old. I first whipped up this irresistible banana pudding with vanilla wafers recipe during a summer cookout, and it quickly became the star of the table. You know that sweet spot where dessert feels both comforting and fresh? That’s exactly what this pudding delivers.
Over the years, I’ve tested this recipe countless times, tweaking the balance of flavors and textures to get it just right. It’s a dessert that’s simple enough for busy weeknights but impressive enough for guests. Plus, it’s packed with familiar ingredients you probably already have in your pantry. If you’ve ever been intimidated by homemade pudding or layering desserts, this recipe will change your mind. It’s approachable, creamy, and yes—totally addictive.
Whether you’re a longtime banana pudding fan or trying it for the first time, this version stands out for its silky custard, fresh bananas, and perfectly crisp vanilla wafers. I can’t wait for you to make it your own and enjoy that first spoonful of bliss.
Why You’ll Love This Recipe
After making this irresistible banana pudding with vanilla wafers more times than I can count, here’s why it keeps winning hearts (and taste buds):
- Quick & Easy: You can have it ready in under 30 minutes, making it perfect for last-minute dessert cravings or potlucks.
- Simple Ingredients: No need for fancy stuff—just bananas, vanilla wafers, milk, and a few pantry staples.
- Perfect for Any Occasion: Whether it’s a family picnic, holiday dinner, or cozy night in, this pudding fits right in.
- Crowd-Pleaser: Kids love it, adults swoon over it, and leftovers (if there are any) disappear fast.
- Unbelievably Delicious: The creamy custard and soft bananas paired with crunchy wafers create a texture and flavor combo that’s pure comfort food.
What sets this banana pudding apart? It’s the homemade vanilla custard that’s rich but not overly sweet, combined with layering that lets each bite have a little bit of everything. Plus, I’ve learned that letting it chill overnight really lets the flavors meld beautifully—trust me, it’s worth the wait! This isn’t just any banana pudding; it’s the kind that makes you close your eyes and smile after the first bite.
What Ingredients You Will Need
This recipe uses simple, wholesome ingredients to deliver bold flavor and satisfying texture without the fuss. Most are pantry staples, and you can easily find them at any grocery store.
- Ripe Bananas: About 3 medium bananas, sliced (ripe but firm for best texture).
- Vanilla Wafers: 1 to 2 cups (I prefer the classic Nilla Wafers for that perfect crunch).
- Milk: 3 cups (whole milk works best for creaminess, but 2% is fine).
- Granulated Sugar: 3/4 cup (adjust to your sweetness preference).
- All-Purpose Flour: 1/3 cup (for thickening the custard).
- Egg Yolks: 4 large (room temperature for smooth custard).
- Salt: A pinch (to balance sweetness).
- Vanilla Extract: 2 teaspoons (pure vanilla makes all the difference).
- Unsalted Butter: 2 tablespoons (adds richness and silkiness to the pudding).
Optional: For a twist, try adding a splash of bourbon or a sprinkle of cinnamon on top. You can also swap regular milk with almond or oat milk for a dairy-free version, though the texture might be a bit lighter.
Equipment Needed
- Medium Saucepan: For cooking the custard gently and evenly.
- Mixing Bowls: One for whisking egg yolks and sugar, another for assembling the pudding.
- Whisk: Essential for combining ingredients smoothly without lumps.
- Measuring Cups and Spoons: For precise measurements to keep the custard perfect.
- 9×13-inch Baking Dish or Trifle Bowl: To layer the pudding and wafers beautifully.
- Knife and Cutting Board: For slicing bananas evenly.
If you don’t have a whisk, a fork can work in a pinch, though it might take more effort. For large batches, a hand mixer can speed up mixing the custard base. I once tried making this in a slow cooker, but it’s tricky to get the custard texture right without stirring constantly—stick to the stove method for foolproof results.
Detailed Preparation Method
- Prepare the Custard Base (10-12 minutes): In a medium saucepan, whisk together 3/4 cup (150 g) sugar, 1/3 cup (40 g) all-purpose flour, and a pinch of salt. Slowly add 3 cups (720 ml) of milk, whisking constantly to prevent lumps. Cook over medium heat, stirring frequently until the mixture thickens and just starts to bubble—this usually takes about 7-9 minutes.
- Temper the Egg Yolks (3-4 minutes): In a separate bowl, whisk 4 large egg yolks until smooth. Slowly pour about 1 cup (240 ml) of the hot milk mixture into the yolks, whisking constantly to raise their temperature without scrambling. Then, pour the yolk mixture back into the saucepan.
- Cook the Custard (2-3 minutes): Return the saucepan to medium heat and cook, stirring constantly, until the custard thickens to a pudding-like consistency (about 2-3 minutes). Remove from heat and stir in 2 tablespoons (28 g) unsalted butter and 2 teaspoons (10 ml) vanilla extract until smooth and glossy.
- Cool Slightly (10 minutes): Let the custard cool for about 10 minutes, stirring occasionally to prevent a skin from forming.
- Assemble the Layers (10 minutes): In your 9×13-inch (23×33 cm) dish, start by spreading a thin layer of custard on the bottom. Add a layer of vanilla wafers (about 1 cup/100 g), then a layer of sliced bananas (1 medium banana). Repeat layers, ending with a generous layer of custard on top.
- Chill Before Serving (At least 2 hours): Cover with plastic wrap and refrigerate for at least 2 hours, preferably overnight, to allow the wafers to soften slightly and flavors to meld.
Note: If you notice the pudding is too thick after chilling, a splash of milk stirred in can loosen it up. Also, when slicing bananas, try to keep slices uniform so each bite has balanced sweetness and texture.
Cooking Tips & Techniques
- Whisk Constantly: While cooking custard, keep whisking to avoid lumps and scorching. Trust me, a few burnt bits can ruin the whole batch.
- Use Room Temperature Eggs: This helps prevent curdling when mixing with hot milk.
- Don’t Skip Tempering: Slowly adding hot liquid to eggs prevents scrambling and keeps custard silky.
- Layer Thoughtfully: Alternate wafers and bananas evenly for consistent texture and flavor in every bite.
- Chill Well: The pudding tastes best after a good chill—this lets the wafers soften just enough without getting mushy.
- Banana Ripeness: Slightly underripe bananas hold up better during layering and chilling.
- Watch Sweetness: Depending on your bananas and wafers, adjust sugar slightly; over-sweet can mask the fresh banana flavor.
I once accidentally rushed the chilling step and ended up with crunchy wafers that didn’t meld well—lesson learned! Also, if your custard looks a bit runny right after cooking, don’t worry; it thickens further as it cools.
Variations & Adaptations
- Chocolate Banana Pudding: Add a layer of chocolate pudding or sprinkle chopped chocolate chips between layers for a rich twist.
- Gluten-Free Option: Use gluten-free vanilla wafers or substitute with crushed gluten-free cookies.
- Dairy-Free Version: Swap milk and butter with coconut milk and dairy-free margarine; use dairy-free wafers if needed.
- Boiled Custard Shortcut: Use instant vanilla pudding mix combined with milk for a quicker version, though it lacks the depth of homemade custard.
- Seasonal Fruit Swap: Replace bananas with sliced strawberries or peaches during summer for a fresh variation.
My favorite personal twist is adding a pinch of cinnamon and nutmeg to the custard—it adds a cozy warmth that’s perfect for fall gatherings. Feel free to experiment and find your perfect combo!
Serving & Storage Suggestions
Serve your irresistible banana pudding chilled, straight from the fridge. You can garnish with extra vanilla wafers or a sprinkle of crushed nuts for a bit of crunch. It pairs beautifully with a hot cup of coffee or a refreshing iced tea.
Store leftovers covered in the refrigerator for up to 3 days. If you want to prepare in advance, assemble and chill overnight—the flavors deepen, and the pudding becomes even more luscious. Avoid freezing, as the texture of bananas and custard changes and can become watery upon thawing.
When reheating (if you prefer it warm), do so gently in the microwave for 20-30 seconds, but honestly, it’s best enjoyed cold or at room temperature. Over time, the wafers soften more, making the pudding creamier but less crunchy—both textures are delicious in their own right!
Nutritional Information & Benefits
One serving (about 1 cup or 240 ml) of this banana pudding contains approximately:
| Nutrient | Amount |
|---|---|
| Calories | 280 |
| Fat | 8 g |
| Carbohydrates | 45 g |
| Protein | 6 g |
| Sugar | 30 g |
The bananas provide potassium and fiber, while the eggs contribute protein and essential vitamins. Using whole milk adds calcium and richness, but you can reduce fat by choosing lower-fat milk varieties. For those watching carbs, consider reducing sugar slightly or using a sugar substitute. This dessert is naturally gluten-free if you swap vanilla wafers with a gluten-free alternative.
From a wellness perspective, this pudding offers a comforting way to enjoy fresh fruit and homemade custard without artificial additives. I find it’s a sweet treat that doesn’t feel like overindulgence when eaten in moderation.
Conclusion
This irresistible banana pudding with vanilla wafers is more than just a dessert—it’s a little moment of joy that’s easy to make and hard to forget. Whether you’re feeding a crowd or treating yourself after a long day, this recipe delivers creamy, crunchy, and fruity layers of happiness in every spoonful.
Feel free to tweak it to your taste, whether that means adding chocolate, using dairy-free ingredients, or swapping fruits. I love how versatile and forgiving this dessert is. It’s become a staple in my kitchen and one I’m excited to share with you.
Go ahead, give it a try, and don’t hesitate to drop a comment below sharing your variations or questions. Happy pudding-making!
FAQs
Can I make banana pudding ahead of time?
Absolutely! In fact, chilling it overnight helps the flavors meld and the wafers soften just right. Just cover it tightly and refrigerate.
How do I prevent the bananas from browning?
Use ripe but firm bananas and slice them just before assembling. You can also lightly brush slices with lemon juice to slow browning.
Can I use instant pudding mix instead of homemade custard?
You can, and it’s faster, but homemade custard offers a richer flavor and smoother texture that’s worth the extra effort.
What if I don’t have vanilla wafers?
Shortbread cookies or graham crackers work well as substitutes, providing a different but delicious crunch.
Is this recipe gluten-free?
Not with traditional vanilla wafers, but you can make it gluten-free by choosing gluten-free cookies or wafers instead.
Pin This Recipe!
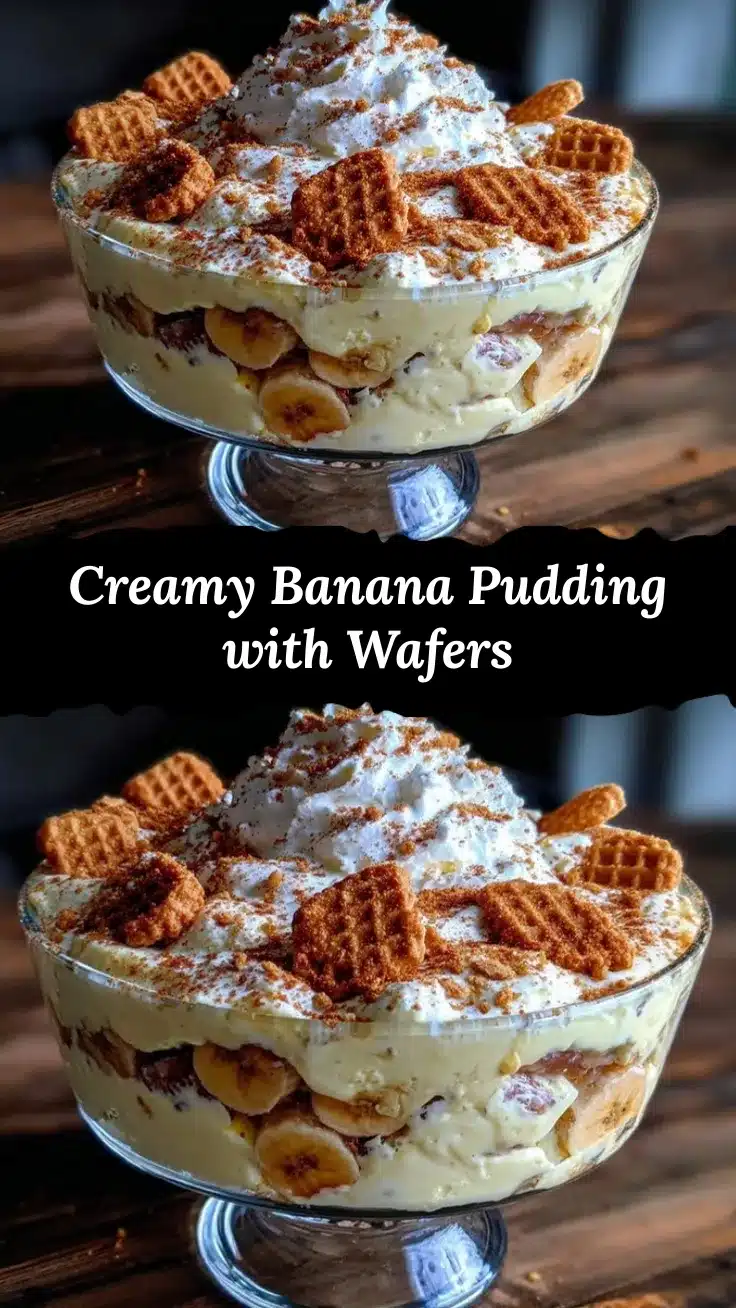
Easy Irresistible Banana Pudding Recipe with Vanilla Wafers for Perfect Dessert

A classic Southern dessert featuring creamy homemade vanilla custard layered with ripe bananas and crunchy vanilla wafers. This quick and easy banana pudding is perfect for any occasion and loved by all ages.
- Prep Time: 15 minutes
- Cook Time: 15 minutes
- Total Time: 2 hours 30 minutes
- Yield: 8 servings 1x
- Category: Dessert
- Cuisine: Southern American
Ingredients
- 3 medium ripe but firm bananas, sliced
- 1 to 2 cups vanilla wafers (classic Nilla Wafers preferred)
- 3 cups whole milk (2% milk can be used)
- 3/4 cup granulated sugar
- 1/3 cup all-purpose flour
- 4 large egg yolks, room temperature
- Pinch of salt
- 2 teaspoons pure vanilla extract
- 2 tablespoons unsalted butter
Instructions
- In a medium saucepan, whisk together sugar, flour, and salt.
- Slowly add milk while whisking constantly to prevent lumps.
- Cook over medium heat, stirring frequently until mixture thickens and starts to bubble (7-9 minutes).
- In a separate bowl, whisk egg yolks until smooth.
- Temper the egg yolks by slowly pouring about 1 cup of hot milk mixture into the yolks while whisking constantly.
- Pour the yolk mixture back into the saucepan.
- Cook over medium heat, stirring constantly until custard thickens to pudding-like consistency (2-3 minutes).
- Remove from heat and stir in butter and vanilla extract until smooth and glossy.
- Let custard cool for about 10 minutes, stirring occasionally to prevent skin formation.
- In a 9×13-inch dish, spread a thin layer of custard on the bottom.
- Add a layer of vanilla wafers (about 1 cup), then a layer of sliced bananas (about 1 medium banana).
- Repeat layers, ending with a generous layer of custard on top.
- Cover with plastic wrap and refrigerate for at least 2 hours, preferably overnight, to allow flavors to meld and wafers to soften.
Notes
Whisk constantly while cooking custard to avoid lumps and scorching. Use room temperature eggs to prevent curdling. Temper eggs slowly to keep custard silky. Chill pudding overnight for best flavor and texture. Slightly underripe bananas hold up better during layering and chilling. Adjust sugar to taste depending on banana and wafer sweetness. If pudding is too thick after chilling, stir in a splash of milk to loosen.
Nutrition
- Serving Size: 1 cup (240 ml)
- Calories: 280
- Sugar: 30
- Fat: 8
- Carbohydrates: 45
- Protein: 6
Keywords: banana pudding, vanilla wafers, homemade custard, Southern dessert, easy dessert, layered pudding, classic banana pudding


