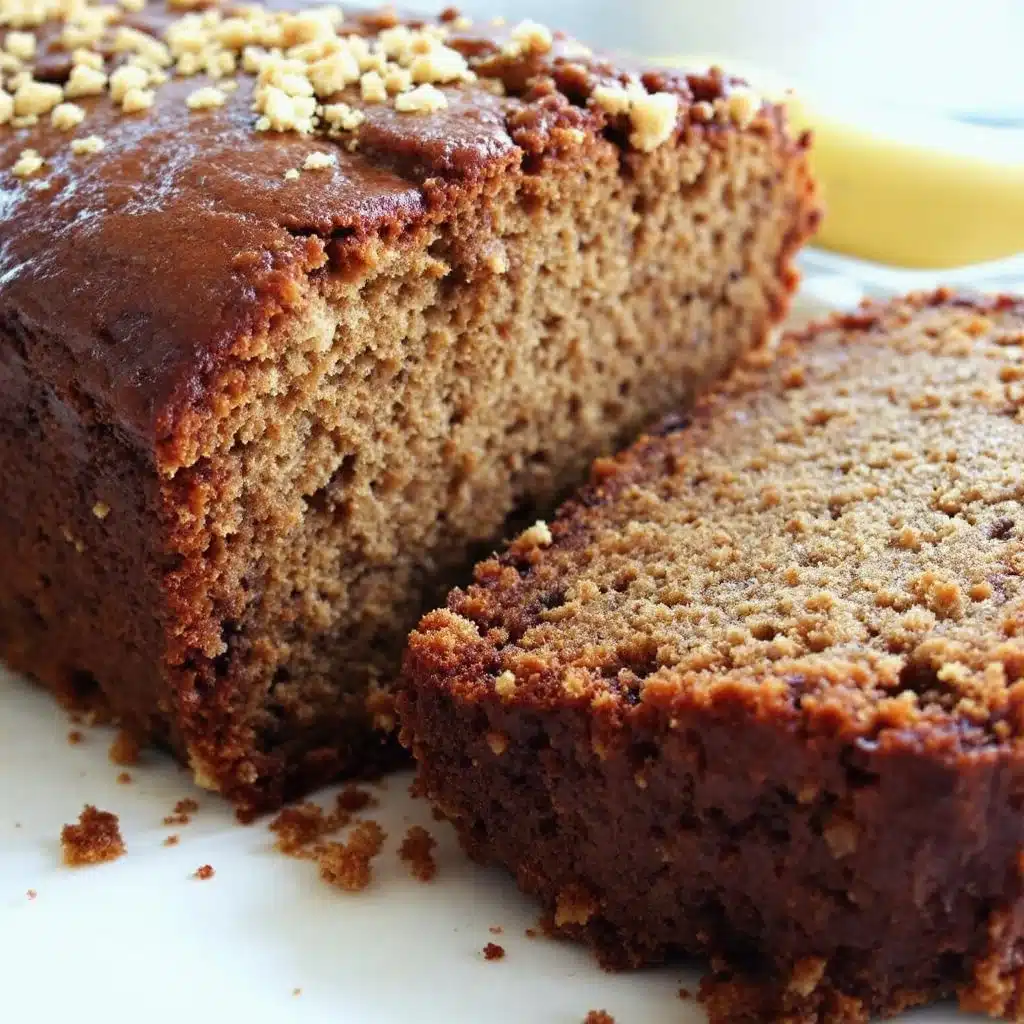
“You mean I don’t even need to get out the mixer?” That’s what my neighbor said when I handed her a slice of this banana bread through the fence. She’d just texted me in a panic about three overripe bananas on her counter and a sudden craving she couldn’t shake. I told her to come over and watch—it took me less than ten minutes to mix everything together in one bowl. She stood there, coffee in hand, genuinely suspicious that I was hiding some secret appliance somewhere. I wasn’t. That was the moment I realized this recipe needed to be shared with more than just the people living next door.
This easy one-bowl banana bread came from a very specific kind of desperation. I wanted banana bread, but my stand mixer was buried under a pile of cookbooks, and my hand mixer had mysteriously vanished after the last holiday baking spree. So I grabbed a fork and a bowl and just started mashing. Honest to goodness, it turned out better than any banana bread I’d ever made with all the fancy equipment. The texture was somehow more tender, more evenly moist—like the bread knew it had been made with pure intention and zero fuss.
Honestly, that’s the thing about this recipe. It doesn’t need a show. It doesn’t need a production. It just needs you, a bowl, a fork, and some very spotty bananas. And when you pull that golden loaf out of the oven, you’ll understand why I haven’t touched my mixer for banana bread since.
Why You’ll Love This Recipe
I’ve tested this banana bread more times than I care to admit. I made it with different flours, different sugars, different levels of banana ripeness—all in the name of getting it just right. And after all that trial and error, here’s what I know for sure: this is the banana bread you’ll actually make on a Tuesday afternoon when the craving hits.
- No Mixer Required : Seriously, a fork and a bowl are all you need. No dragging out heavy appliances, no attachments to wash.
- One Bowl, Less Mess : Everything goes into one single bowl. The less dishes, the happier the baker. That’s just science.
- Perfect for Busy Days : From start to oven in about 10 minutes. While it bakes, you can tackle laundry, answer emails, or just sit down for a minute.
- Uses Up Those Sad Bananas : You know the ones—brown, spotty, sitting on the counter looking neglected. This is their glorious second act.
- Incredibly Moist Every Time : The secret is in how you mash the bananas and the perfect ratio of wet to dry ingredients. No dry, crumbly loaf here.
- Family-Approved and Kid-Friendly : My niece, who claims to hate bananas, ate two slices. She didn’t believe me when I told her what was in it.
What really sets this recipe apart is the texture. Most one-bowl banana breads turn out dense and heavy, like a brick you could use for construction. Not this one. By mashing the bananas to just the right consistency and using melted butter instead of creamed, you get a loaf that’s tender, fluffy, and almost cake-like. It’s the kind of bread that makes you close your eyes after the first bite. No exaggeration.
What Ingredients You Will Need
This recipe relies on simple, pantry-friendly ingredients that work together to create something truly special. Nothing fancy, nothing hard to find—just good basics done right.
- Ripe Bananas (3 medium, about 1 ½ cups mashed): The darker and spottier, the better. Seriously, if they’re still yellow, they’re not ready. You want bananas that are practically begging to be baked. The sugar content increases as they ripen, which means sweeter bread with more intense banana flavor.
- Melted Unsalted Butter (⅓ cup / 75g): Melted butter is what makes this recipe so easy—no waiting for it to soften. I use unsalted so I can control the salt level. If you only have salted butter, just reduce the added salt by ¼ teaspoon.
- Granulated Sugar (½ cup / 100g): Regular white sugar gives the bread structure and sweetness. You can use coconut sugar for a deeper flavor, but the texture will be slightly denser.
- Light Brown Sugar (¼ cup / 50g, packed): This adds moisture and a subtle molasses flavor that pairs beautifully with banana. Don’t skip it if you can help it—it makes a real difference.
- Large Egg (1, room temperature): The egg binds everything together and adds richness. Take it out of the fridge about 20 minutes before you start, or place it in a bowl of warm water for 5 minutes.
- Vanilla Extract (1 teaspoon): Pure vanilla is ideal, but imitation works fine too. It rounds out the flavor and makes the bread taste more complex.
- Plain Yogurt or Sour Cream (¼ cup / 60g): This is my secret ingredient. The acidity tenderizes the gluten and keeps the bread incredibly moist. Greek yogurt works perfectly, and dairy-free yogurt works too.
- All-Purpose Flour (1 ½ cups / 190g): Regular flour gives the best structure. Spoon it into your measuring cup and level it off—don’t scoop directly, or you’ll pack in too much flour and end up with dry bread.
- Baking Soda (1 teaspoon): This is the main leavening agent. Make sure it’s fresh—test it by dropping a little into vinegar; it should fizz immediately.
- Salt (½ teaspoon): Salt isn’t just for savory food. It enhances the sweetness and balances the flavors. Don’t skip it.
- Ground Cinnamon (1 teaspoon, optional but recommended): Cinnamon and banana are a classic pairing. It adds warmth without overpowering the banana flavor.
- Mix-Ins (Optional) : ½ cup chopped walnuts, pecans, or chocolate chips. I’m partial to dark chocolate chips myself—they melt into little pockets of richness throughout the loaf.
Equipment Needed
The beauty of this recipe is how little equipment it requires. Here’s what you’ll need:
- One Large Mixing Bowl : Any bowl will do, but a wider bowl makes mashing easier. I use my grandmother’s old ceramic mixing bowl—it’s seen more banana bread than most bakeries.
- A Fork or Potato Masher : A fork works perfectly for mashing the bananas. A potato masher is faster if you have one, but honestly, the fork gives you more control over the texture.
- A Whisk or Wooden Spoon : For mixing the wet and dry ingredients. A whisk helps break up any lumps in the flour.
- A 9×5-inch Loaf Pan : Standard size works best. If you use an 8×4-inch pan, your bread will be taller and可能需要 bake a few minutes longer.
- Parchment Paper : Not strictly necessary, but it makes lifting the bread out of the pan so much easier. I never skip it.
- Measuring Cups and Spoons : For accuracy. Baking is a science, even when it’s simple.
- Cooling Rack : Allows air to circulate around the bread so it cools evenly and doesn’t get soggy on the bottom.
If you don’t have a loaf pan, you can bake this in an 8×8-inch square pan—just reduce the baking time by about 10 minutes and check for doneness earlier. I’ve also made these as muffins (bake for 18-20 minutes) and as mini loaves (bake for 25-30 minutes).
Preparation Method
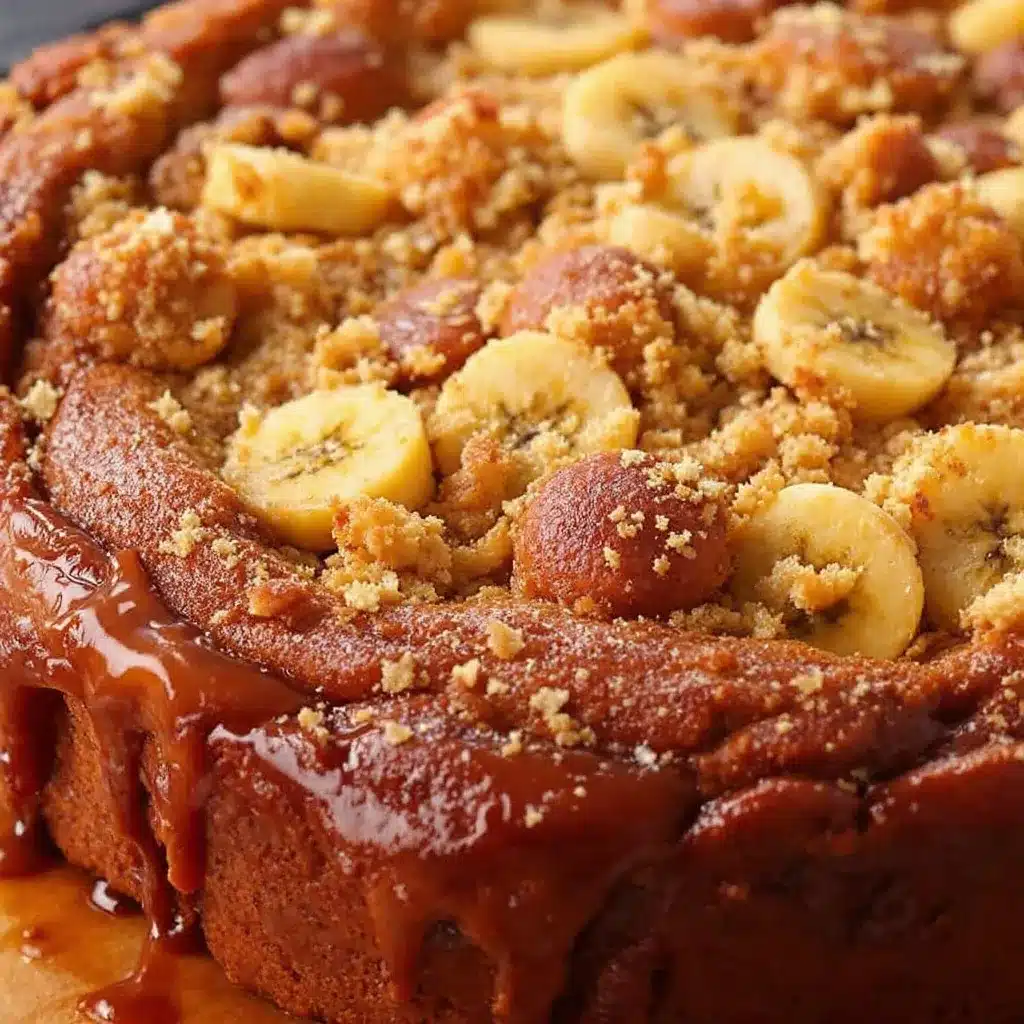
Preheat your oven to 350°F (175°C). Grease a 9×5-inch loaf pan or line it with parchment paper, leaving some overhang on the sides for easy removal.
- Mash the bananas : Peel the bananas and place them in your large mixing bowl. Mash them with a fork until they’re mostly smooth with a few small lumps remaining. You want some texture—completely smooth banana puree will make the bread denser. Aim for the consistency of a thick, chunky applesauce. This should take about 2 minutes.
- Add the wet ingredients : To the mashed bananas, add the melted butter, granulated sugar, brown sugar, egg, vanilla extract, and yogurt or sour cream. Whisk everything together until well combined and smooth. The mixture should look glossy and smell amazing already. Don’t overmix at this stage—just until everything is incorporated.
- Add the dry ingredients : Sprinkle the flour, baking soda, salt, and cinnamon (if using) over the wet mixture. Use a spatula or wooden spoon to fold everything together gently. Stir just until you no longer see streaks of flour—about 10 to 12 strokes. A few lumps are fine. Overmixing will develop the gluten and make your bread tough.
- Fold in mix-ins (optional) : If you’re adding nuts or chocolate chips, gently fold them in now. Reserve a handful to sprinkle on top for a prettier presentation.
- Pour into the pan : Scrape the batter into your prepared loaf pan and spread it evenly. Tap the pan on the counter a couple of times to release any air bubbles. If you reserved any mix-ins, sprinkle them on top now—they’ll sink slightly during baking, creating a beautiful crust.
- Bake : Place the pan in the center of the preheated oven and bake for 50 to 60 minutes. The bread is done when a toothpick inserted into the center comes out clean or with just a few moist crumbs. If the top is browning too quickly (after about 40 minutes), tent it loosely with aluminum foil.
- Cool : Let the bread cool in the pan for 10 to 15 minutes. Then lift it out using the parchment paper and transfer it to a wire rack to cool completely. I know it’s tempting to slice into it right away, but waiting allows the crumb to set. Warm banana bread is delicious, but it tends to fall apart if you cut it too soon.
Sensory cue : Your kitchen will smell like heaven about 20 minutes into baking. The top should be a deep golden brown, and the edges will pull away slightly from the pan. If you tap the top gently, it should spring back.
Cooking Tips & Techniques
After making this recipe more times than I can count, I’ve learned a few things the hard way. Here’s what I wish someone had told me:
Don’t overmix the batter. This is the number one mistake people make with quick breads. Mixing develops gluten, and too much gluten equals tough, dense bread. Stir just until the flour disappears. A few streaks are fine. Trust the process.
Check your baking soda freshness. Baking soda loses its potency over time. If your bread doesn’t rise properly, stale baking soda is usually the culprit. To test: drop ¼ teaspoon of baking soda into a small bowl of vinegar. If it fizzes vigorously, it’s good to go.
Use room temperature ingredients. Cold eggs and cold yogurt can seize the melted butter, creating lumps in your batter. Let everything sit out for about 20 minutes before you start. If you forgot to plan ahead, place the egg in a bowl of warm water for 5 minutes.
Measure flour correctly. Scooping your measuring cup directly into the flour bag can pack in up to 25% more flour than you need. Instead, spoon the flour into the cup and level it off with a knife. This simple step prevents dry, crumbly bread.
Let it cool completely. I know, I know—warm banana bread straight from the oven is one of life’s great pleasures. But cutting into it too soon will result in a gummy, fall-apart mess. Give it at least an hour on the cooling rack. The texture will be so much better.
Bake at the right temperature. 350°F is the sweet spot. Too hot, and the outside will burn before the inside is cooked. Too cool, and you’ll end up with a dense, pale loaf. An oven thermometer is a cheap investment that pays off every time.
Variations & Adaptations
This banana bread is wonderfully adaptable. Here are a few ways to make it your own:
Vegan Banana Bread : Replace the egg with a flax egg (1 tablespoon ground flaxseed mixed with 3 tablespoons water, let sit for 5 minutes). Use melted coconut oil or vegan butter instead of regular butter, and swap the yogurt for a plant-based version. The texture will be slightly denser but still delicious.
Gluten-Free Banana Bread : Substitute the all-purpose flour with a 1:1 gluten-free baking flour blend that contains xanthan gum. I’ve had great results with both Bob’s Red Mill and King Arthur brands. Don’t overmix, and let the batter rest for 10 minutes before baking to allow the flours to hydrate.
Chocolate Chip Banana Bread : Fold in ½ cup of semi-sweet or dark chocolate chips. For an extra touch, drizzle melted chocolate over the cooled loaf. This version disappears fastest in my house—especially when I pair it with a batch of 5-ingredient pesto pasta for a sweet-and-savory dinner combo.
Nutty Banana Bread : Add ½ cup of toasted walnuts or pecans. Toasting the nuts first (5 minutes in a 350°F oven) brings out their flavor and keeps them crunchy. This version is wonderful crumbled over a bowl of loaded baked potato soup for a cozy fall meal.
Spiced Banana Bread : Add ½ teaspoon of nutmeg, ¼ teaspoon of ground ginger, and a pinch of cloves along with the cinnamon. This gives the bread a warm, almost chai-like flavor that’s perfect for cooler months.
Banana Nut Muffins : Divide the batter among 12 lined muffin cups and bake at 350°F for 18-22 minutes. They’re perfect for grab-and-go breakfasts, especially alongside a batch of egg muffins for meal prep for a complete morning spread.
Serving & Storage Suggestions
This banana bread is wonderful served warm or at room temperature. For the ultimate experience, toast a slice and spread it with a generous pat of salted butter. The contrast of the warm, tender crumb with the cold butter is absolutely unbeatable. A drizzle of honey or a dollop of Greek yogurt also works beautifully.
For a more decadent treat, serve it with a scoop of vanilla ice cream and a drizzle of caramel sauce. It’s also fantastic sliced thick and used for French toast—trust me on this one.
Storage : Wrap the cooled loaf tightly in plastic wrap or aluminum foil and store at room temperature for up to 4 days. The bread actually gets more moist on the second day as the flavors meld together. If you live in a humid climate, store it in an airtight container instead to prevent mold.
Freezer Instructions : Banana bread freezes beautifully. Wrap the cooled loaf (whole or sliced) tightly in plastic wrap, then in a layer of aluminum foil, and place in a freezer-safe bag. It will keep for up to 3 months. To thaw, leave it at room temperature for a few hours or pop individual slices in the toaster or microwave.
Reheating : For that just-baked experience, warm slices in a 300°F oven for 5-7 minutes. The toaster works in a pinch, but watch carefully so the sugar doesn’t burn. A 15-second zap in the microwave works too, though the texture won’t be quite as good.
Nutritional Information & Benefits
Here’s the approximate nutritional breakdown for one slice (assuming 10 slices per loaf, without mix-ins):
- Calories: 210
- Total Fat: 8g
- Saturated Fat: 5g
- Cholesterol: 35mg
- Sodium: 220mg
- Total Carbohydrates: 33g
- Dietary Fiber: 1g
- Sugars: 17g
- Protein: 3g
Bananas are a fantastic source of potassium, which supports heart health and muscle function. They also contain vitamin B6, vitamin C, and fiber. The yogurt or sour cream adds a bit of calcium and probiotics (if using yogurt). This isn’t health food, but it’s a wholesome homemade treat made with real ingredients—and that counts for something.
For a lower-sugar version, you can reduce the granulated sugar to ⅓ cup and use very ripe bananas (which are naturally sweeter). For a lower-fat version, substitute the butter with applesauce—though the texture will be more cake-like and less tender.
Conclusion
This easy one-bowl banana bread is the recipe I come back to again and again. It’s the one I make when I’m tired, when I’m happy, when I need comfort, or when I just want my kitchen to smell amazing. It’s simple enough for a beginner baker but good enough to impress anyone who takes a bite.
I love that it uses up bananas that would otherwise go to waste. I love that it doesn’t require any special equipment or skills. And I really love that it makes my house feel like home the minute it goes into the oven. This is the kind of recipe that becomes a family tradition—the one your kids will remember making with you, the one you’ll bring to potlucks and brunches, the one that always gets asked for.
So go ahead—grab those spotty bananas on your counter, pull out one bowl and a fork, and make this bread. And when you do, come back and tell me how it turned out. Did you add chocolate chips? Walnuts? Did you eat half the loaf before it even cooled? (No judgment here—I’ve done it too.) Leave a comment below or tag me in your photos. I can’t wait to see your beautiful loaves!
Happy baking, friends. You’ve got this.
Frequently Asked Questions
Can I use frozen bananas for this recipe?
Absolutely! Thaw them completely first, then drain off any excess liquid before mashing. Frozen bananas tend to be even sweeter and more flavorful than fresh ones, so your bread will be extra delicious. Just don’t skip the draining step, or your batter will be too wet.
Why did my banana bread sink in the middle?
This usually happens for one of three reasons: the batter was overmixed (which creates too much gluten), the oven temperature was too low (causing the bread to rise slowly and then collapse), or the bread was underbaked. Make sure your oven is properly preheated to 350°F and test with a toothpick before removing from the oven.
Can I make this recipe without eggs?
Yes! Use a flax egg (1 tablespoon ground flaxseed mixed with 3 tablespoons water, let sit for 5 minutes until gel-like) or a commercial egg replacer. The texture will be slightly denser, but it will still be delicious. You can also try using ¼ cup of applesauce as an egg substitute.
How do I know when the banana bread is done baking?
Insert a toothpick or thin knife into the center of the loaf. If it comes out clean or with just a few moist crumbs (not wet batter), it’s done. The top should be golden brown and spring back when lightly pressed. The edges will also pull away slightly from the sides of the pan.
Can I double this recipe?
Absolutely! Double all the ingredients and bake in two loaf pans. You can also bake it in a larger pan, but you’ll need to adjust the baking time. For two loaves, bake at 350°F for 50-60 minutes, checking for doneness at the 50-minute mark. Just don’t try to bake it all in one pan—it won’t cook through evenly.
Pin This Recipe!
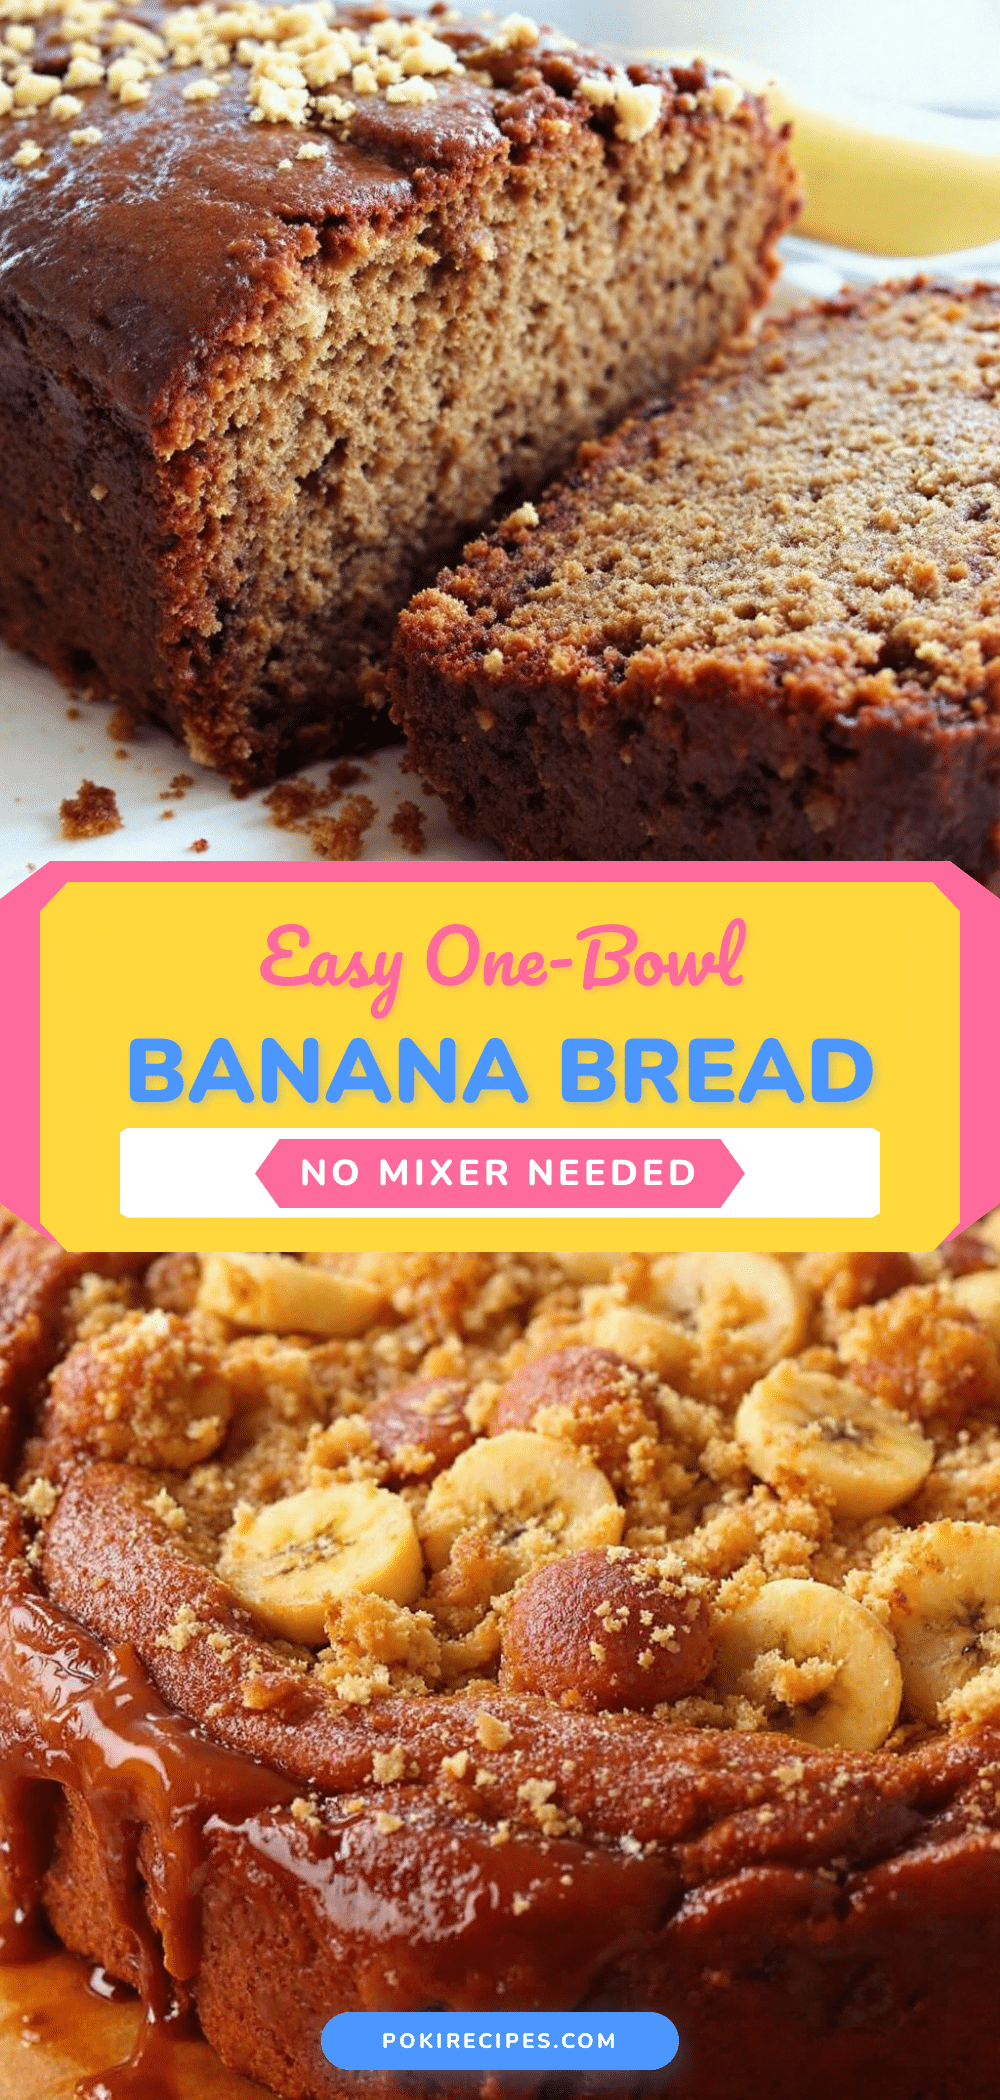
Easy One-Bowl Banana Bread Recipe: Perfect No-Mixer Dessert

This easy one-bowl banana bread requires no mixer and comes together in about 10 minutes. It’s incredibly moist, tender, and uses up those overripe bananas on your counter.
- Prep Time: 10 minutes
- Cook Time: 55 minutes
- Total Time: 1 hour 5 minutes
- Yield: 10 servings 1x
- Category: Dessert
- Cuisine: American
Ingredients
- 3 medium ripe bananas (about 1 ½ cups mashed)
- ⅓ cup (75g) unsalted butter, melted
- ½ cup (100g) granulated sugar
- ¼ cup (50g) light brown sugar, packed
- 1 large egg, room temperature
- 1 teaspoon vanilla extract
- ¼ cup (60g) plain yogurt or sour cream
- 1 ½ cups (190g) all-purpose flour
- 1 teaspoon baking soda
- ½ teaspoon salt
- 1 teaspoon ground cinnamon (optional but recommended)
- ½ cup chopped walnuts, pecans, or chocolate chips (optional)
Instructions
- Preheat your oven to 350°F (175°C). Grease a 9×5-inch loaf pan or line it with parchment paper, leaving some overhang on the sides for easy removal.
- Mash the bananas: Peel the bananas and place them in your large mixing bowl. Mash them with a fork until they’re mostly smooth with a few small lumps remaining. Aim for the consistency of a thick, chunky applesauce. This should take about 2 minutes.
- Add the wet ingredients: To the mashed bananas, add the melted butter, granulated sugar, brown sugar, egg, vanilla extract, and yogurt or sour cream. Whisk everything together until well combined and smooth. Don’t overmix at this stage—just until everything is incorporated.
- Add the dry ingredients: Sprinkle the flour, baking soda, salt, and cinnamon (if using) over the wet mixture. Use a spatula or wooden spoon to fold everything together gently. Stir just until you no longer see streaks of flour—about 10 to 12 strokes. A few lumps are fine.
- Fold in mix-ins (optional): If you’re adding nuts or chocolate chips, gently fold them in now. Reserve a handful to sprinkle on top for a prettier presentation.
- Pour into the pan: Scrape the batter into your prepared loaf pan and spread it evenly. Tap the pan on the counter a couple of times to release any air bubbles. If you reserved any mix-ins, sprinkle them on top now.
- Bake: Place the pan in the center of the preheated oven and bake for 50 to 60 minutes. The bread is done when a toothpick inserted into the center comes out clean or with just a few moist crumbs. If the top is browning too quickly (after about 40 minutes), tent it loosely with aluminum foil.
- Cool: Let the bread cool in the pan for 10 to 15 minutes. Then lift it out using the parchment paper and transfer it to a wire rack to cool completely before slicing.
Notes
Don’t overmix the batter—stir just until the flour disappears. Use room temperature ingredients to prevent lumps. Measure flour correctly by spooning it into the cup and leveling off. Let the bread cool completely before slicing for best texture. For vegan version, use a flax egg, melted coconut oil or vegan butter, and plant-based yogurt. For gluten-free, use a 1:1 gluten-free baking flour blend with xanthan gum.
Nutrition
- Serving Size: 1 slice
- Calories: 210
- Sugar: 17
- Sodium: 220
- Fat: 8
- Saturated Fat: 5
- Carbohydrates: 33
- Fiber: 1
- Protein: 3
Keywords: banana bread, easy banana bread, one bowl banana bread, no mixer banana bread, moist banana bread, quick bread, overripe bananas