“Are you sure you want to use royal icing on cookie pops?” my friend asked, raising an eyebrow as I pulled out piping bags and a dozen tiny star tips. Honestly, I wasn’t sure either. I’d never really worked with royal icing before, but with graduation season sneaking up, I figured it was time to try something new. The idea of creating perfect graduation cookie pops with royal icing decorations started as a last-minute rescue mission—because, let’s face it, nothing says celebration like something sweet on a stick.
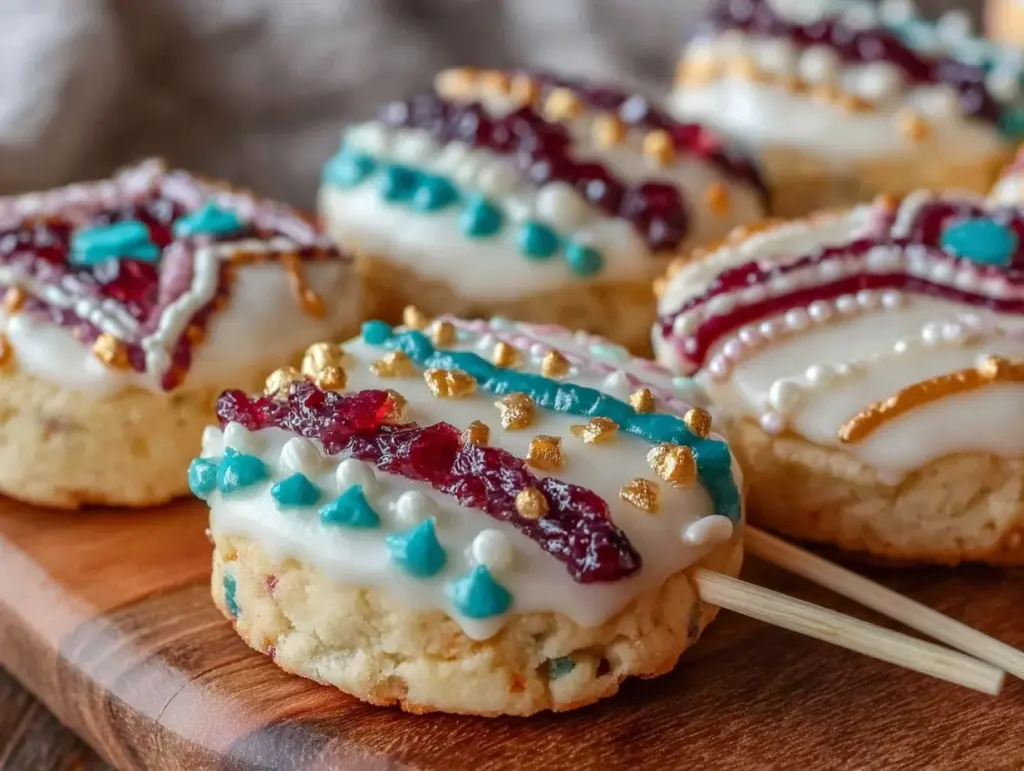
It all began on a hectic Saturday afternoon, juggling last-minute party prep and half-hearted attempts at tidying up the kitchen. I grabbed my trusty sugar cookie recipe, dusted off the royal icing ingredients, and dove in with a mix of skepticism and hope. The first batch was a little messy—some drips, a few cracked icings—but by the third try, those crisp, colorful cookie pops looked like mini works of art. The best part? They tasted as good as they looked. That quiet moment, watching the icing dry in the sunlight by the window, made me realize this wasn’t just a simple treat; it was a way to freeze a moment of joy for the graduates and their proud families.
These cookie pops became my go-to for celebrations, a sweet little project that turns simple ingredients into smiles. If you’ve ever wondered how to make graduation day a bit sweeter with homemade charm, this recipe might just be the answer you didn’t know you needed.
Why You’ll Love This Recipe
After testing and tweaking this recipe multiple times (I might have made these cookie pops more than I care to admit in one week alone), I can confidently say it hits all the right notes for graduation treats. Here’s why these perfect graduation cookie pops with royal icing decorations will win you over:
- Quick & Easy: The cookie dough comes together in under 20 minutes, and the royal icing dries fast enough to keep the project moving without long waits.
- Simple Ingredients: No need for fancy or hard-to-find items—just pantry staples and a few basics for the icing.
- Perfect for Graduation Parties: These cookie pops double as fun snacks and adorable decor, making them ideal for celebrations or gift bags.
- Crowd-Pleaser: Kids, teens, and adults all rave about the buttery cookie paired with the sweet, smooth icing.
- Unbelievably Delicious: The royal icing isn’t just decorative—it adds a light crunch and a burst of sweetness that complements the cookie perfectly.
What sets this recipe apart? It’s all in the details—the slightly crisp edges of the sugar cookie, the balanced sweetness of the royal icing, and the neat, vibrant decorations that you can customize for your graduate’s school colors or mascot. Plus, I’ve included easy methods to get that smooth, professional-looking finish without the fuss.
This recipe isn’t about perfection; it’s about creating something joyful and memorable that anyone can make. And honestly, once you nail these cookie pops, you might find yourself reaching for royal icing to decorate all sorts of treats (you can even try something sweet like my peanut butter blossoms for a fun twist).
What Ingredients You Will Need
This recipe uses simple, wholesome ingredients to deliver bold flavor and satisfying texture without the fuss. Most are pantry staples, and substitutions are easy if you need to accommodate dietary preferences or allergies.
- For the Sugar Cookie Dough:
- 2 ¾ cups (345g) all-purpose flour (or almond flour for gluten-free)
- 1 teaspoon baking powder
- ½ teaspoon salt
- 1 cup (227g) unsalted butter, softened (I like using Kerrygold for richness)
- 1 cup (200g) granulated sugar
- 1 large egg, room temperature
- 1 teaspoon pure vanilla extract
- 1 tablespoon milk (use dairy-free if needed)
- For the Royal Icing:
- 3 cups (360g) powdered sugar, sifted
- 2 tablespoons meringue powder (available at most baking stores)
- 5-6 tablespoons warm water
- Food coloring gels (gel colors like AmeriColor work best for vibrant hues)
- Optional: ½ teaspoon vanilla or almond extract for flavor
- Decoration Supplies:
- Graduation-themed sprinkles or edible glitter
- Cookie pop sticks (wooden or paper)
Pro tip: For the best texture in your sugar cookies, measure your flour by spooning it into the cup and leveling with a knife rather than scooping directly. This keeps your dough tender, not dense.
Substitutions: If you’re in a pinch, swap meringue powder for 2 egg whites, but be cautious about food safety. Also, you can swap the vanilla extract in the dough for lemon zest for a fresh twist that pairs beautifully with the royal icing.
Equipment Needed
- Mixing bowls (medium and large sizes)
- Electric mixer or stand mixer (hand mixers work fine too)
- Measuring cups and spoons
- Rolling pin (a silicone mat helps prevent sticking)
- Graduation-themed cookie cutters or basic shapes like circles and stars
- Baking sheets lined with parchment paper or silicone mats
- Cooling rack to let cookies cool evenly
- Piping bags and tips (small round tips like #1 or #2 for outlining and flooding)
- Food-safe paintbrush for icing details (optional but handy)
If you don’t have piping bags, disposable plastic sandwich bags with a tiny corner snipped off work surprisingly well. For budget-friendly baking, silicone mats last forever and save on parchment paper waste.
Personally, I’ve found that having a good set of small piping tips makes a world of difference—especially when you want those crisp lines on your royal icing decorations. Take your time cleaning and drying them well after each use to avoid clogs.
Preparation Method
- Make the Sugar Cookie Dough: In a medium bowl, whisk together the flour, baking powder, and salt. In a large bowl, beat the softened butter and sugar with an electric mixer on medium speed until fluffy, about 3-4 minutes. Add the egg and vanilla extract; beat until combined. Gradually add the dry ingredients, alternating with the milk, mixing on low speed just until blended. Don’t overmix or your cookies will be tough. (Prep time: 15 minutes)
- Chill the Dough: Shape dough into a ball, wrap in plastic wrap, and chill in the refrigerator for at least 1 hour. This step prevents spreading and helps maintain cookie shape. (Tip: You can chill overnight if prepping ahead.)
- Roll and Cut Cookies: Preheat oven to 350°F (175°C). On a floured surface (or silicone mat), roll dough to about ¼ inch (6mm) thickness. Use your graduation-themed cookie cutters to cut shapes. Carefully insert cookie pop sticks halfway into the dough shapes, pressing gently but firmly so they stay put during baking. (If sticks feel loose, slightly flatten the base of each stick with a knife.)
- Bake: Transfer cookies to baking sheets lined with parchment paper, spacing them about 2 inches (5cm) apart. Bake for 10-12 minutes or until edges just begin to turn golden. Watch closely—overbaking dries the cookie. Remove from oven and let cookies cool completely on racks before decorating.
- Prepare Royal Icing: In a clean bowl, mix powdered sugar and meringue powder. Add 5 tablespoons warm water and beat on high for 7-10 minutes until stiff peaks form. Adjust consistency with a few drops more water for flooding (thin icing) or less for outlining (thicker icing). Divide icing into smaller bowls and add food coloring as desired.
- Decorate: Transfer icing to piping bags fitted with small round tips. Outline each cookie pop with thicker icing, then flood the center with thinner icing. Use a toothpick or scribe tool to gently spread icing to edges and pop air bubbles. Add sprinkles or details before icing sets. Let dry completely (4-6 hours or overnight) at room temperature—don’t refrigerate, or icing may sweat.
- Final Touches: Once dry, you can add additional details with contrasting icing colors or edible markers for names and messages. Store decorated cookie pops in an airtight container separated by parchment paper.
Remember, royal icing dries hard, so be gentle when handling the pops after decoration. If you’re new to piping, practice on parchment paper first to get comfortable with pressure and flow.
Cooking Tips & Techniques
Working with royal icing can feel intimidating, but a few tricks make all the difference. I learned the hard way that rushing the drying process leads to cracks and smudges—patience is key.
- Consistency Matters: For outlining, your icing should hold its shape on a spoon. For flooding, it should flow smoothly but not be runny. Add water slowly to avoid making it too thin.
- Use a Scribe Tool or Toothpick: Helps pop air bubbles and smooth out icing edges during flooding.
- Keep Icing Covered: Royal icing dries out quickly. When not in use, cover with a damp cloth or plastic wrap pressed directly on the surface.
- Practice Piping Pressure: Apply gentle, steady pressure on the bag. Too hard, and your lines get messy; too soft, and the flow stops.
- Don’t Refrigerate Decorated Cookies: Refrigeration can cause condensation, ruining your hard work. Store at room temperature instead.
Early on, I tried to speed things up by using thicker icing for both outlining and flooding. Big mistake—textured, uneven surfaces that took forever to look decent. Now, I keep separate consistencies ready and it feels like a total game-changer. Also, I learned to plan my decorating in layers, letting each color dry before adding another to avoid bleed.
Variations & Adaptations
One of the best things about this recipe is how easy it is to make your own. Here are a few ways I’ve switched things up:
- Dietary Options: Use gluten-free flour blends to make the cookies safe for gluten-sensitive guests. Swap butter for dairy-free margarine and milk for almond or oat milk to make them vegan-friendly.
- Seasonal Themes: Instead of graduation, adapt the cookie shapes and colors for holidays or birthdays. I once made star-shaped cookie pops with blue and silver icing for a winter party—super fun!
- Flavor Twists: Add lemon zest or almond extract to the cookie dough for extra flavor. For the icing, a drop of peppermint or orange extract can add a surprising twist.
- Alternative Decorating: If royal icing feels intimidating, try melting chocolate for dipping and add sprinkles while wet. It’s less precise but still festive.
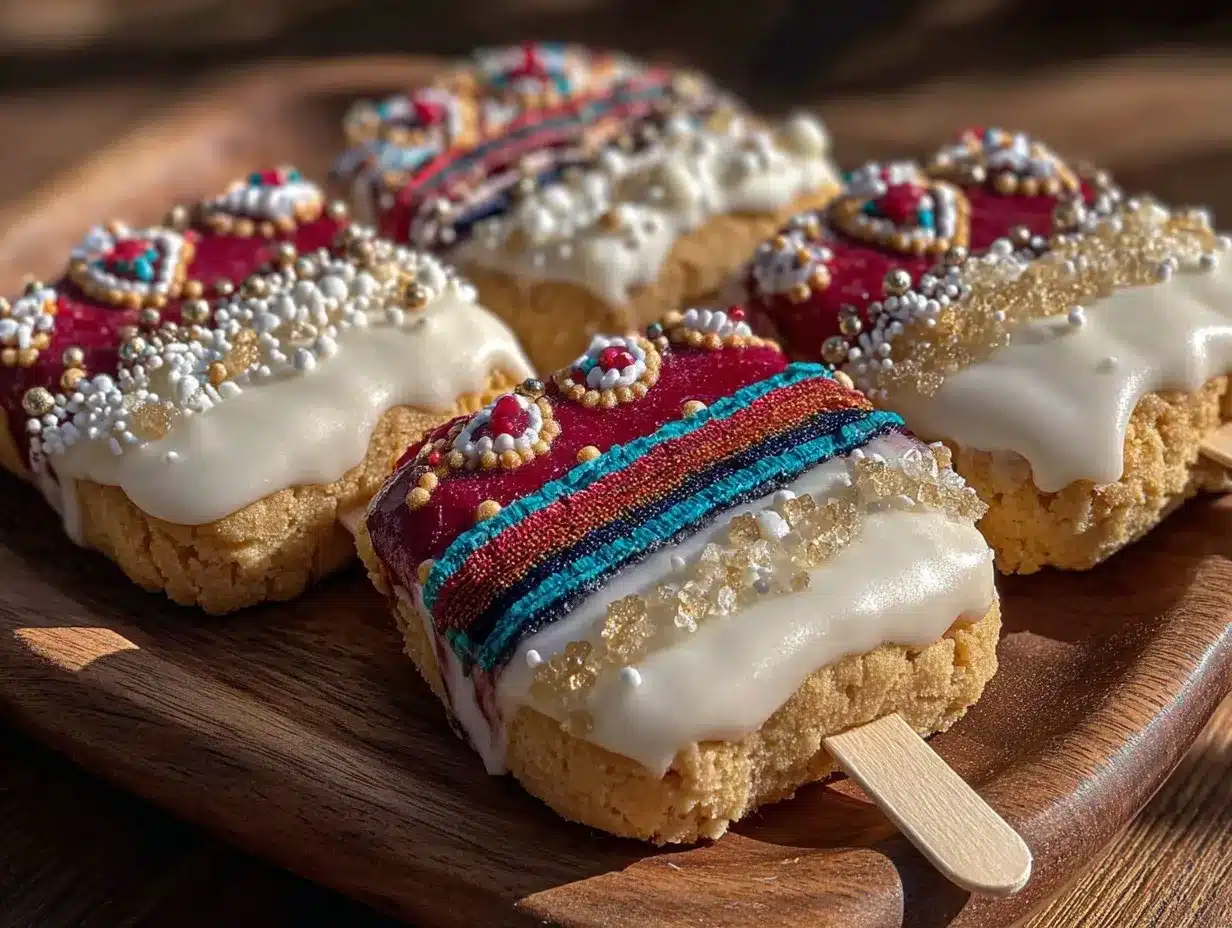
Personally, I love experimenting with different color palettes and adding edible gold dust for a touch of sparkle. It’s a small thing but makes the cookie pops feel extra special.
Serving & Storage Suggestions
These cookie pops are best served at room temperature to enjoy the crisp texture of the sugar cookie and the delicate crunch of the royal icing. Arrange them standing up in a decorative vase or box filled with tissue paper for a charming presentation that doubles as party decor.
They pair beautifully with simple drinks like lemonade or iced tea, and if you’re planning a full spread, consider complementing the sweet with savory bites like a fresh spring vegetable quiche or a vibrant pasta salad (I highly recommend trying the ultimate high-protein pasta salad for a crowd-pleasing side).
Store leftover cookie pops in an airtight container layered with parchment paper to prevent sticking. They keep well for up to a week at room temperature. For longer storage, freeze undecorated cookies and decorate after thawing to maintain freshness.
Reheating isn’t recommended, but the flavor tends to deepen after sitting a day or two, making them even tastier as they rest.
Nutritional Information & Benefits
Each cookie pop roughly contains:
| Nutrient | Amount (per pop) |
|---|---|
| Calories | 150-180 |
| Fat | 7g |
| Carbohydrates | 22g |
| Protein | 1g |
While these are definitely a treat, the ingredients include wholesome butter and real vanilla, which provide natural flavors without artificial nonsense. Using meringue powder instead of raw egg whites makes the royal icing safer and more shelf-stable.
If you’re mindful of sugar intake, consider making smaller cookie pops or pairing them with a protein-packed breakfast like fluffy cottage cheese protein pancakes earlier in the day to balance your nutrition.
Conclusion
Perfect graduation cookie pops with royal icing decorations might seem like a lot of work at first, but once you get the hang of it, they’re a rewarding way to bring sweetness and personality to your celebrations. They’re customizable, fun to make, and honestly, a little addictive.
I love how these cookie pops let me celebrate milestones with a personal touch—something homemade that feels thoughtful without being complicated. Plus, they’re a great excuse to practice decorating skills that come in handy for all kinds of treats.
If you give this recipe a try, I’d love to hear how your cookie pops turned out or what creative designs you came up with. Sharing ideas keeps the fun going and helps everyone bake a little better.
Here’s to many more celebrations filled with sweet moments and delicious memories!
FAQs
Can I make these cookie pops ahead of time?
Yes! You can bake and freeze the undecorated cookies for up to a month. Decorate them after thawing for the best results.
What if I don’t have meringue powder for royal icing?
You can substitute 2 egg whites, but be cautious about using raw eggs due to food safety. Meringue powder is recommended for a safer and more reliable icing.
How do I prevent the cookie pops from breaking on the stick?
Press the stick halfway into the dough before baking and avoid using too thin cookies. Let cookies cool completely before decorating to reduce breakage.
Can I use other shapes besides graduation caps?
Absolutely! Stars, diplomas, or even simple circles and squares work well and can be decorated to fit your theme.
How long does royal icing take to dry?
It usually takes 4-6 hours at room temperature to dry hard. For best results, let them sit overnight before handling or packaging.
Pin This Recipe!
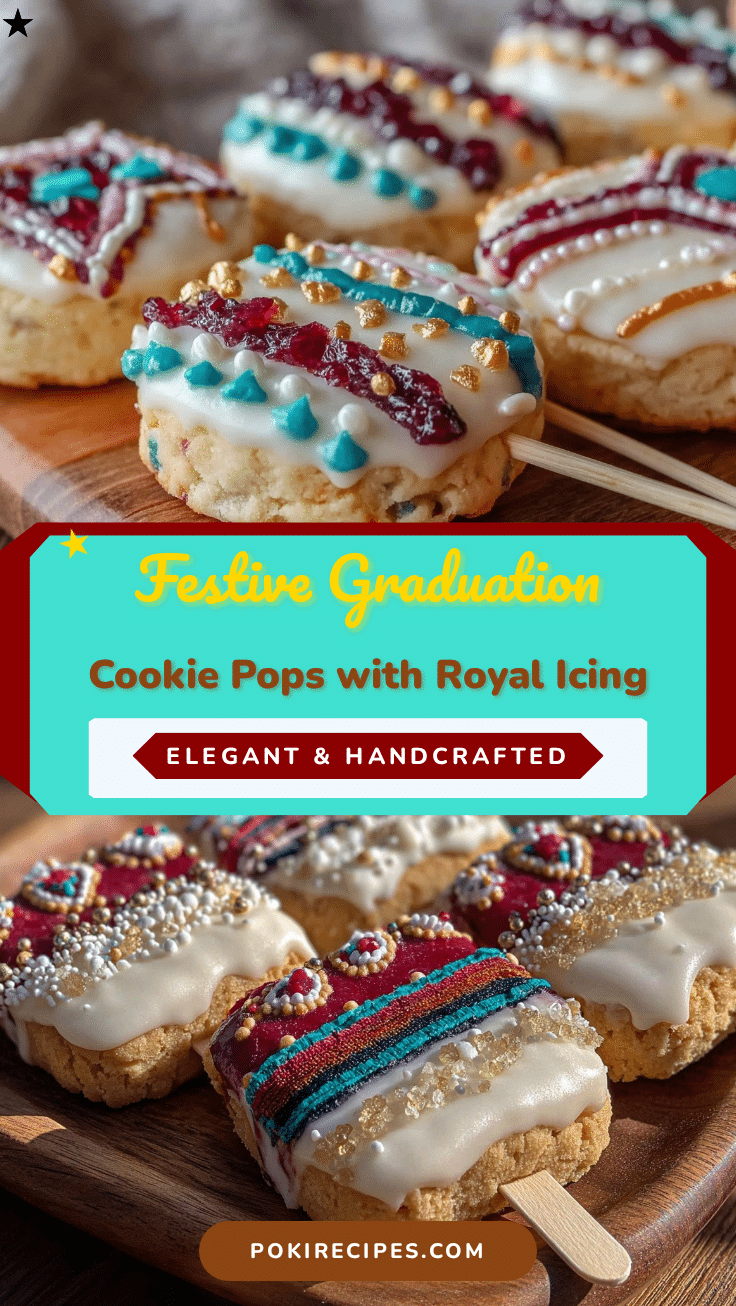
Perfect Graduation Cookie Pops Recipe Easy Homemade Royal Icing Tutorial

Celebrate graduation with these perfect cookie pops decorated with homemade royal icing. Easy to make, customizable, and delicious treats that double as party decor.
- Prep Time: 15 minutes
- Cook Time: 10-12 minutes
- Total Time: 1 hour 30 minutes
- Yield: 12 cookie pops 1x
- Category: Dessert
- Cuisine: American
Ingredients
- 2 ¾ cups (345g) all-purpose flour (or almond flour for gluten-free)
- 1 teaspoon baking powder
- ½ teaspoon salt
- 1 cup (227g) unsalted butter, softened
- 1 cup (200g) granulated sugar
- 1 large egg, room temperature
- 1 teaspoon pure vanilla extract
- 1 tablespoon milk (use dairy-free if needed)
- 3 cups (360g) powdered sugar, sifted
- 2 tablespoons meringue powder
- 5–6 tablespoons warm water
- Food coloring gels
- Optional: ½ teaspoon vanilla or almond extract for flavor
- Graduation-themed sprinkles or edible glitter
- Cookie pop sticks (wooden or paper)
Instructions
- Make the Sugar Cookie Dough: In a medium bowl, whisk together the flour, baking powder, and salt. In a large bowl, beat the softened butter and sugar with an electric mixer on medium speed until fluffy, about 3-4 minutes. Add the egg and vanilla extract; beat until combined. Gradually add the dry ingredients, alternating with the milk, mixing on low speed just until blended. Don’t overmix.
- Chill the Dough: Shape dough into a ball, wrap in plastic wrap, and chill in the refrigerator for at least 1 hour.
- Roll and Cut Cookies: Preheat oven to 350°F (175°C). On a floured surface or silicone mat, roll dough to about ¼ inch (6mm) thickness. Use graduation-themed cookie cutters to cut shapes. Insert cookie pop sticks halfway into the dough shapes, pressing gently but firmly.
- Bake: Transfer cookies to baking sheets lined with parchment paper, spacing about 2 inches apart. Bake for 10-12 minutes or until edges just begin to turn golden. Let cookies cool completely on racks before decorating.
- Prepare Royal Icing: In a clean bowl, mix powdered sugar and meringue powder. Add 5 tablespoons warm water and beat on high for 7-10 minutes until stiff peaks form. Adjust consistency with more or less water for flooding or outlining. Divide icing and add food coloring as desired.
- Decorate: Transfer icing to piping bags fitted with small round tips. Outline each cookie pop with thicker icing, then flood the center with thinner icing. Use a toothpick or scribe tool to spread icing and pop air bubbles. Add sprinkles before icing sets. Let dry completely (4-6 hours or overnight) at room temperature.
- Final Touches: Add additional details with contrasting icing colors or edible markers once dry. Store decorated cookie pops in an airtight container separated by parchment paper.
Notes
Measure flour by spooning into cup and leveling with a knife for tender cookies. Chill dough at least 1 hour to prevent spreading. Use separate consistencies of royal icing for outlining and flooding. Let icing dry at room temperature for 4-6 hours or overnight. Avoid refrigerating decorated cookies to prevent sweating. Practice piping on parchment paper if new to royal icing.
Nutrition
- Serving Size: 1 cookie pop
- Calories: 150180
- Fat: 7
- Carbohydrates: 22
- Protein: 1
Keywords: graduation cookie pops, royal icing, sugar cookies, party treats, homemade cookie pops, easy cookie recipe, celebration desserts


