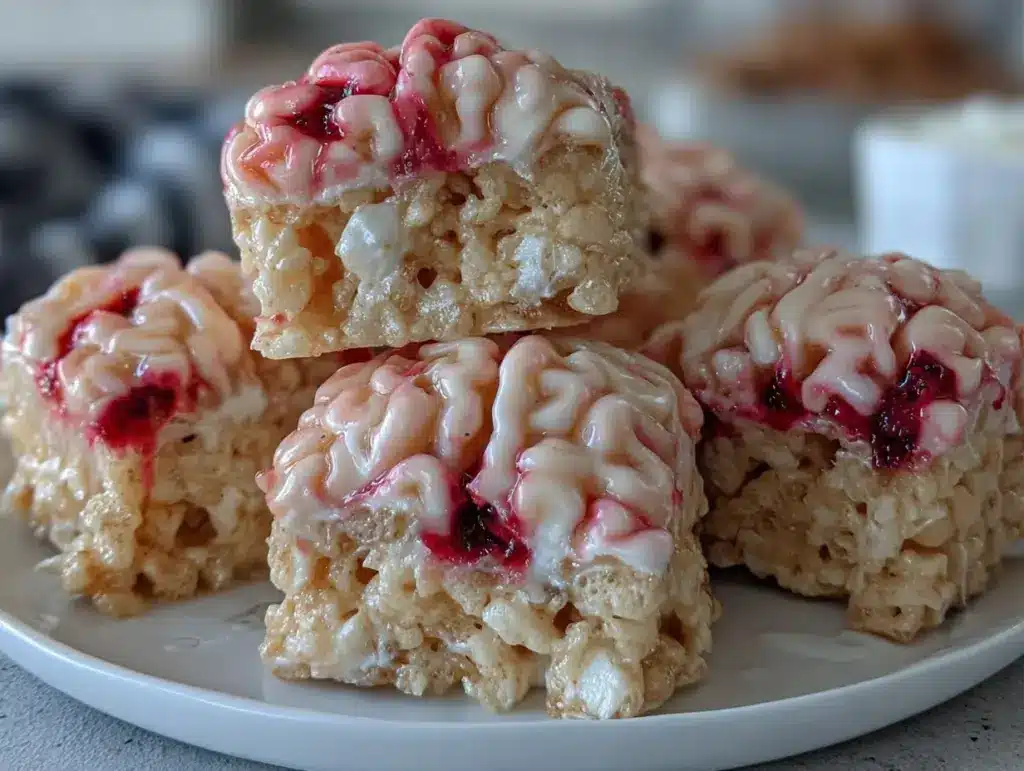
Imagine walking into a dimly lit Halloween party, surrounded by eerie decorations, when suddenly you spot a platter of realistic-looking brains. But wait—these aren’t gruesome; they’re gooey, marshmallowy, and perfectly sweet! That’s the magic of Spooky Marshmallow Rice Krispies Brains. These creepy treats are not just visually striking but also incredibly delicious and fun to make. Whether you’re hosting a Halloween bash or just want to surprise your kids, this recipe is easy to whip up and guaranteed to be the talk of the night.
This recipe came to life when I needed a show-stopping Halloween dessert that was spooky yet kid-friendly. I wanted something simple enough to make with my little ones but impressive enough to wow my party guests. After a few trials (and some hilarious fails), I finally landed on this delightfully creepy creation. Trust me, Spooky Marshmallow Rice Krispies Brains will become a staple for your Halloween celebrations!
Why You’ll Love This Recipe
Looking for Halloween treats that stand out? Spooky Marshmallow Rice Krispies Brains tick all the boxes. Here’s why:
- Quick & Easy: You can whip these up in under 30 minutes—perfect for last-minute party prep or when you need a fun activity with kids.
- Simple Ingredients: Made with pantry staples like marshmallows, butter, and Rice Krispies cereal. You probably already have most of them!
- Kid-Friendly: The bright red coloring and spooky design make these treats irresistible for little ones. Plus, they’re easy to eat and not too messy.
- Perfect for Halloween Parties: These brains are creepy, cute, and oh-so-festive—perfect for a Halloween dessert table.
- Customizable: You can easily tweak the recipe to suit your taste or dietary needs. Gluten-free, vegan, or even chocolate-flavored brains? Yes, please!
- Deliciously Gooey: The combination of marshmallows and butter creates a soft, sticky texture that pairs perfectly with the crunch of Rice Krispies.
What sets this recipe apart is the fun factor. It’s not just about making a dessert—it’s about creating something that makes people smile (or gasp in mock horror) the moment they see it. These treats are guaranteed to be a conversation starter at any spooky celebration!
What Ingredients You Will Need
This recipe uses simple, readily available ingredients to achieve its spooky yet delicious results. Here’s what you’ll need:
- Unsalted butter: About 3 tablespoons, melted. This gives the Rice Krispies a rich, buttery base.
- Mini marshmallows: 10 ounces (about 6 cups). These are the key to that gooey, sticky texture.
- Rice Krispies cereal: 6 cups. The crunch factor that makes these brains so satisfying!
- Red food coloring: You’ll need a few drops to create that eerie, brain-like hue.
- White chocolate chips: Optional, for a drizzle or decorative effect.
Optional ingredients for variations:
- Green food coloring: For zombie brains!
- Dark chocolate: Melt and drizzle for a “spooky blood vein” look.
- Candy eyes: To add an extra creepy touch to your brains.
Pro tip: Use fresh marshmallows for the best gooey texture—stale ones won’t melt as smoothly.
Equipment Needed
You don’t need fancy tools to make Spooky Marshmallow Rice Krispies Brains. Here’s what I recommend:
- Large saucepan: Perfect for melting butter and marshmallows evenly.
- Wooden spoon or silicone spatula: Great for mixing the sticky marshmallow mixture without making a mess.
- Mixing bowls: For combining the colored marshmallow mix with the cereal.
- Disposable gloves: These are super handy for shaping the sticky brains without making a mess of your hands.
- Wax paper or parchment paper: Helps prevent sticking when shaping and cooling the brains.
If you don’t have disposable gloves, you can grease your hands lightly with butter or cooking spray—it works like a charm!
Preparation Method
- In a large saucepan, melt the butter over low heat. Once melted, add the mini marshmallows and stir continuously until they’re completely melted and smooth.
- Remove the pan from heat and add a few drops of red food coloring to the melted marshmallows. Stir until the color is evenly distributed. Add more drops if you want a deeper, blood-red hue.
- Pour the Rice Krispies cereal into the saucepan with the melted marshmallows. Mix gently until the cereal is fully coated with the sticky red mixture. Be careful not to crush the cereal!
- Let the mixture cool slightly—just enough to handle without burning your hands.
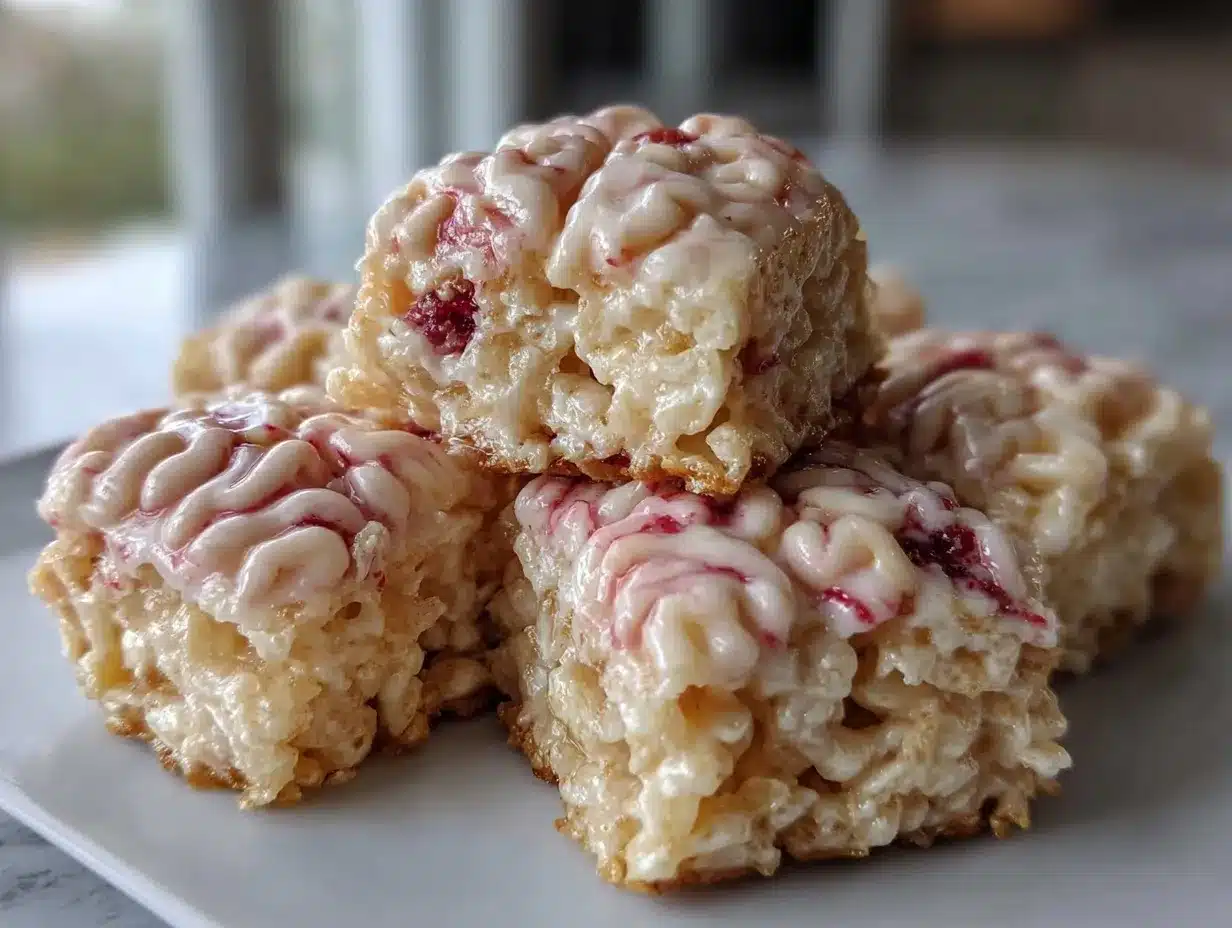
- Put on disposable gloves or grease your hands with butter. Scoop small handfuls of the mixture and shape them into brain-like mounds. Use your fingers to create grooves and indentations to mimic the texture of real brains.
- Place the shaped brains onto a sheet of wax paper or parchment paper to set. Let them cool completely (about 10-15 minutes).
- If desired, melt white chocolate chips and drizzle over the brains for added detail. You can also use dark chocolate to create spooky veins or candy eyes for an extra creepy effect.
And there you have it—your spooky, marshmallow-y brains are ready for the party!
Cooking Tips & Techniques
Making Spooky Marshmallow Rice Krispies Brains is simple, but these tips will ensure yours turn out perfect:
- Don’t rush the melting: Melt the butter and marshmallows over low heat to avoid burning. Patience is key to that smooth, gooey texture.
- Use fresh marshmallows: They melt much better than older ones and give a smoother result.
- Cool slightly before shaping: The mixture will be too hot to handle right off the stove. Let it cool briefly to avoid burns.
- Get creative with shaping: Don’t worry about making perfect brains—imperfections add to the spooky effect! Use a butter knife or your fingers to create ridges and folds.
- Work quickly: The mixture can harden as it cools, so shape the brains as soon as it’s cool enough to handle.
Pro tip: If the mixture starts sticking too much, lightly grease your hands or gloves with cooking spray or butter for smoother shaping.
Variations & Adaptations
Here are some fun ways to take your Spooky Marshmallow Rice Krispies Brains to the next level:
- Zombie Brains: Swap the red food coloring for green to make ghoulish zombie brains.
- Chocolate Version: Add 1/4 cup cocoa powder to the melted marshmallows for chocolate-flavored brains. Drizzle with white chocolate for contrast.
- Gluten-Free Option: Use a certified gluten-free rice cereal instead of regular Rice Krispies.
- Vegan-Friendly: Substitute regular marshmallows with vegan marshmallows and use dairy-free butter and chocolate.
- Extra Crunch: Add crushed pretzels or chopped nuts to the mixture for a fun texture twist.
Feel free to experiment with colors and decorations to match your Halloween theme. You can even create a platter of brains in different sizes and shades!
Serving & Storage Suggestions
Spooky Marshmallow Rice Krispies Brains are best served at room temperature. Arrange them on a black or red platter for maximum spooky impact, or scatter candy eyeballs and gummy worms around them for an extra Halloween vibe.
Pair these creepy treats with a glass of warm apple cider or a hot chocolate for a cozy contrast to their eerie appearance.
To store leftovers, place the brains in an airtight container. They’ll stay fresh for up to 3 days at room temperature. If you want to keep them longer, wrap each brain individually in plastic wrap and freeze for up to a month. Just let them thaw at room temperature before serving.
Pro tip: The flavors and texture remain great over time, but if they seem a bit dry after freezing, you can drizzle them with melted chocolate to freshen them up.
Nutritional Information & Benefits
Here’s an approximate breakdown of the nutritional value per serving (based on one brain):
- Calories: 120
- Fat: 3g
- Carbohydrates: 22g
- Sugar: 12g
- Protein: 1g
While these spooky treats aren’t exactly health food, they do offer a fun way to enjoy Halloween without going overboard. If you’re looking for a slightly healthier option, try using brown rice cereal or reducing the amount of butter and marshmallows.
Be mindful of potential allergens like dairy in butter, marshmallows, and chocolate, as well as gluten in certain rice cereals.
Conclusion
Spooky Marshmallow Rice Krispies Brains are the ultimate Halloween treat—fun, festive, and frightfully delicious! Whether you’re hosting a party or just want to add some spooky flair to your dessert table, this recipe is easy to make and always a hit.
I love how customizable these creepy brains are. You can go all out with decorations or keep them simple and classic. The best part? Watching the reactions as guests take their first bite—surprise and delight guaranteed!
Give this recipe a try and let me know how it turned out for you! Drop a comment below or share your spooky creations on social media. Happy Halloween, and happy haunting!
FAQs
Can I make these ahead of time?
Absolutely! You can make them a day or two in advance and store them in an airtight container until party time.
What if I don’t have red food coloring?
You can use any color to create your own creepy variation, like green for zombie brains or purple for a witchy vibe.
Can I use a different cereal?
Yes! While Rice Krispies are traditional, you can use puffed rice or other similar cereals for a different texture.
How do I make this recipe vegan?
Use vegan marshmallows, dairy-free butter, and vegan chocolate for a plant-based version of this recipe.
Can I add flavor to the brains?
Yes! Try adding a splash of vanilla extract to the melted marshmallows or mixing in cocoa powder for a chocolate twist.
Pin This Recipe!
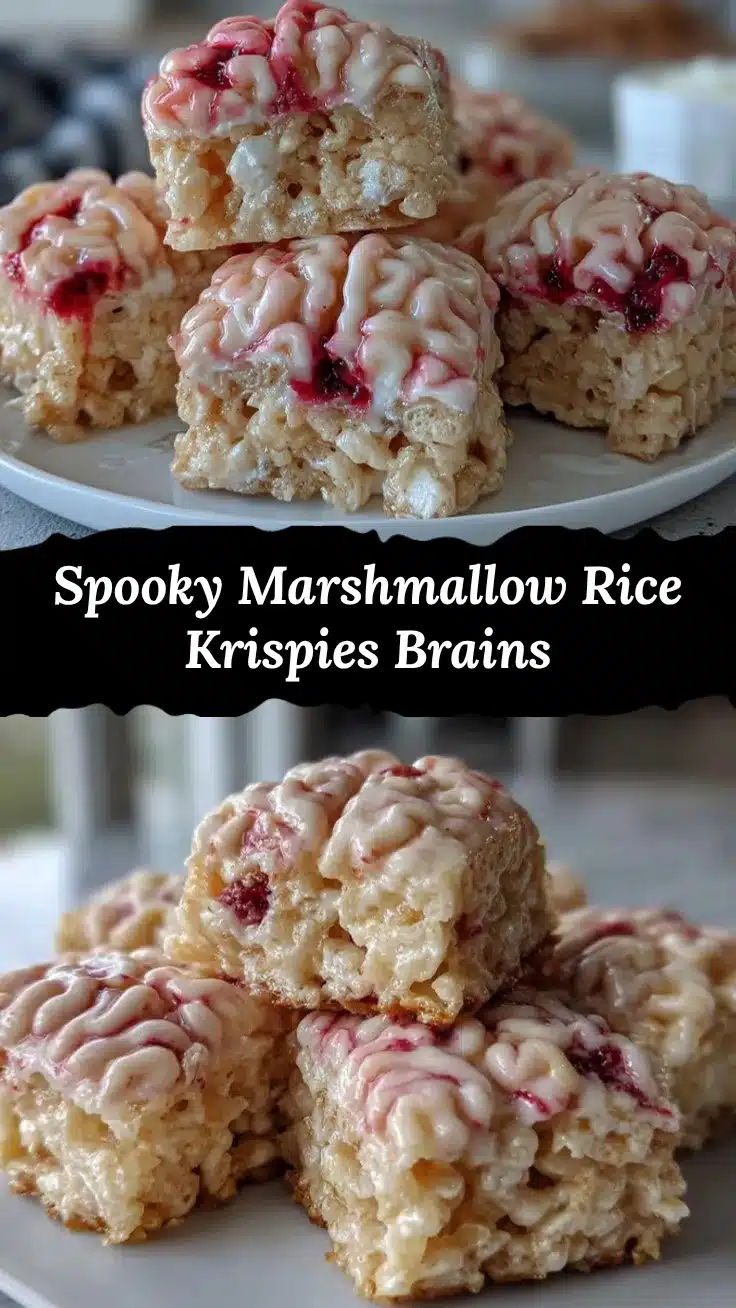
Spooky Marshmallow Rice Krispies Brains Recipe for Halloween

These creepy treats are visually striking, delicious, and fun to make—perfect for Halloween parties or surprising your kids.
- Prep Time: 10 minutes
- Cook Time: 15 minutes
- Total Time: 25 minutes
- Yield: 12 servings 1x
- Category: Dessert
- Cuisine: American
Ingredients
- 3 tablespoons unsalted butter, melted
- 10 ounces (about 6 cups) mini marshmallows
- 6 cups Rice Krispies cereal
- Red food coloring
- White chocolate chips (optional)
- Green food coloring (optional)
- Dark chocolate (optional)
- Candy eyes (optional)
Instructions
- In a large saucepan, melt the butter over low heat. Once melted, add the mini marshmallows and stir continuously until they’re completely melted and smooth.
- Remove the pan from heat and add a few drops of red food coloring to the melted marshmallows. Stir until the color is evenly distributed. Add more drops if you want a deeper, blood-red hue.
- Pour the Rice Krispies cereal into the saucepan with the melted marshmallows. Mix gently until the cereal is fully coated with the sticky red mixture. Be careful not to crush the cereal!
- Let the mixture cool slightly—just enough to handle without burning your hands.
- Put on disposable gloves or grease your hands with butter. Scoop small handfuls of the mixture and shape them into brain-like mounds. Use your fingers to create grooves and indentations to mimic the texture of real brains.
- Place the shaped brains onto a sheet of wax paper or parchment paper to set. Let them cool completely (about 10-15 minutes).
- If desired, melt white chocolate chips and drizzle over the brains for added detail. You can also use dark chocolate to create spooky veins or candy eyes for an extra creepy effect.
Notes
[‘Use fresh marshmallows for the best gooey texture.’, ‘Cool the mixture slightly before shaping to avoid burns.’, ‘Grease your hands or gloves with butter or cooking spray to prevent sticking.’, ‘Get creative with shaping—imperfections add to the spooky effect!’]
Nutrition
- Serving Size: 1 brain
- Calories: 120
- Sugar: 12
- Fat: 3
- Carbohydrates: 22
- Protein: 1
Keywords: Halloween, spooky treats, marshmallow, Rice Krispies, brains, kid-friendly, party dessert


