Honestly, I thought making perfect patriotic sugar cookies with royal icing sounded like a mistake until the first batch came out of my oven. I’d always seen those brightly decorated cookies at parties, looking almost too perfect to be homemade. I figured they must be one of those recipes that require endless hours and a pastry degree. But one summer, right before the Fourth of July, I was pressed for a festive dessert and decided to give it a shot—skeptical, of course. That afternoon, flour dusted the counters, the sweet scent of vanilla filled the kitchen, and somehow, those cookies turned out exactly as I hoped: crisp on the edges, tender inside, and decorated with smooth, glossy royal icing that didn’t crack or run.
It wasn’t instant love. I had to tweak the dough’s chill time and play around with the icing consistency until I found the sweet spot. But when the kids bit into those star-shaped cookies, their eyes lit up in a way that made me rethink all my doubts. The colors popped—red, white, and blue—each bite was buttery with just the right sweetness, and the little decorations felt like a homemade celebration on a plate.
Looking back, I realize it was the combination of a sturdy yet tender sugar cookie paired with that silky royal icing that made all the difference. No more store-bought disappointment. I still get a quiet thrill every time I pull these out for holiday parties or barbecues. They’re not just cookies—they’re a small, delicious nod to the season, made with a bit of patience and a lot of heart. It’s that simple trust in the process that’s kept me coming back to this recipe year after year.
Why You’ll Love This Recipe
After testing countless sugar cookie recipes and icing techniques, this one stands out for so many reasons. Here’s what makes these patriotic sugar cookies with royal icing a must-try:
- Quick & Easy: The dough comes together in under 20 minutes, and with a chill, you’re set for decorating in just over an hour—perfect for last-minute holiday baking.
- Simple Ingredients: Nothing fancy here—just pantry staples like butter, sugar, and eggs. You likely have everything on hand already.
- Perfect for Summer Celebrations: These cookies are a hit for Independence Day cookouts, Memorial Day gatherings, or any patriotic occasion.
- Crowd-Pleaser: Kids love the bright colors and fun shapes, while adults appreciate the classic buttery flavor and delicate texture.
- Unbelievably Delicious: The royal icing dries smooth and hard but melts in your mouth with a subtle vanilla sweetness that pairs perfectly with the cookie.
What sets this recipe apart is the balance between a tender sugar cookie that holds its shape and a royal icing that’s neither too runny nor too stiff. The icing is whipped just enough for easy piping but sets up beautifully for intricate designs or simple stripes and dots. I’ve found that letting the dough rest overnight really deepens the flavor and makes rolling out a breeze. Plus, I’ve tried swapping in almond extract for a twist, and it’s honestly a game changer for those looking to impress without stress.
These cookies aren’t just festive—they’re the kind of treat that makes you pause, maybe even smile quietly, because they remind you that simple traditions can be homemade and special. Whether you’re baking alongside kids or looking to add a homemade touch to your holiday spread, this recipe delivers.
What Ingredients You Will Need
This recipe uses straightforward, wholesome ingredients that come together to create a rich, buttery cookie base and a smooth, glossy royal icing. Most are pantry staples, but I’ll share tips for choosing the best quality and substitutions for dietary needs.
- For the Sugar Cookies:
- Unsalted butter, softened (for that rich, creamy flavor and perfect texture)
- Granulated sugar (adds sweetness and helps create a crisp edge)
- Large eggs, room temperature (helps bind and tenderize)
- Pure vanilla extract (or almond extract for a nutty twist)
- All-purpose flour (I recommend King Arthur Flour for consistent results)
- Baking powder (for a subtle lift)
- Salt (balances sweetness and enhances flavor)
- For the Royal Icing:
- Powdered sugar, sifted (for smooth, lump-free icing)
- Pasteurized egg whites or meringue powder (for safe, stable icing)
- Fresh lemon juice or clear vanilla extract (adds brightness and flavor)
- Gel food coloring in red, white (leave some plain), and blue (use trusted brands like AmeriColor for vibrant colors)
Depending on the season or your preference, you can swap out the butter for a dairy-free alternative, and meringue powder works well if you want to avoid raw egg whites. For a gluten-free option, almond flour can be tricky with roll-out cookies, but a blend of gluten-free flours designed for baking will do the trick. In the summer, I sometimes swap the vanilla for a hint of fresh lemon zest to brighten the dough, which adds a subtle zing that pairs beautifully with the royal icing.
Equipment Needed
- Mixing bowls (preferably glass or stainless steel for durability)
- Electric hand mixer or stand mixer (makes creaming the butter and sugar effortless)
- Measuring cups and spoons (accuracy is key for baking success)
- Rolling pin (a lightly floured wooden or silicone one works best for rolling dough evenly)
- Cookie cutters in patriotic shapes like stars and flags (metal cutters hold shape better than plastic)
- Baking sheets (non-stick or lined with parchment paper to prevent sticking)
- Cooling rack (to help cookies cool evenly and prevent sogginess)
- Piping bags and tips (fine round tips for outlining and flooding the royal icing)
- Small bowls or cups for mixing icing colors
If you don’t have a stand mixer, a sturdy hand mixer will do just fine; I used to rely on one before upgrading. For piping, you can use disposable plastic bags with a tiny corner snipped if you’re not ready to invest in piping tips. A silicone baking mat can replace parchment paper and is great for rolling dough evenly. Keeping your rolling pin chilled in summer helps prevent sticking, especially with buttery dough.
Preparation Method
- Make the Dough: In a large bowl, cream together 1 cup (227 g) softened unsalted butter and 1 cup (200 g) granulated sugar using an electric mixer until light and fluffy, about 3-4 minutes. This step is crucial to create that tender crumb.
- Add Eggs and Extract: Beat in 1 large egg and 1 teaspoon pure vanilla extract (or almond extract) until fully combined. The dough will start to come together here.
- Combine Dry Ingredients: In a separate bowl, whisk 3 cups (375 g) all-purpose flour, 1 teaspoon baking powder, and ½ teaspoon salt. Gradually add this to the wet mixture, mixing on low until a smooth dough forms. Don’t overmix—stop as soon as the flour disappears.
- Chill the Dough: Divide the dough in half, flatten into disks, and wrap in plastic wrap. Chill for at least 1 hour or overnight. Chilling helps the dough firm up, making it easier to roll and ensuring the cookies keep their shape during baking.
- Preheat Oven and Prepare Pans: Set your oven to 350°F (175°C). Line baking sheets with parchment paper or silicone mats.
- Roll and Cut: On a lightly floured surface, roll out one disk of dough to about ¼ inch (6 mm) thickness. Use your patriotic cookie cutters to cut shapes, then transfer cookies to prepared baking sheets, spacing about 1 inch (2.5 cm) apart.
- Bake the Cookies: Bake for 8-10 minutes until the edges just start to turn golden. The centers should remain pale for a tender bite. Let cookies rest on the pan for 2 minutes before transferring to a cooling rack.
- Prepare Royal Icing: In a bowl, beat 3 cups (360 g) sifted powdered sugar with 2 large pasteurized egg whites or 2 teaspoons meringue powder and 2 tablespoons lemon juice or clear vanilla until stiff peaks form. Adjust consistency with small amounts of water—thicker for outlining, thinner for flooding.
- Color and Decorate: Divide icing into bowls and tint with gel food colors. Use piping bags with fine tips to outline each cookie first; let dry 10-15 minutes. Then flood the inside with thinner icing and decorate with stripes, stars, or dots. Let dry completely—several hours or overnight—before stacking or storing.
Pro tip: If the icing starts to crust in your piping bag, add a drop of water and mix gently. Also, keep a damp cloth over your bowls of icing to prevent drying out during decorating. Rolling dough between two sheets of parchment can save cleanup and make transferring dough easier. If your cookies puff up, check the oven temperature with an oven thermometer—sometimes it runs hotter than the dial says!
Cooking Tips & Techniques
Royal icing can be intimidating, but here are some tricks I’ve learned that make it manageable:
- Consistency is Everything: For piping outlines, your royal icing should hold its shape and not run. For flooding, thin it to the consistency of honey. Adding water a drop at a time helps you get it just right.
- Chill Dough Thoroughly: Skipping the chill step often leads to spreading cookies. I’ve learned this the hard way—patience pays off.
- Use Gel Food Coloring: Liquid colors can thin your icing, ruining the texture. Gel colors provide vibrant hues without changing consistency.
- Work in Small Batches: Divide and color your icing in small bowls. It’s easier to control and prevents waste.
- Don’t Skip the Drying Time: Let the outline dry before flooding—this keeps colors from bleeding. Also, drying overnight is best before stacking.
One time, I tried rushing the icing step and ended up with a rainbow mess instead of neat stars. Lesson learned: slow and steady wins the decorating race. Also, multitasking by prepping dough the night before means you can spend more time on the fun piping part. If you’re new to royal icing, practice on parchment paper first to get comfortable with pressure and flow.
Variations & Adaptations
Want to mix things up? Here are a few variations that keep things interesting:
- Flavor Twists: Add citrus zest like lemon or orange to the dough for a fresh zing. You can also swap vanilla extract for almond or peppermint for a unique flavor profile.
- Dietary Tweaks: Use a gluten-free flour blend for the dough and substitute dairy-free butter alternatives. For egg allergies, try a flax egg replacement, but expect a slight texture change.
- Alternative Icing: If royal icing isn’t your thing, try a simple powdered sugar glaze with milk and vanilla for a softer finish. It won’t harden as much but still looks festive.
- Different Shapes & Themes: Beyond stars and flags, cut out other patriotic symbols or seasonal shapes like fireworks or eagles. Mix blue and white snowflake cookies for winter holidays.
Personally, I once swapped the red gel dye for a natural beet powder to keep things wholesome and was pleasantly surprised by the earthy sweetness it added. Adapting the recipe to your preferences is part of the fun—and makes it your own.
Serving & Storage Suggestions
These sugar cookies are best served at room temperature to enjoy the full texture contrast—the crisp edges with soft centers and the smooth, firm icing. They make a great centerpiece on any holiday dessert tray alongside fresh berries or a chilled lemonade.
For storage, keep the cookies in an airtight container layered with parchment paper to prevent sticking. They last up to a week at room temperature, but if you want to store longer, freeze them in a sealed container for up to 3 months. Thaw at room temperature before serving.
If you’re reheating leftovers, avoid the microwave as it can soften the icing too much. Instead, let them warm naturally or pop them briefly in a low oven (about 200°F / 93°C) wrapped in foil.
One neat thing I noticed is that the flavors mellow and deepen after a day or two, so sometimes waiting a bit actually makes them taste even better.
Nutritional Information & Benefits
Each sugar cookie (without icing) roughly contains around 150 calories, with 7 grams of fat and 20 grams of carbohydrates, mostly from sugar and flour. The royal icing adds some extra sugar and minimal fat.
Key ingredients like butter provide fat-soluble vitamins, and eggs add a bit of protein, but these are definitely an indulgent treat best enjoyed in moderation. Using real vanilla instead of artificial flavors adds a touch of antioxidants.
If you need a gluten-free option, swapping flours helps accommodate dietary restrictions. For those watching sugar intake, you could experiment with sugar substitutes, but the texture may shift.
Honestly, these cookies feel like a small celebration on your plate—perfect for treating yourself during a holiday without overthinking nutrition.
Conclusion
Perfect patriotic sugar cookies with royal icing are one of those recipes that sound intimidating but actually unfold beautifully when you trust the process. They’re a satisfying blend of buttery, tender cookie and smooth, colorful icing that brings a festive touch to any occasion.
Feel free to customize the flavors, colors, and shapes to suit your family’s tastes or dietary needs. I love coming back to this recipe each year because it reminds me that homemade treats can be both simple and special—without fuss.
If you decide to try these cookies, I’d love to hear how your decorating went or what creative twists you added. Sharing your stories is part of what makes baking so rewarding. Here’s to many joyful baking moments ahead!
FAQs
Can I make the sugar cookie dough ahead of time?
Absolutely! Chilling the dough overnight actually improves the flavor and makes rolling easier. Just wrap it tightly in plastic wrap and keep it in the fridge.
What if my royal icing is too thick or too thin?
Add a few drops of water to thin it out or a bit more powdered sugar to thicken. Adjust gradually to avoid ruining the consistency.
Can I use store-bought royal icing instead?
You can, but homemade royal icing tends to be fresher and easier to customize in terms of consistency and flavor.
How do I prevent cookies from spreading too much during baking?
Make sure your dough is well chilled before baking, and avoid using too much butter. Also, check that your oven temperature is accurate with a thermometer.
What’s the best way to store decorated sugar cookies?
Store them in an airtight container layered with parchment paper at room temperature for up to a week, or freeze for longer storage.
For more breakfast ideas to enjoy alongside your festive treats, you might enjoy the fluffy Japanese souffle pancakes or quick egg muffins for meal prep. For savory snacks perfect for your holiday parties, the crispy loaded potato skins are always a crowd favorite.
Pin This Recipe!
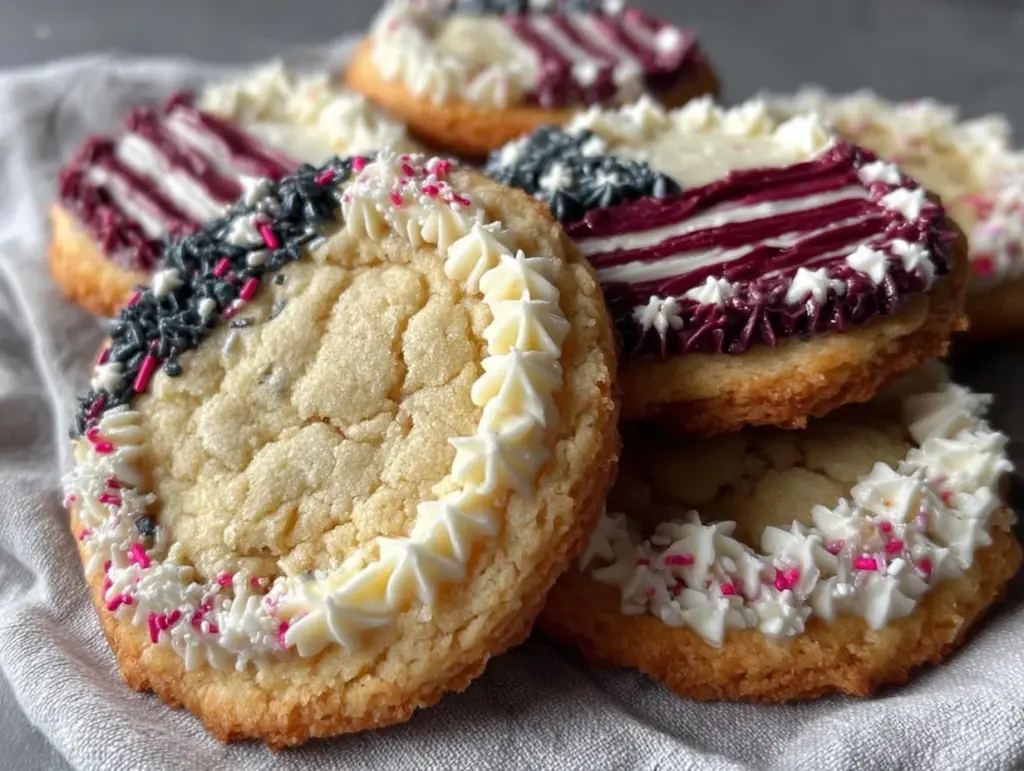
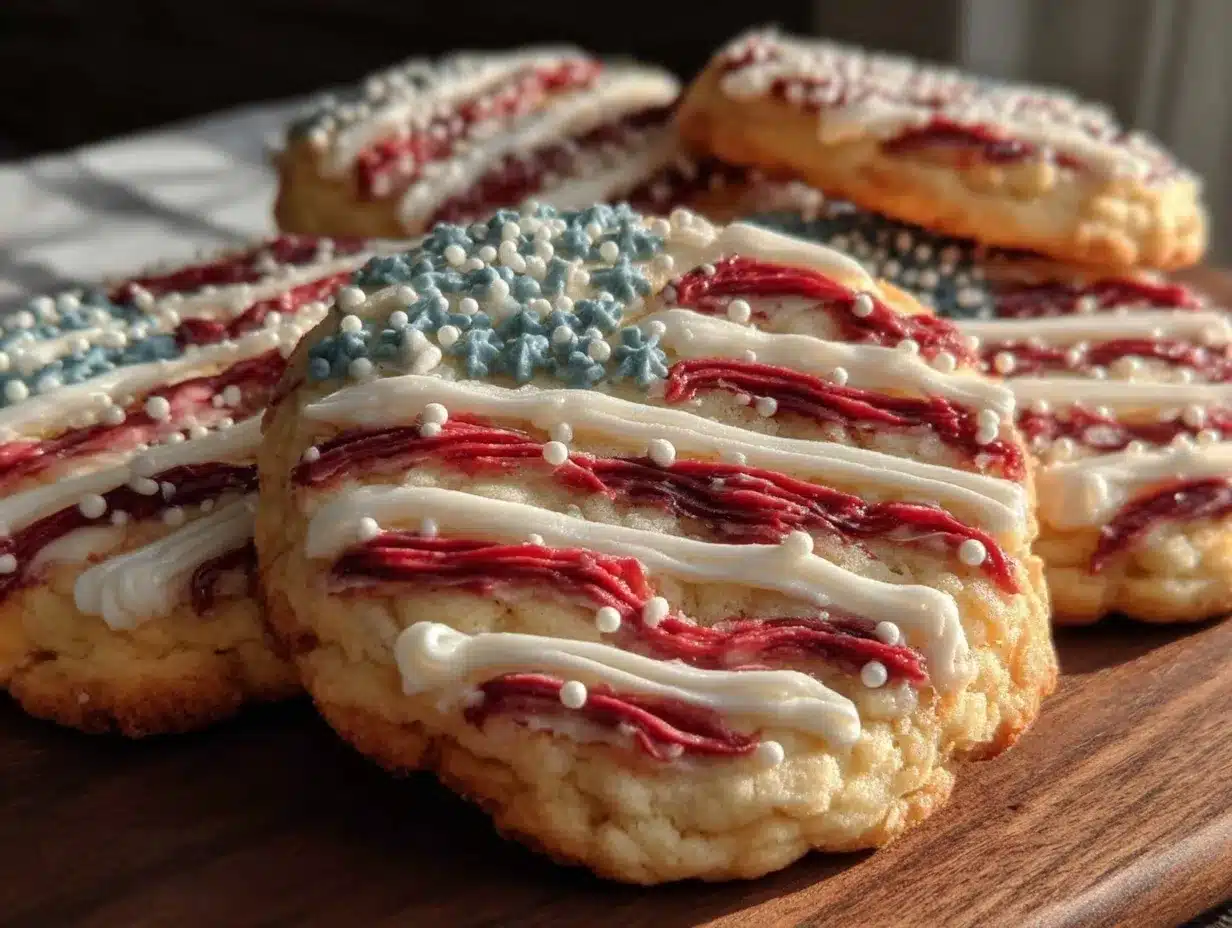
Perfect Patriotic Sugar Cookies with Royal Icing

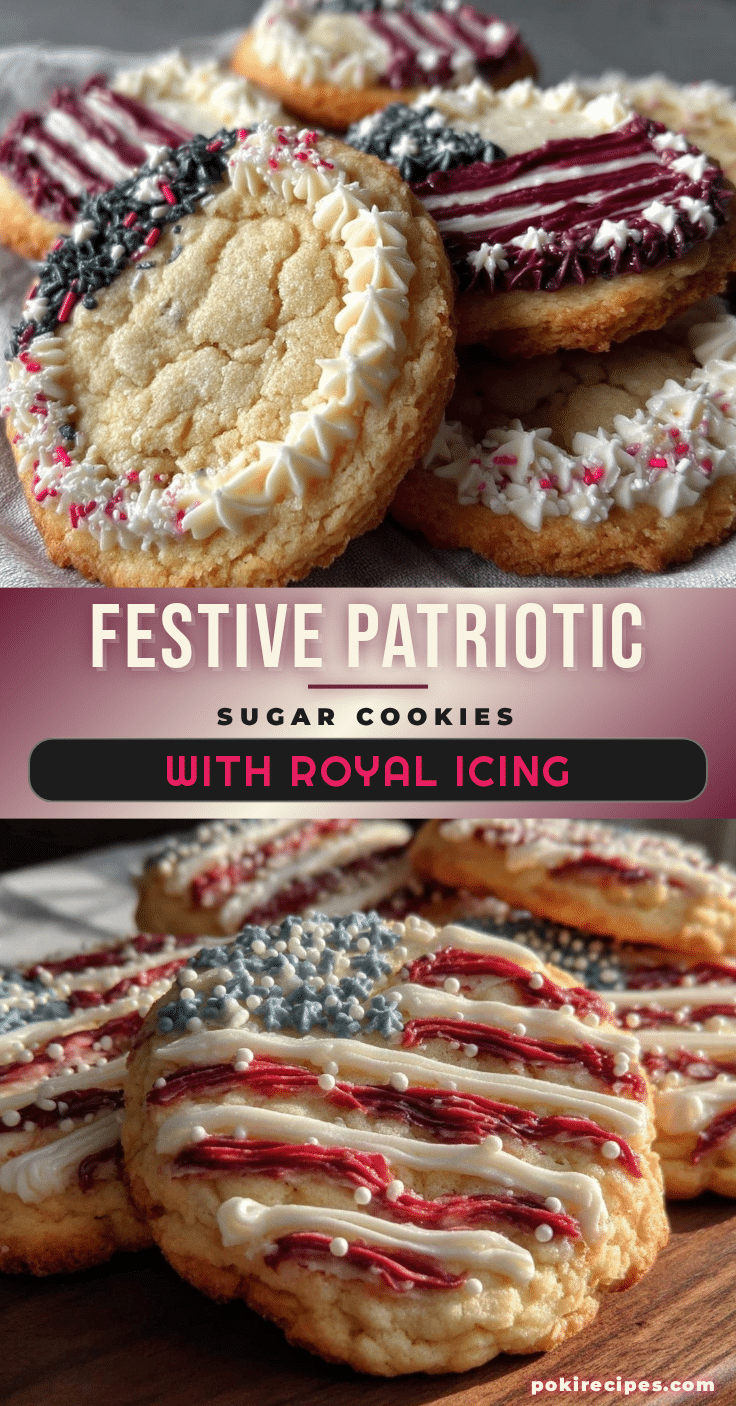
These patriotic sugar cookies feature a tender, buttery base decorated with smooth, glossy royal icing in red, white, and blue—perfect for summer celebrations and holiday parties.
- Prep Time: 20 minutes
- Cook Time: 10 minutes
- Total Time: 1 hour 30 minutes
- Yield: 24 cookies 1x
- Category: Dessert
- Cuisine: American
Ingredients
- 1 cup (227 g) unsalted butter, softened
- 1 cup (200 g) granulated sugar
- 1 large egg, room temperature
- 1 teaspoon pure vanilla extract or almond extract
- 3 cups (375 g) all-purpose flour
- 1 teaspoon baking powder
- ½ teaspoon salt
- 3 cups (360 g) powdered sugar, sifted
- 2 large pasteurized egg whites or 2 teaspoons meringue powder
- 2 tablespoons fresh lemon juice or clear vanilla extract
- Gel food coloring in red, white (leave some plain), and blue
Instructions
- In a large bowl, cream together the softened butter and granulated sugar using an electric mixer until light and fluffy, about 3-4 minutes.
- Beat in the egg and vanilla or almond extract until fully combined.
- In a separate bowl, whisk together the flour, baking powder, and salt. Gradually add to the wet mixture, mixing on low until a smooth dough forms. Do not overmix.
- Divide the dough in half, flatten into disks, wrap in plastic wrap, and chill for at least 1 hour or overnight.
- Preheat oven to 350°F (175°C). Line baking sheets with parchment paper or silicone mats.
- Roll out one disk of dough on a lightly floured surface to about ¼ inch (6 mm) thickness. Cut shapes using patriotic cookie cutters and transfer to baking sheets, spacing about 1 inch apart.
- Bake for 8-10 minutes until edges start to turn golden but centers remain pale. Let cookies rest on the pan for 2 minutes, then transfer to a cooling rack.
- Prepare royal icing by beating powdered sugar with egg whites or meringue powder and lemon juice or vanilla until stiff peaks form. Adjust consistency with water for outlining (thicker) and flooding (thinner).
- Divide icing into bowls and tint with gel food colors. Use piping bags with fine tips to outline cookies first; let dry 10-15 minutes.
- Flood the inside with thinner icing and decorate with stripes, stars, or dots. Let dry completely for several hours or overnight before storing or stacking.
Notes
Chill dough overnight for better flavor and easier rolling. Use gel food coloring to maintain icing consistency. Let icing outlines dry before flooding to prevent color bleeding. Store cookies in an airtight container with parchment paper to prevent sticking. Freeze for up to 3 months if needed.
Nutrition
- Serving Size: 1 cookie
- Calories: 160
- Sugar: 14
- Sodium: 80
- Fat: 7
- Saturated Fat: 4
- Carbohydrates: 22
- Protein: 2
Keywords: patriotic sugar cookies, royal icing cookies, Fourth of July cookies, holiday cookies, sugar cookie recipe, easy sugar cookies, decorated cookies